Join a builder's journey as they transform the LEGO Death Star from box to stunning display, showcasing tips, challenges, and the joy of creation.
The LEGO Death Star: From Box to Display — A Builder’s Journey
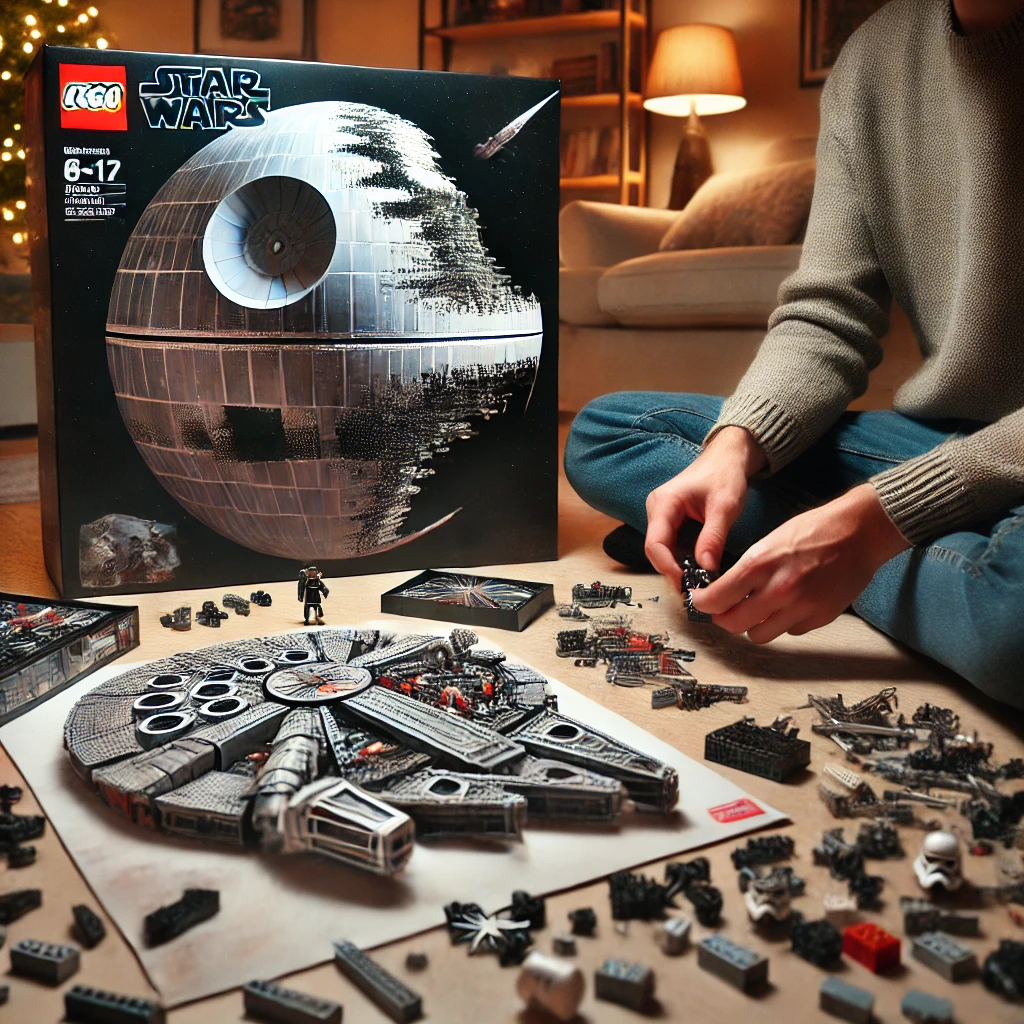
The LEGO Death Star is not just a set; it’s a monumental experience that encapsulates the essence of creativity, nostalgia, and the joy of building. For many fans of the Star Wars franchise and LEGO enthusiasts alike, constructing the Death Star is a rite of passage. This article will take you through the journey of building the LEGO Death Star, from the moment you open the box to the final display on your shelf, highlighting the challenges, triumphs, and the sheer joy of this iconic set.
The Allure of the Death Star
Released in 2008, the LEGO Death Star (set number 10188) quickly became one of the most sought-after sets in the LEGO Star Wars line. With over 3,800 pieces, it offers a detailed replica of the infamous space station from the Star Wars universe. The set features numerous rooms and scenes from the films, including the Emperor’s throne room, the detention block, and the TIE fighter hangar. The intricate design and attention to detail make it a favorite among collectors and builders.
Unboxing the Experience
Opening the box of the LEGO Death Star is an experience in itself. The set comes in a large, beautifully designed box adorned with artwork that captures the essence of the Death Star. Inside, builders are greeted with:
Multiple bags of LEGO pieces, each numbered for easy organization.
A thick instruction manual that guides you through the building process.
Stickers and additional elements that enhance the set’s authenticity.
As you lay out the pieces, the excitement builds. The anticipation of what’s to come is palpable, and the journey is about to begin.
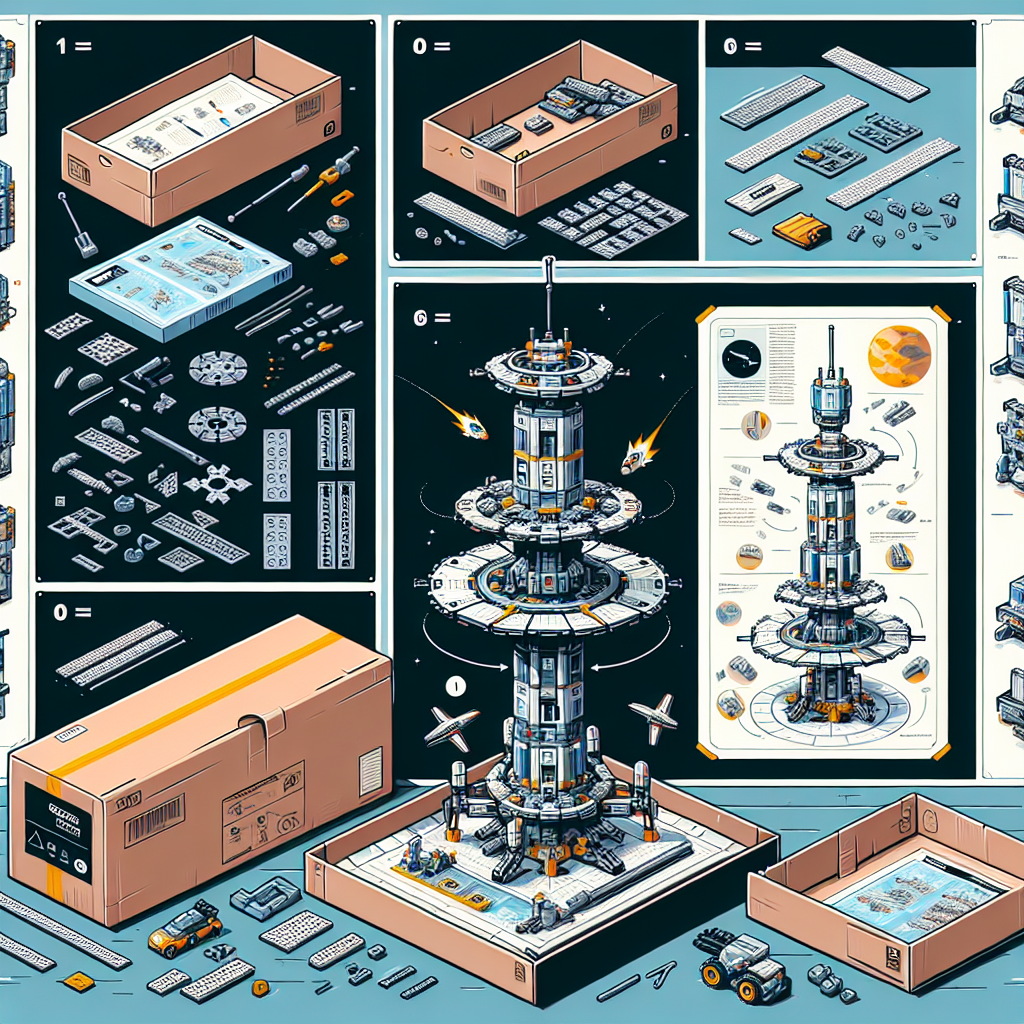
The Building Process
Building the LEGO Death Star is a multi-layered experience that can take several hours, if not days, to complete. The process is divided into several stages, each offering its own set of challenges and rewards.
Stage 1: Foundation and Structure
The first stage involves constructing the base and the spherical structure of the Death Star. This stage is crucial as it sets the foundation for the entire build. Builders must pay close attention to:
Piece orientation: Ensuring that each piece is placed correctly to maintain structural integrity.
Color coordination: The Death Star is primarily gray, but subtle variations in shades add depth.
As the structure begins to take shape, the sense of accomplishment grows. The spherical design is particularly challenging, requiring patience and precision.
Stage 2: Interior Details
Once the exterior is complete, builders dive into the intricate details of the interior. This stage is where the set truly shines, showcasing iconic scenes from the Star Wars saga. Key areas include:
The Emperor’s throne room, complete with a movable throne.
The detention block, featuring a working prison cell.
The TIE fighter hangar, which allows for the display of mini TIE fighters.
Each room is a mini diorama, and builders often find themselves reminiscing about their favorite Star Wars moments as they construct these scenes.
Stage 3: Final Assembly and Display
The final stage involves putting all the pieces together and ensuring that everything fits seamlessly. This is where builders can customize their display, arranging the various elements to their liking. Once completed, the sense of pride is immense. The Death Star stands as a testament to hours of hard work and creativity.
Challenges Along the Way
While building the LEGO Death Star is a rewarding experience, it is not without its challenges. Some common hurdles include:
Missing pieces: Occasionally, builders may find that a piece is missing from the set, which can be frustrating.
Complex instructions: The detailed manual can sometimes be overwhelming, especially for younger builders.
Time commitment: With over 3,800 pieces, the build requires a significant time investment.
However, overcoming these challenges only adds to the satisfaction of completing the set.
Displaying Your Masterpiece
Once the LEGO Death Star is complete, the next step is finding the perfect display spot. Many builders choose to showcase their creation in a dedicated space, often alongside other Star Wars memorabilia. Here are some tips for displaying your Death Star:
Choose a well-lit area to highlight the details.
Consider using a rotating display stand for a 360-degree view.
Incorporate themed lighting to enhance the ambiance.
Displaying the Death Star not only showcases your hard work but also serves as a conversation starter among fellow fans and builders.
Conclusion
The journey of building the LEGO Death Star is one filled with excitement, challenges, and a deep sense of accomplishment. From unboxing the set to displaying the final masterpiece, each step is a testament to creativity and passion. Whether you are a seasoned builder or a newcomer to the world of LEGO, the Death Star offers an unparalleled experience that resonates with fans of all ages. As you embark on your own building journey, remember that it’s not just about the final product; it’s about the memories created along the way.