Learn how to document and preserve your LEGO 42096 build with tips on photography, storage, and creating a legacy for future generations.
Documenting and preserving your LEGO 42096 build, or any LEGO creation, can be a rewarding process that allows you to share your work with future generations. Here are some steps to help you effectively document and preserve your build:
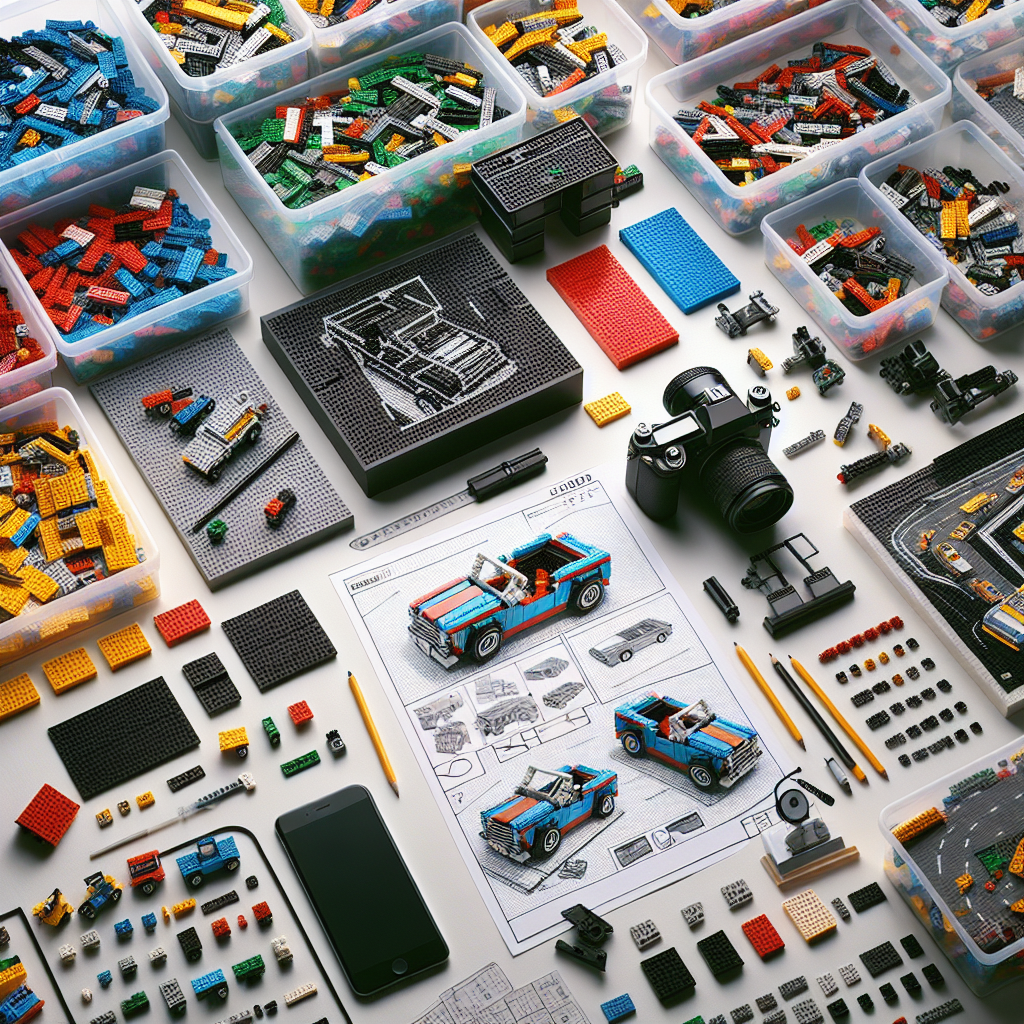
### 1. **Photograph Your Build**
– **Lighting**: Use natural light or a well-lit area to avoid shadows. Soft, diffused light is ideal.
– **Angles**: Take photos from multiple angles to capture all details. Include close-ups of intricate sections.
– **Background**: Use a neutral background to make your build stand out. A plain white or black backdrop works well.
– **Staging**: Consider staging your build in a thematic setting or with related LEGO sets to enhance the visual appeal.
### 2. **Create a Digital Archive**
– **Organize Photos**: Store your photos in a dedicated folder on your computer or cloud storage. Use clear naming conventions (e.g., “LEGO_42096_Build_Angle1.jpg”).
– **Backup**: Regularly back up your digital files to prevent loss. Use external hard drives or cloud services.
### 3. **Write a Build Journal**
– **Document the Process**: Write about your building experience, including challenges faced, modifications made, and your inspiration.
– **Include Details**: Note the date of completion, the number of pieces used, and any special techniques or customizations.
### 4. **Create a Video**
– **Time-Lapse**: Consider creating a time-lapse video of your build process. This can be a fun way to showcase your work.
– **Walkthrough**: Record a video walkthrough of your completed build, explaining features and any unique aspects.
### 5. **Share Online**
– **Social Media**: Share your photos and videos on platforms like Instagram, Facebook, or LEGO-specific forums.
– **LEGO Community**: Join online communities (like LEGO Ideas or BrickLink) to share your build and connect with other enthusiasts.
### 6. **Preserve the Physical Build**
– **Display**: Find a suitable display case to protect your build from dust and damage. Ensure it’s in a stable environment away from direct sunlight.
– **Maintenance**: Regularly check your build for any loose pieces or wear and tear. Make repairs as needed.
### 7. **Create a Legacy Document**
– **Compile Information**: Create a document that includes photos, your build journal, and any videos. This can be a digital file or a printed booklet.
– **Include Personal Touches**: Add personal notes, stories, or even drawings related to your build to make it more meaningful.
### 8. **Pass It On**
– **Share with Family**: Make sure to share your documentation with family members, especially younger generations, to inspire them.
– **Consider a Time Capsule**: If you want to preserve the build for a long time, consider placing it in a time capsule along with your documentation.
By following these steps, you can ensure that your LEGO 42096 build is well-documented and preserved for future generations to enjoy and appreciate.
Documenting and preserving your LEGO 42096 build, or any LEGO creation, is a great way to ensure that future generations can appreciate your work. Here are some steps you can take to effectively document and preserve your build:
Documenting and preserving your LEGO 42096 build, or any LEGO creation, is an important endeavor that allows future generations to appreciate your craftsmanship and creativity. Below are structured steps to effectively document and preserve your build:
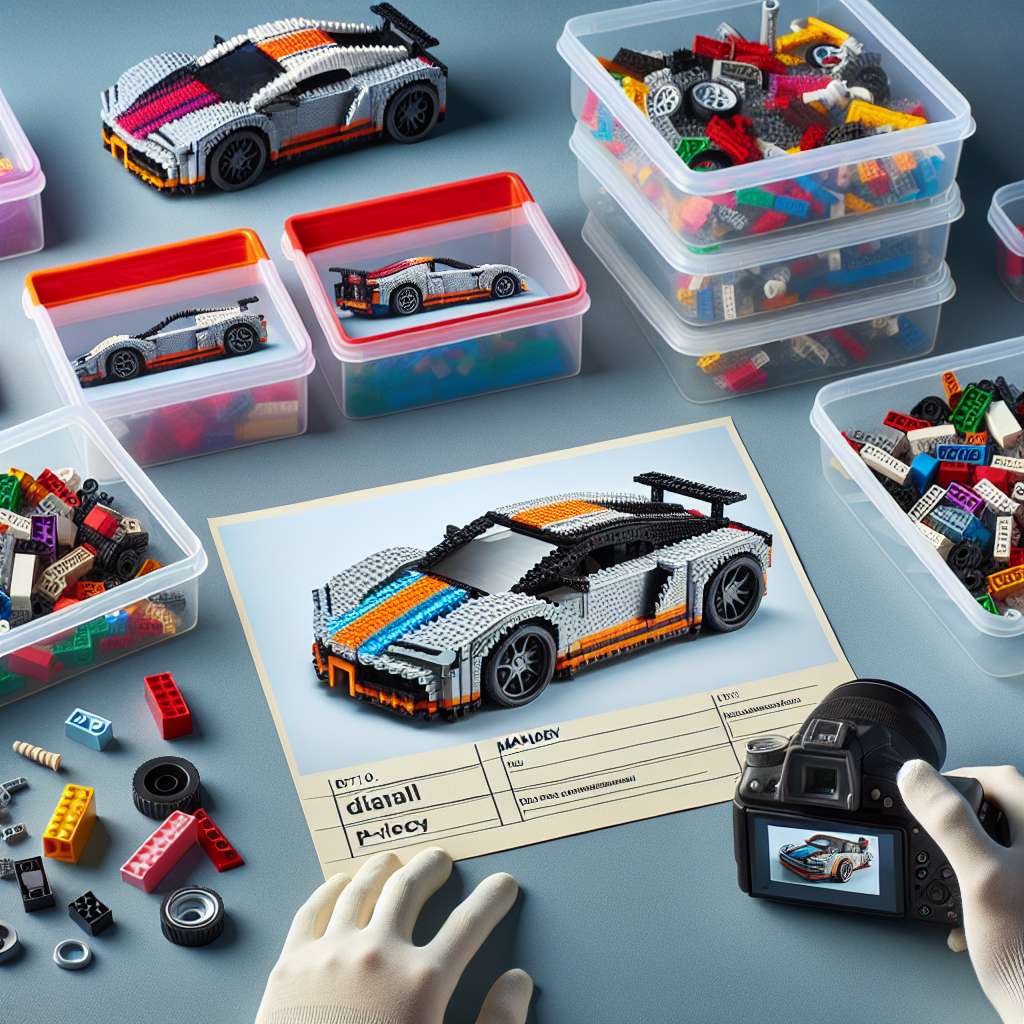
### 1. **Photographic Documentation**
– **High-Quality Images**: Use a good camera or smartphone to take high-resolution photographs of your build. Capture multiple angles, including close-ups of intricate details.
– **Lighting**: Ensure proper lighting to highlight the colors and features of your build. Natural light is often the best option, but soft artificial lighting can also be effective.
– **Background**: Choose a neutral or complementary background to avoid distractions and enhance the visual appeal of your photographs.
### 2. **Written Description**
– **Build Overview**: Write a brief description of your build, including its inspiration, design process, and any unique features or challenges encountered during construction.
– **Materials Used**: Document the specific LEGO sets or pieces utilized in your build, including any custom modifications or third-party elements.
– **Dimensions and Scale**: Provide measurements of the build, including height, width, and depth, to give context to its size.
### 3. **Video Documentation**
– **Time-Lapse Recording**: Consider creating a time-lapse video of the building process to showcase the evolution of your creation.
– **Walkthrough Tour**: Record a video tour of your completed build, explaining its features and functionality. This can be particularly engaging for viewers.
### 4. **Digital Preservation**
– **Cloud Storage**: Store your photographs, written descriptions, and videos in a cloud storage service to ensure they are backed up and accessible from anywhere.
– **LEGO Community Platforms**: Share your build on LEGO community websites or social media platforms dedicated to LEGO enthusiasts. This not only preserves your work but also allows for feedback and appreciation from others.
### 5. **Physical Preservation**
– **Display Case**: If possible, place your build in a display case to protect it from dust, damage, and environmental factors. Ensure the case is made of materials that do not emit harmful chemicals.
– **Regular Maintenance**: Periodically check your build for any loose pieces or wear and tear. Make necessary repairs to maintain its integrity.
### 6. **Create a Build Journal**
– **Documentation Log**: Maintain a journal that includes sketches, notes, and ideas related to your build. This can serve as a valuable resource for future projects and provide insight into your creative process.
– **Future Modifications**: Document any ideas for future modifications or expansions to your build, ensuring that your creative journey continues.
### 7. **Share with Future Generations**
– **Family Archive**: Consider creating a family archive that includes your documentation, allowing future generations to learn about your passion for LEGO and the stories behind your creations.
– **Educational Opportunities**: If applicable, share your build and documentation with local schools or community groups to inspire others and promote creativity.
By following these steps, you can effectively document and preserve your LEGO 42096 build, ensuring that your creativity and dedication are appreciated for years to come.
### 1. **Photograph Your Build**
### 1. **Photograph Your Build**
Capturing high-quality photographs of your build is essential for documentation, presentation, and sharing with others. Here are some formal guidelines to ensure your photographs effectively showcase your work:
#### A. Preparation
1. **Clean the Area**: Ensure the build area is tidy and free of distractions. Remove any unnecessary items that may detract from the focus of the photograph.
2. **Lighting**: Utilize natural light whenever possible. If indoors, position your build near windows or use soft artificial lighting to avoid harsh shadows.
3. **Background**: Choose a neutral or complementary background that enhances the build without overwhelming it.
#### B. Equipment
1. **Camera**: Use a high-resolution camera or a smartphone with a good camera. Ensure the lens is clean.
2. **Tripod**: Stabilize your camera with a tripod to avoid blurriness, especially in low-light conditions.
#### C. Composition
1. **Angles**: Capture multiple angles of the build. Include wide shots to show the entire structure and close-ups to highlight intricate details.
2. **Rule of Thirds**: Use the rule of thirds to create balanced and engaging compositions. Position key elements along the grid lines or at their intersections.
3. **Focus**: Ensure the build is in sharp focus. Use depth of field to blur the background if necessary, drawing attention to the subject.
#### D. Post-Processing
1. **Editing Software**: Utilize photo editing software to enhance your images. Adjust brightness, contrast, and saturation to accurately represent the build.
2. **Cropping**: Crop images to remove any distracting elements while maintaining the integrity of the composition.
#### E. Presentation
1. **File Format**: Save images in high-resolution formats (e.g., JPEG, PNG) for sharing and printing.
2. **Organization**: Create a systematic folder structure for your photographs, categorizing them by project or date for easy access.
By following these guidelines, you can create a professional portfolio of your build that effectively communicates your craftsmanship and attention to detail.
– **High-Quality Images**: Use a good camera or smartphone to take high-resolution photos of your build from multiple angles. Capture close-ups of intricate details and any unique features
– **High-Quality Images**: Utilize a high-resolution camera or a smartphone equipped with a quality lens to capture your build from various angles. Ensure to take close-up shots that highlight intricate details and any distinctive features. Proper lighting and a clean background will enhance the overall presentation of your images.