Learn how to design your own custom LEGO car with our step-by-step tutorial! Unleash your creativity and build the car of your dreams today!
Designing your own custom LEGO car can be a fun and rewarding project! Here’s a step-by-step tutorial to help you create a unique LEGO vehicle.
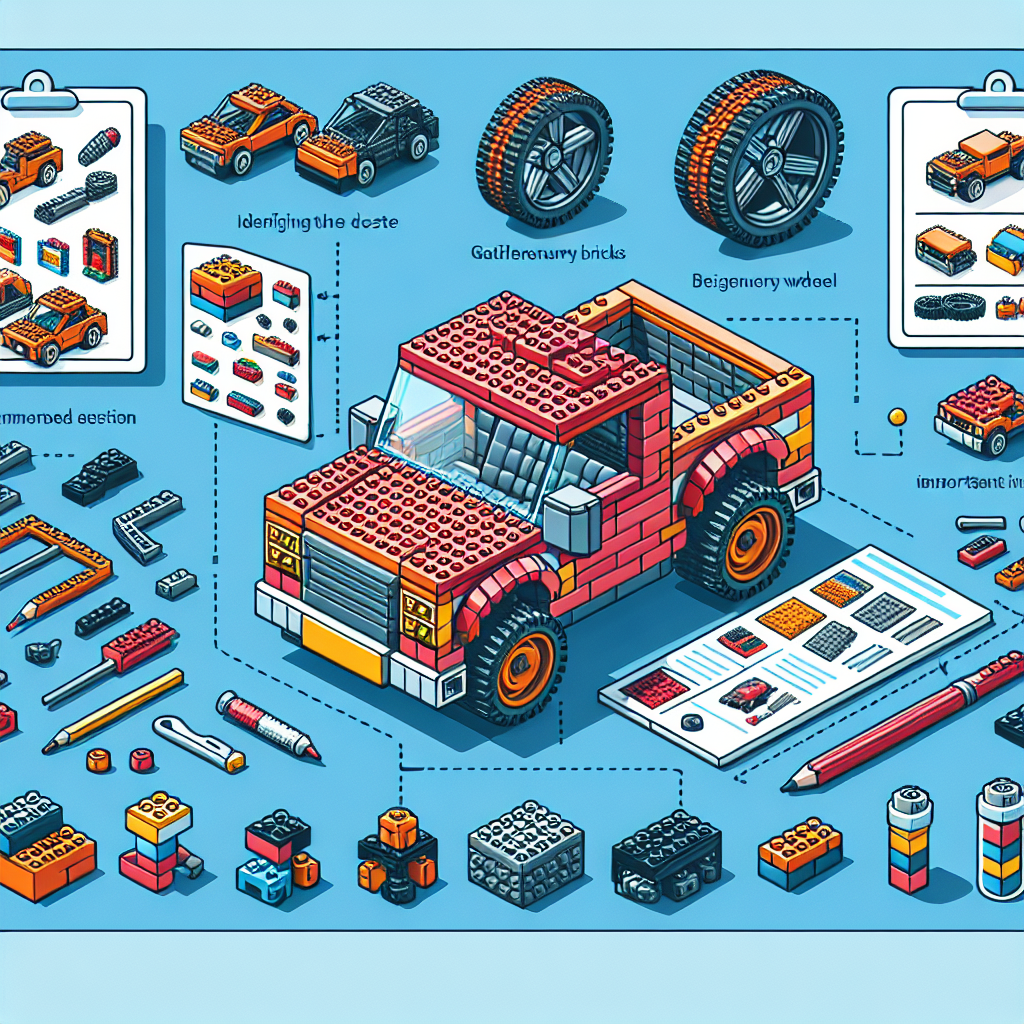
### Step 1: Gather Your Materials
– **LEGO Bricks**: Collect a variety of LEGO bricks, including plates, bricks, wheels, axles, and any special pieces you might want to use (like windshields, spoilers, etc.).
– **Baseplate**: A flat baseplate can help you start your design.
– **Tools**: While LEGO is designed to be assembled by hand, having a small flathead screwdriver can help with stubborn pieces.
### Step 2: Decide on a Design
– **Choose a Type of Car**: Decide whether you want to build a sports car, a truck, a race car, or something else.
– **Sketch Your Idea**: Draw a rough sketch of your car design. Consider the shape, size, and any special features you want to include.
### Step 3: Build the Chassis
– **Create the Base**: Start with a flat baseplate as the foundation. This will be the chassis of your car.
– **Add Structure**: Use bricks to build up the sides of the chassis. Make sure it’s sturdy enough to support the rest of the car.
– **Include Wheel Wells**: Leave space for the wheels and ensure the axles can fit through.
### Step 4: Attach the Wheels
– **Choose Your Wheels**: Select wheels that fit your design. Larger wheels are great for off-road vehicles, while smaller wheels suit sports cars.
– **Add Axles**: Insert axles through the wheel wells and attach the wheels. Ensure they spin freely.
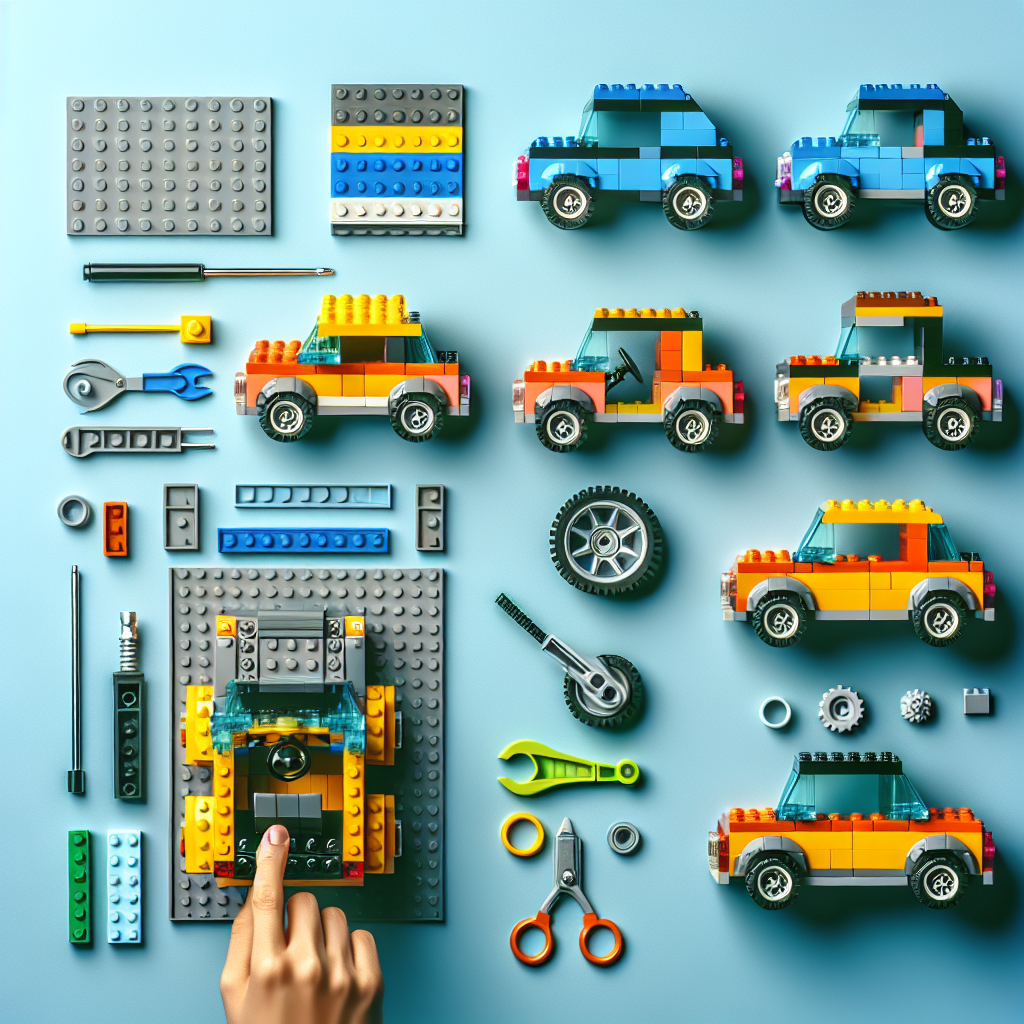
### Step 5: Build the Body
– **Create the Shape**: Start building the body of the car on top of the chassis. Use a combination of bricks and plates to achieve the desired shape.
– **Add Details**: Incorporate features like headlights, taillights, and a grille. You can use transparent pieces for windows and lights.
### Step 6: Design the Interior
– **Add Seats**: Use small bricks or plates to create seats inside the car.
– **Dashboard and Steering Wheel**: Consider adding a dashboard and a steering wheel for added realism.
### Step 7: Customize Your Car
– **Color Scheme**: Choose a color scheme that reflects your style. You can mix and match different colored bricks.
– **Decals and Stickers**: If you have LEGO stickers or decals, apply them to enhance the look of your car.
– **Accessories**: Add any additional features like spoilers, exhaust pipes, or racing stripes.
### Step 8: Test Your Car
– **Check Stability**: Ensure that your car is stable and that all pieces are securely attached.
– **Test Drive**: Roll your car on a flat surface to see how it performs. Make adjustments if necessary.
### Step 9: Make Adjustments
– **Refine Your Design**: Based on your test drive, you may want to make adjustments to improve performance or aesthetics.
– **Experiment**: Don’t be afraid to take apart and rebuild sections to try new ideas.
### Step 10: Showcase Your Creation
– **Display Your Car**: Find a place to showcase your custom LEGO car. You can create a diorama or simply place it on a shelf.
– **Share with Others**: Take photos and share your creation with friends or online LEGO communities.
### Tips for Success
– **Be Patient**: Building a custom LEGO car can take time, so don’t rush the process.
– **Use Online Resources**: Look for inspiration from other LEGO builders online. Websites and forums can provide ideas and techniques.
– **Have Fun**: Enjoy the creative process and let your imagination guide you!
With these steps, you should be well on your way to designing and building your own custom LEGO car. Happy building!
Designing your own custom LEGO car can be a fun and rewarding project! Here’s a step-by-step tutorial to help you create your unique LEGO vehicle
### Step-by-Step Tutorial for Designing Your Custom LEGO Car
Creating a custom LEGO car can be an enjoyable and fulfilling endeavor. This tutorial will guide you through the process, ensuring that you can design a vehicle that reflects your creativity and engineering skills.
#### Materials Needed:
– A variety of LEGO bricks (including wheels, axles, and body pieces)
– Baseplate (optional, for stability)
– LEGO building tools (if available)
– A workspace with ample room for assembly
#### Step 1: Conceptualize Your Design
Begin by brainstorming the type of car you wish to create. Consider the following aspects:
– **Purpose**: Is it a sports car, a truck, or a futuristic vehicle?
– **Size**: Will it be a compact model or a larger, more detailed design?
– **Features**: Think about any special features you want to include, such as doors, a trunk, or a sunroof.
#### Step 2: Gather Your Materials
Collect the necessary LEGO pieces based on your design concept. Ensure you have:
– **Wheels and Axles**: Choose wheels that suit the scale of your car.
– **Bricks for the Body**: Select bricks that will form the chassis and body of the vehicle.
– **Additional Elements**: Consider using transparent bricks for windows, decorative pieces for headlights, and any other accessories that enhance your design.
#### Step 3: Build the Chassis
1. **Create the Base**: Start by laying down a flat base using larger bricks. This will serve as the foundation for your car.
2. **Attach the Axles**: Secure the axles to the base, ensuring they are positioned correctly to allow for smooth wheel rotation.
3. **Add Wheels**: Attach the wheels to the axles, ensuring they spin freely.
#### Step 4: Construct the Body
1. **Build Upwards**: Begin stacking bricks to form the body of the car. Use a combination of different shapes and sizes to create an aesthetically pleasing design.
2. **Incorporate Features**: As you build, integrate any features you planned, such as windows, doors, or spoilers. Use transparent bricks for windows to give a realistic appearance.
3. **Ensure Stability**: Make sure the body is securely attached to the chassis and that it can withstand movement.
#### Step 5: Add Details
1. **Decorate**: Use smaller bricks and accessories to add details such as headlights, taillights, and decals. You can also use stickers or custom prints for a personalized touch.
2. **Interior Design**: If desired, create an interior by adding seats, a steering wheel, and other elements that enhance realism.
#### Step 6: Test Your Design
Once your car is fully assembled, it is essential to test its functionality:
– **Rolling Test**: Push the car to ensure it rolls smoothly. If it does not, check the alignment of the wheels and axles.
– **Stability Check**: Gently shake the car to ensure that all parts are securely attached and that it maintains its structure.
#### Step 7: Make Adjustments
Based on your testing, make any necessary adjustments to improve performance or aesthetics. This may involve reinforcing certain areas, changing the wheel size, or modifying the body shape.
#### Step 8: Showcase Your Creation
Once you are satisfied with your custom LEGO car, consider displaying it or sharing it with friends and family. You may also want to document your design process through photographs or videos.
### Conclusion
Designing your own custom LEGO car is a rewarding project that allows for creativity and engineering exploration. By following these steps, you can create a unique vehicle that showcases your personal style and ingenuity. Enjoy the building process and let your imagination drive your design!
### Step 1: Gather Your Materials
### Step 1: Gather Your Materials
To ensure a successful and efficient process, it is essential to collect all necessary materials prior to commencing your project or task. This preparation will facilitate a smoother workflow and minimize interruptions. Below is a list of items you may need to consider:
1. **Documentation**:
– Relevant manuals, guidelines, or reference materials.
– Any necessary forms or templates.
2. **Tools and Equipment**:
– Specific tools required for the task (e.g., software, hardware, or physical tools).
– Safety equipment, if applicable (e.g., gloves, goggles).
3. **Supplies**:
– Materials needed for the project (e.g., paper, writing instruments, or other consumables).
– Backup supplies to account for any unforeseen circumstances.
4. **Technology**:
– Ensure that all devices (computers, tablets, etc.) are functioning properly.
– Access to necessary software applications or online platforms.
5. **Workspace**:
– A clean and organized area conducive to productivity.
– Adequate lighting and seating arrangements.
6. **Time Management Tools**:
– Calendars or planners to schedule tasks and deadlines.
– Timers or reminders to keep track of progress.
By systematically gathering these materials, you will be well-prepared to proceed with your project or task effectively.
Before you start building, collect the necessary materials:
Before commencing any construction or building project, it is essential to gather all necessary materials to ensure a smooth and efficient process. Below is a formal checklist of materials that may be required, depending on the specific project:
1. **Foundation Materials:**
– Concrete (ready-mix or bags)
– Rebar or steel reinforcement
– Gravel or crushed stone
– Formwork (wood or metal)
2. **Structural Materials:**
– Lumber (various sizes and types)
– Steel beams or columns
– Plywood or oriented strand board (OSB)
– Fasteners (nails, screws, bolts)
3. **Roofing Materials:**
– Roofing shingles or tiles
– Underlayment (felt or synthetic)
– Flashing
– Roof vents
8. **Electrical Materials:**
– Wiring (copper or aluminum)
– Circuit breakers and panels
– Outlets and switches
– Light fixtures
9. **HVAC Materials:**
– Ductwork
– Heating and cooling units
– Thermostats
10. **Safety Equipment:**
– Personal protective equipment (PPE) such as helmets, gloves, and goggles
– First aid kit
– Fire extinguisher
11. **Tools and Equipment:**
– Hand tools (hammers, saws, drills)
– Power tools (saws, nail guns, sanders)
– Ladders and scaffolding
– Measuring tools (tape measure, level)
It is advisable to review the project plans and specifications to ensure that all required materials are accounted for and to consult with professionals as needed. Proper planning and organization will contribute to the overall success of the building project.