Discover step-by-step tips to design a custom base for your LEGO 42096, enhancing stability and creativity for your unique builds. Get inspired today!
Designing a custom base for your LEGO 42096 (the LEGO Technic Porsche 911 RSR) can enhance its display and functionality. Here’s a step-by-step guide to help you create a custom base:
### Step 1: Gather Materials
– **Base Plate**: Choose a sturdy base plate (e.g., LEGO base plates or a wooden board) that can support the weight of the model.
– **LEGO Bricks**: Collect various LEGO bricks for building the structure of the base.
– **Accessories**: Consider adding elements like lights, signage, or display stands.
### Step 2: Plan the Design
– **Dimensions**: Measure the dimensions of the LEGO 42096 to determine the size of your base. Ensure there’s enough space for the model and any additional features.
– **Theme**: Decide on a theme for your base. It could be a racetrack, a garage, or a showroom.
– **Layout**: Sketch a layout of how you want the model to be positioned on the base. Consider angles and orientation for the best visual impact.
### Step 3: Build the Base Structure
– **Foundation**: Start with a solid foundation using a large base plate or wooden board. If using LEGO base plates, connect them securely.
– **Elevation**: If you want to create elevation (like a ramp or platform), use bricks to build up sections of the base.
– **Stability**: Ensure the base is stable enough to hold the weight of the model without wobbling.
### Step 4: Add Details
– **Road or Track**: If you’re creating a racetrack, use black bricks or plates to simulate asphalt. Add white lines for lanes.
– **Garage Elements**: For a garage theme, build walls, a roof, and add tools or car parts using smaller LEGO pieces.
– **Landscaping**: Incorporate greenery, trees, or other landscaping elements to enhance the visual appeal.
### Step 5: Secure the Model
– **Mounting**: Consider using LEGO bricks to create a secure mounting point for the Porsche. You can build a small platform or use Technic pieces to attach the model firmly.
– **Display Stand**: If you want to elevate the model, create a display stand using bricks that can hold the car at an angle.
### Step 6: Final Touches
– **Lighting**: If desired, add LED lights to highlight the model or the base.
– **Signage**: Create custom signs or logos to personalize your display.
– **Finishing**: Ensure all pieces are securely attached and that the base looks polished.
### Step 7: Display Your Creation
– Find a suitable location to display your custom base and the LEGO 42096. Ensure it’s in a place where it can be admired and is safe from accidental damage.
### Tips:
– **Experiment**: Don’t be afraid to try different designs and layouts. LEGO is all about creativity!
– **Documentation**: Take photos of your build process and the final product to share with the LEGO community.
– **Feedback**: Share your design with friends or online communities for feedback and suggestions.
By following these steps, you can create a unique and visually appealing base for your LEGO 42096 that showcases your creativity and enhances the overall display of the model. Enjoy building!
Designing a custom base for your LEGO 42096 (the Porsche 911 RSR) can enhance its display and functionality. Here’s a step-by-step guide to help you create a custom base:
### Step-by-Step Guide to Designing a Custom Base for LEGO 42096 (Porsche 911 RSR)
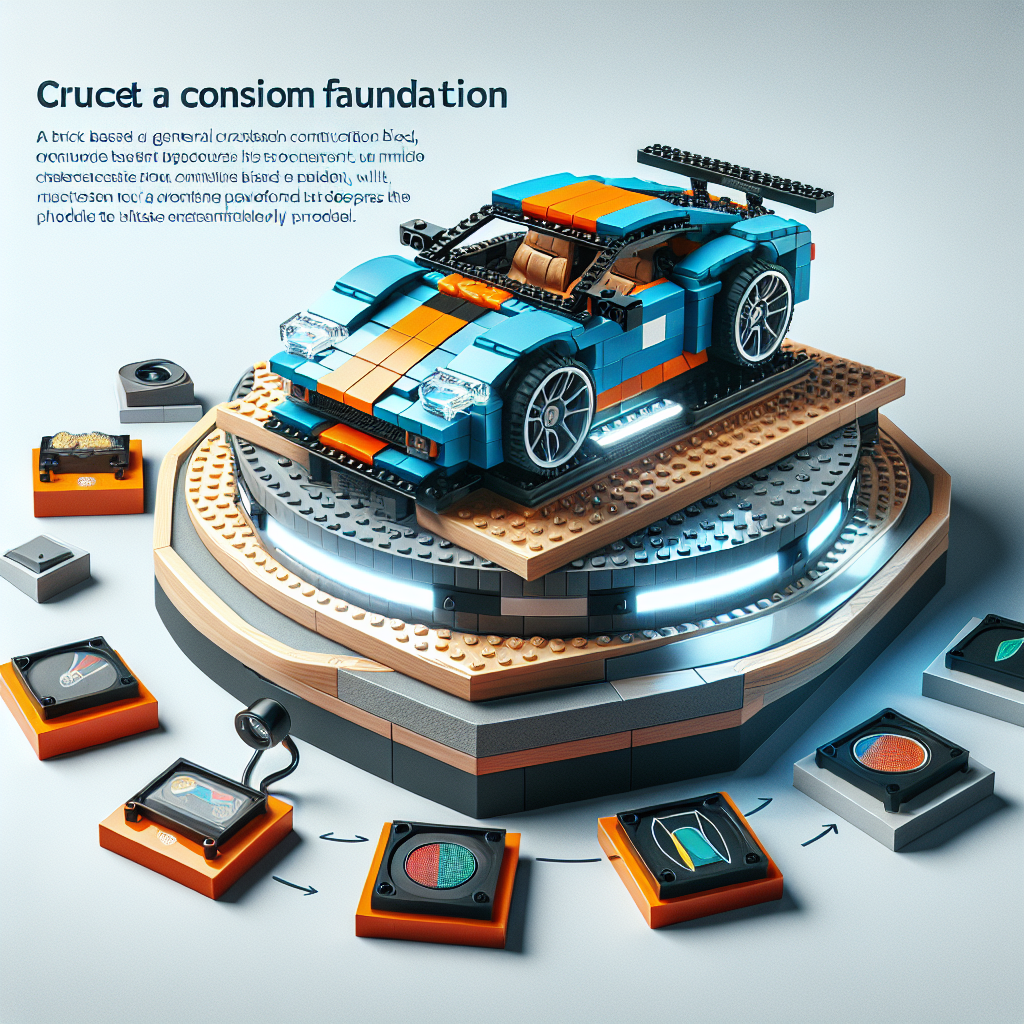
Creating a custom base for your LEGO 42096 Porsche 911 RSR can significantly enhance its display and functionality. This guide will provide you with a structured approach to designing and building a custom base that complements your model.
#### Materials Needed:
1. **Baseplate**: Choose a sturdy baseplate that fits the dimensions of your model. A 32×32 or 48×48 stud baseplate is recommended.
2. **LEGO Bricks**: Various bricks for building the structure of the base, including plates, bricks, and tiles.
3. **Accessories**: Optional elements such as road tiles, trees, or signage to enhance the display.
4. **Tools**: A LEGO brick separator and a flat surface for assembly.
#### Step 1: Planning the Design
– **Determine Dimensions**: Measure the footprint of the Porsche 911 RSR to ensure the baseplate accommodates the model comfortably.
– **Conceptualize Layout**: Sketch a rough layout of the base, considering additional features like parking spaces, display stands, or scenery.
#### Step 2: Selecting the Baseplate
– **Choose a Color**: Select a baseplate color that complements the Porsche’s color scheme. Common choices include gray, black, or green for a more natural look.
– **Stability**: Ensure the baseplate is thick enough to support the weight of the model and any additional features.
#### Step 3: Building the Base Structure
– **Foundation**: Start by laying down the baseplate. This will serve as the foundation for your custom base.
– **Perimeter Walls**: If desired, build low walls around the perimeter using bricks to create a defined area for the model.
– **Surface Texture**: Use tiles to create a smooth surface for the car to rest on, simulating a road or parking lot.
#### Step 4: Adding Functional Features
– **Display Stand**: Consider incorporating a display stand or pedestal for the model to elevate it and provide a better viewing angle.
– **Lighting**: If desired, integrate LED lights into the base to highlight the model, especially for evening displays.
– **Storage**: Design compartments or shelves within the base for storing extra LEGO pieces or accessories related to the Porsche.
#### Step 5: Enhancing Aesthetics
– **Scenery Elements**: Add trees, bushes, or other landscaping elements to create a more dynamic display.
– **Road Markings**: Use stickers or printed tiles to create road markings or signage that enhances the realism of the display.
– **Custom Signage**: Create a custom sign that features the name of the model or a logo to personalize the display.
#### Step 6: Final Assembly
– **Secure the Model**: Once the base is complete, securely attach the Porsche 911 RSR to the base using LEGO bricks or adhesive putty if necessary.
– **Check Stability**: Ensure that the entire assembly is stable and that the model is well-supported.
#### Step 7: Displaying Your Creation
– **Choose a Location**: Select a prominent location for your custom base that allows for optimal viewing.
– **Protect from Dust**: Consider using a display case or cover to protect your model from dust and damage.
### Conclusion
By following these steps, you can create a custom base for your LEGO 42096 Porsche 911 RSR that not only enhances its display but also adds functionality and personal flair. Enjoy the process of designing and building, and take pride in showcasing your unique creation!
### Materials Needed:
It seems like your request is incomplete. Could you please provide more context or specify what materials you need? For example, are you looking for materials for a specific project, event, or purpose? This will help me assist you better.
**Base Plate**: Choose a sturdy base plate (e.g., LEGO base plates or a wooden board)
**Base Plate Selection**: It is advisable to select a robust base plate for your project. Suitable options include high-quality LEGO base plates or a durable wooden board. These materials provide a stable foundation, ensuring the integrity and longevity of the construction.