Learn how to create a stunning time-lapse video of your LEGO 42096 build with our step-by-step guide. Capture every moment of your construction!
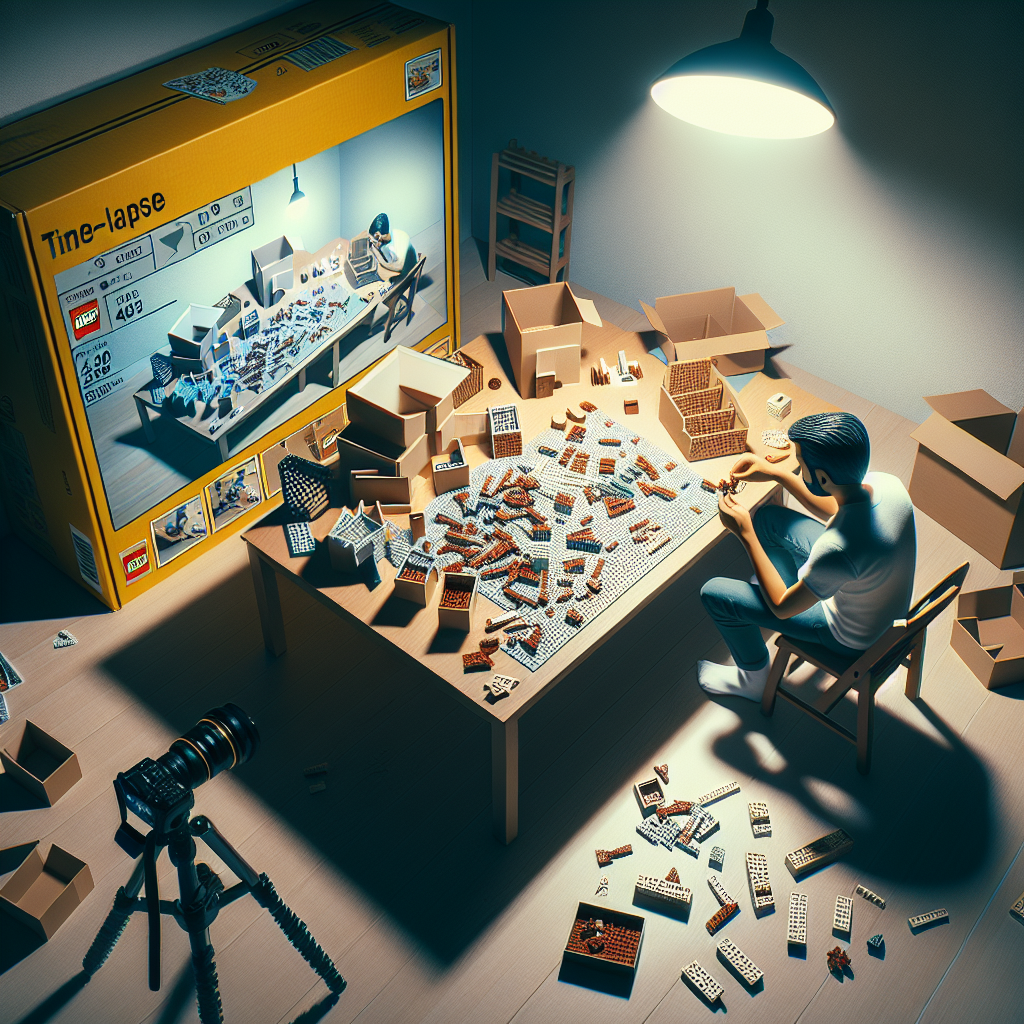
Creating a time-lapse video of your LEGO 42096 build can be a fun and rewarding project! Here’s a step-by-step guide to help you capture the entire building process and turn it into an engaging video.
### Equipment Needed:
1. **Camera or Smartphone**: A camera with time-lapse capabilities or a smartphone with a time-lapse app.
2. **Tripod or Stable Surface**: To keep your camera steady during the build.
3. **Lighting**: Good lighting is essential for clear video quality. Use natural light or additional lamps.
4. **LEGO 42096 Set**: Make sure you have your LEGO set ready to build.
### Steps to Create Your Time-Lapse Video:
#### 1. **Set Up Your Workspace**
– Choose a clean, well-lit area to build your LEGO set.
– Make sure the background is uncluttered to keep the focus on the build.
#### 2. **Prepare Your Camera**
– **Position the Camera**: Set up your camera or smartphone on a tripod or stable surface facing your building area. Ensure it captures the entire workspace.
– **Check the Angle**: Make sure the camera angle allows for a clear view of the building process.
– **Adjust Settings**: If using a camera, set it to time-lapse mode. If using a smartphone, open the time-lapse feature in the camera app or download a time-lapse app.
#### 3. **Lighting**
– Ensure your workspace is well-lit. If using artificial lights, position them to avoid shadows on the build area.
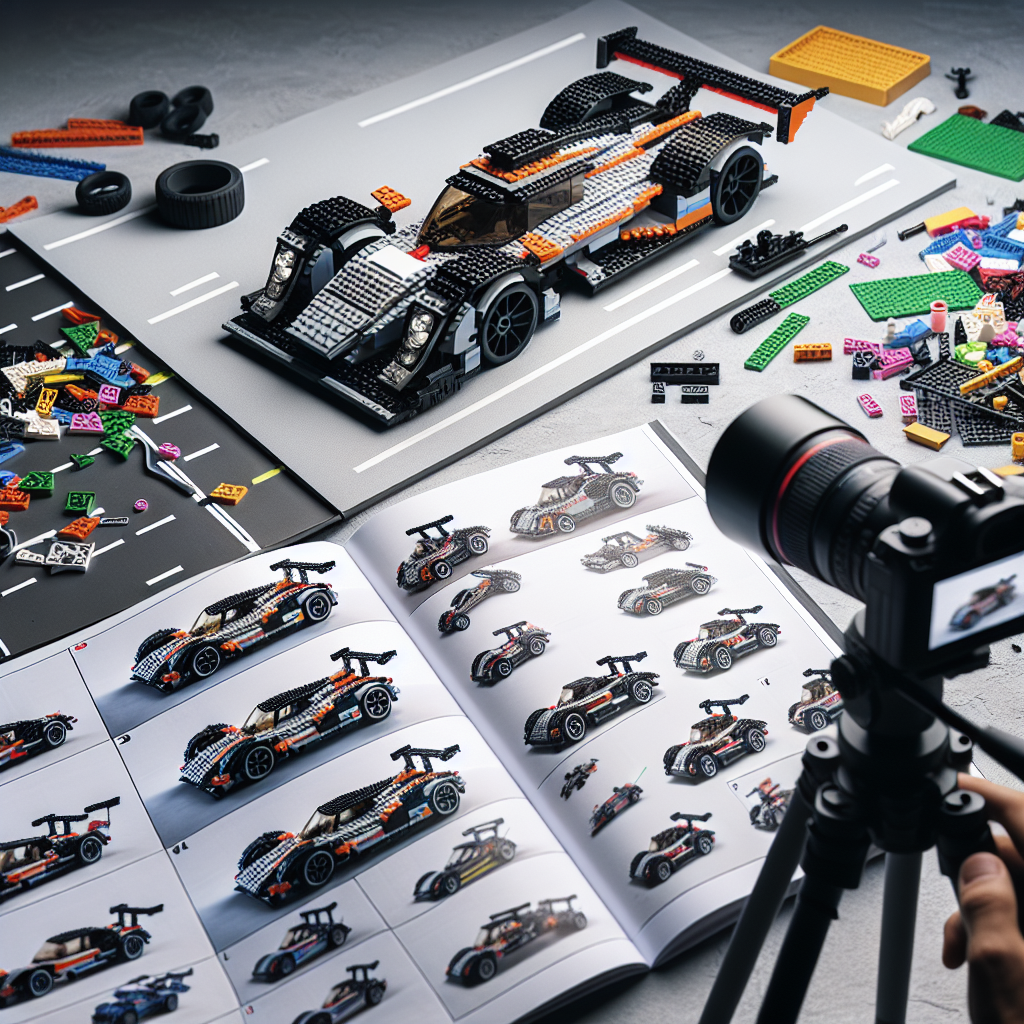
#### 4. **Start Building**
– Begin building your LEGO 42096 set. As you build, the camera will capture the process in intervals, creating a time-lapse effect.
– Try to keep your hands and movements within the frame for a more engaging video.
#### 5. **Monitor the Build**
– Occasionally check the camera to ensure it’s still recording and that the frame hasn’t shifted.
– If you’re using a smartphone, make sure it has enough battery life and storage space.
#### 6. **Editing the Video**
– Once you’ve completed the build, stop the recording.
– Transfer the footage to your computer or use a video editing app on your smartphone.
– Use video editing software (like iMovie, Adobe Premiere Pro, or any other editing tool) to trim the video, adjust the speed, and add music or captions if desired.
#### 7. **Add Music and Effects (Optional)**
– Consider adding background music to enhance the viewing experience. Make sure to use royalty-free music or music you have the rights to use.
– You can also add text overlays to highlight specific features of the LEGO set or your building process.
#### 8. **Export and Share**
– Once you’re satisfied with your edited video, export it in a suitable format (like MP4).
– Share your time-lapse video on social media platforms, YouTube, or with friends and family.
### Tips for a Great Time-Lapse Video:
– **Keep it Steady**: A stable camera will make your video look more professional.
– **Use a Consistent Speed**: If your editing software allows, maintain a consistent speed throughout the video for a smoother viewing experience.
– **Engage Your Audience**: Consider adding commentary or captions to explain interesting parts of the build.
By following these steps, you’ll be able to create an engaging time-lapse video of your LEGO 42096 build that showcases your creativity and building skills! Enjoy the process!
Creating a time-lapse video of your LEGO 42096 build can be a fun and rewarding project! Here’s a step-by-step guide to help you capture the entire building process:
Creating a time-lapse video of your LEGO 42096 build can be an enjoyable and fulfilling endeavor. Below is a formal step-by-step guide to assist you in capturing the entire building process effectively:
### Step 1: Gather Your Materials
– **LEGO Set**: Ensure you have the LEGO 42096 set ready for assembly.
– **Camera**: Use a smartphone, DSLR, or any camera capable of taking high-quality images or video.
– **Tripod**: A stable tripod will help maintain a consistent angle and framing throughout the build.
– **Lighting**: Ensure adequate lighting to enhance visibility and video quality. Natural light or softbox lights can be effective.
– **Time-Lapse Software**: Consider using software or apps that can compile images into a time-lapse video (e.g., iMovie, Adobe Premiere Pro, or dedicated time-lapse apps).
### Step 2: Set Up Your Workspace
– **Choose a Location**: Select a clean, well-lit area with enough space to accommodate the build and camera setup.
– **Position the Camera**: Set up your camera on the tripod at a fixed angle that captures the entire building area. Ensure the LEGO set is in the frame and that the camera is stable.
### Step 3: Prepare for Filming
– **Check Camera Settings**: Adjust the camera settings for optimal quality. If using a smartphone, ensure it is set to the highest resolution.
– **Select Time-Lapse Mode**: If your camera has a time-lapse mode, configure it according to your desired interval (e.g., one frame every few seconds).
– **Manual Focus**: If possible, set the focus manually to prevent the camera from refocusing during the build.
### Step 4: Begin the Build
– **Start Recording**: Begin the time-lapse recording or take your first photo. Ensure you capture the entire building process from start to finish.
– **Build in Stages**: Consider breaking the build into stages (e.g., completing each bag of pieces) to make the editing process easier later on.
### Step 5: Monitor the Process
– **Check Progress**: Periodically check the camera to ensure it is functioning correctly and that the framing remains consistent.
– **Adjust Lighting**: If necessary, adjust the lighting to maintain consistent brightness throughout the build.
### Step 6: Compile the Time-Lapse Video
– **Transfer Files**: Once the build is complete, transfer the images or video files to your computer.
– **Edit the Video**: Use your chosen software to compile the images or video clips into a cohesive time-lapse. Adjust the speed, add transitions, and consider including background music or narration for added engagement.
### Step 7: Finalize and Share
– **Export the Video**: Once you are satisfied with the editing, export the final video in a suitable format (e.g., MP4).
– **Share Your Creation**: Upload your time-lapse video to social media platforms, YouTube, or share it with friends and fellow LEGO enthusiasts.
### Conclusion
By following these steps, you can successfully create a captivating time-lapse video of your LEGO 42096 build. Enjoy the process and the satisfaction of showcasing your creativity and dedication to the LEGO community!
### Equipment Needed:
To provide a comprehensive list of equipment needed, it would be helpful to know the specific context or activity you are referring to. However, here is a general list of equipment that might be needed for formal events or occasions:
### Equipment Needed for Formal Events
1. **Attire:**
– Formal suits or tuxedos
– Dress shirts
– Ties or bow ties
– Formal shoes
– Evening gowns or cocktail dresses
– Accessories (cufflinks, jewelry, etc.)
2. **Audio/Visual Equipment:**
– Microphones (wired or wireless)
– Speakers
– Projectors and screens
– Lighting equipment
– Cables and connectors
3. **Seating Arrangements:**
– Tables (round or rectangular)
– Chairs (with or without covers)
– Tablecloths and napkins
– Centerpieces
If you have a specific type of formal event in mind (e.g., wedding, corporate gala, formal dinner), please provide more details for a tailored list.
**Camera or Smartphone**: A camera with time-lapse capabilities or a smartphone with a time-lapse app
When considering the choice between a dedicated camera with time-lapse capabilities and a smartphone equipped with a time-lapse application, several factors warrant careful evaluation.
**Camera with Time-Lapse Capabilities**:
A dedicated camera designed for time-lapse photography typically offers superior image quality, greater control over settings, and enhanced durability. These cameras often feature larger sensors, which can capture more light and detail, resulting in higher-resolution images. Additionally, they provide advanced manual controls, allowing for precise adjustments to exposure, focus, and frame rate. This level of control is particularly beneficial in varying lighting conditions or when capturing intricate details over extended periods. Furthermore, dedicated cameras are generally built to withstand harsher environments, making them suitable for outdoor or long-duration shoots.
**Smartphone with Time-Lapse App**:
Conversely, a smartphone equipped with a time-lapse application offers unparalleled convenience and accessibility. Smartphones are typically lightweight, portable, and user-friendly, making them ideal for casual users or those who require a quick and efficient solution. Many modern smartphones come with advanced camera technology that can produce impressive results, particularly in well-lit conditions. The integration of time-lapse features within a smartphone app allows for immediate editing and sharing capabilities, facilitating a seamless workflow for users who prioritize speed and ease of use.
**Conclusion**:
Ultimately, the decision between a camera with time-lapse capabilities and a smartphone with a time-lapse app hinges on the specific needs and preferences of the user. For those seeking high-quality results and greater creative control, a dedicated camera may be the preferable option. Conversely, for individuals prioritizing convenience and ease of use, a smartphone may suffice. Each option presents distinct advantages, and the choice should align with the intended application and desired outcomes.