Discover step-by-step instructions to create an amazing LEGO car diorama! Unleash your creativity and build a vibrant scene with your favorite vehicles.
Creating a LEGO car diorama can be a fun and creative project! Here’s a step-by-step guide to help you build your own LEGO car diorama:
### Step 1: Gather Your Materials
– **LEGO Bricks**: Collect a variety of LEGO bricks, including baseplates, bricks for the ground, and any decorative elements.
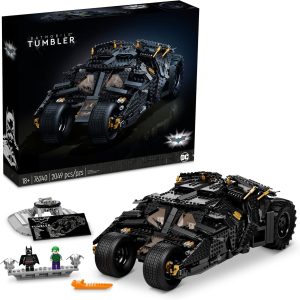
– **LEGO Cars**: Choose the cars you want to include in your diorama.
– **Baseplate**: A large baseplate to serve as the foundation of your diorama.
– **Accessories**: Trees, buildings, road signs, minifigures, and any other elements you want to include.
– **Tools**: Optional tools like a brick separator for easier assembly.
### Step 2: Plan Your Layout
– **Theme**: Decide on a theme for your diorama (e.g., city street, race track, countryside).
– **Sketch**: Draw a rough sketch of your layout, including where the cars will be placed and any other elements you want to include.
– **Scale**: Consider the scale of your cars and how they will fit with other elements in the diorama.
### Step 3: Build the Base
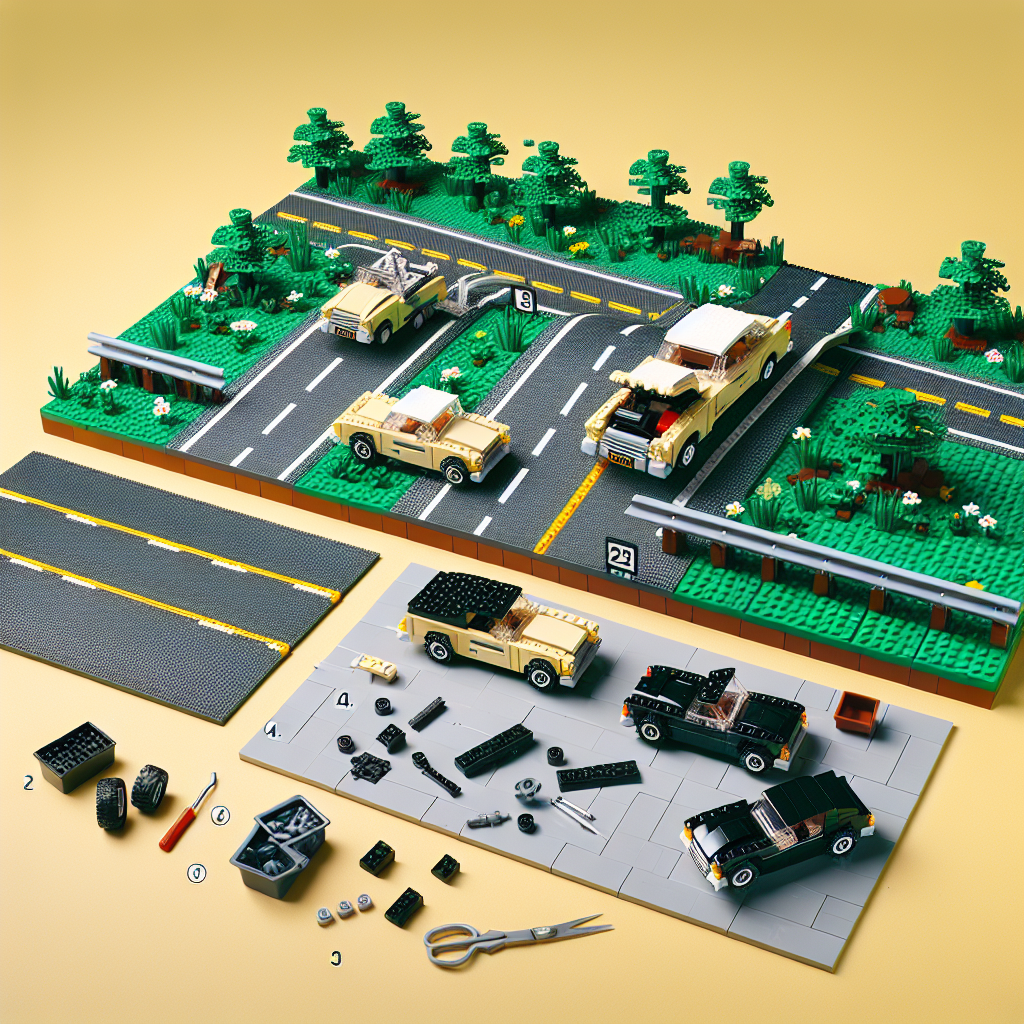
– **Baseplate**: Start with your baseplate. This will be the foundation of your diorama.
– **Ground Layer**: Use bricks to create the ground. You can use green bricks for grass, gray for roads, or brown for dirt paths.
– **Roads**: If you’re creating a street scene, build roads using flat bricks or plates. You can also use printed road plates if you have them.
### Step 4: Add Structures and Details
– **Buildings**: Construct buildings or use pre-made LEGO sets to add to your diorama. Position them along the roads or in the background.
– **Landscaping**: Add trees, bushes, and other landscaping elements to make the scene more vibrant.
– **Accessories**: Include road signs, traffic lights, and other accessories to enhance realism.
### Step 5: Position Your Cars
– **Placement**: Decide where to place your LEGO cars. You can have them parked, driving, or in a race.
– **Minifigures**: Add minifigures to interact with the cars (e.g., drivers, pedestrians).
### Step 6: Final Touches
– **Details**: Add small details like streetlights, benches, or animals to bring your diorama to life.
– **Check Stability**: Ensure everything is stable and secure. Adjust any pieces that may be loose.
### Step 7: Display Your Diorama
– **Location**: Choose a suitable location to display your diorama, such as a shelf or table.
– **Lighting**: Consider adding lighting to highlight your diorama, especially if it’s going to be displayed in a dim area.
### Step 8: Take Photos
– **Capture Your Work**: Once your diorama is complete, take photos from different angles to showcase your creation.
### Tips:
– **Experiment**: Don’t be afraid to rearrange elements until you’re satisfied with the layout.
– **Inspiration**: Look for inspiration online or in LEGO books to see how others have created their dioramas.
– **Have Fun**: Enjoy the process and let your creativity shine!
With these steps, you should be well on your way to creating an impressive LEGO car diorama. Happy building!
Creating a LEGO car diorama can be a fun and creative project! Here’s a step-by-step guide to help you build your own LEGO car diorama:
Creating a LEGO car diorama can be an enjoyable and imaginative endeavor. Below is a structured step-by-step guide to assist you in constructing your own LEGO car diorama:
### Step 1: Conceptualization
1. **Theme Selection**: Determine the theme of your diorama. Options may include a cityscape, a racetrack, a countryside scene, or a garage setting.
2. **Sketch Your Design**: Create a rough sketch of your diorama layout, including the placement of the car, background elements, and any additional features such as trees, buildings, or roads.
### Step 2: Gathering Materials
1. **LEGO Bricks**: Collect a variety of LEGO bricks in different shapes, sizes, and colors that will suit your chosen theme.
2. **Baseplate**: Acquire a suitable baseplate to serve as the foundation for your diorama. The size will depend on your design.
3. **Accessories**: Consider additional elements such as minifigures, vehicles, trees, and other decorative items to enhance the scene.
### Step 3: Building the Base
1. **Attach the Baseplate**: Secure your baseplate to a stable surface to prevent movement during construction.
2. **Create the Ground**: Use flat LEGO pieces to create the ground surface. This could represent asphalt, grass, or any other terrain relevant to your theme.
### Step 4: Constructing the Environment
1. **Add Roads and Pathways**: Use dark-colored bricks or printed road plates to create roads. Ensure they are appropriately sized for your LEGO car.
2. **Incorporate Background Elements**: Build structures such as buildings, trees, or fences that complement your theme. Pay attention to scale and proportion.
3. **Detailing**: Add smaller details like streetlights, traffic signs, or benches to bring your diorama to life.
### Step 5: Positioning the Car
1. **Select Your Vehicle**: Choose a LEGO car that fits your theme. This could be a sports car, a classic car, or any other model you prefer.
2. **Placement**: Position the car within the diorama, ensuring it is prominently displayed and interacts well with the surrounding elements.
### Step 6: Final Touches
1. **Minifigures**: Add minifigures to create a narrative within your diorama. Consider their placement to enhance the story you wish to convey.
2. **Lighting**: If desired, incorporate LED lights to illuminate your diorama, especially if it will be displayed in a dimly lit area.
3. **Review and Adjust**: Step back and assess your diorama. Make any necessary adjustments to improve the overall composition and aesthetics.
### Step 7: Displaying Your Diorama
1. **Choose a Display Location**: Find a suitable place to showcase your diorama, ensuring it is visible and protected from potential damage.
2. **Share Your Creation**: Consider sharing your completed diorama with friends, family, or online LEGO communities to inspire others and receive feedback.
By following these steps, you will be able to create a captivating LEGO car diorama that reflects your creativity and passion for building. Enjoy the process and have fun with your project!
### Step 1: Gather Your Materials
### Step 1: Gather Your Materials
To ensure a successful and efficient process, it is essential to collect all necessary materials prior to commencing your project or task. This preparation will facilitate a smoother workflow and minimize interruptions. Below is a comprehensive list of items you may need to consider:
1. **Documentation**:
– Project guidelines or specifications
– Relevant research materials or references
– Any necessary forms or templates
2. **Tools and Equipment**:
– Specific tools required for the task (e.g., software, hardware, or manual tools)
– Safety equipment, if applicable (e.g., gloves, goggles)
3. **Supplies**:
– Consumables such as paper, ink, or other materials pertinent to the task
– Organizational supplies (e.g., folders, binders, or storage containers)
4. **Technology**:
– Computer or device with necessary software installed
– Internet access for research or communication purposes
5. **Workspace**:
– A clean and organized area conducive to productivity
– Adequate lighting and ergonomic considerations
6. **Support Resources**:
– Contact information for team members or stakeholders
– Access to technical support or customer service, if needed
By systematically gathering these materials, you will be well-prepared to proceed with your project, ensuring that you have everything at your disposal to achieve your objectives efficiently.
– **LEGO Bricks**: Collect a variety of LEGO bricks, including baseplates, bricks for the ground, and any decorative elements
To successfully embark on a LEGO building project, it is essential to gather a diverse assortment of LEGO bricks. This collection should include:
1. **Baseplates**: These foundational elements provide a stable surface for your construction and are crucial for establishing the overall structure of your build.
2. **Bricks for the Ground**: Select a variety of bricks that can be used to create the terrain or ground level of your project. This may include flat pieces for pathways, textured bricks for natural landscapes, and colored bricks to represent different types of ground cover.
3. **Decorative Elements**: Enhance the aesthetic appeal of your build by incorporating decorative elements. This may include minifigures, plants, vehicles, and other accessories that contribute to the overall theme and narrative of your creation.
By assembling a comprehensive collection of these components, you will be well-prepared to execute your LEGO building vision with creativity and precision.