Transform your LEGO 42096 into an exciting remote-control car with our step-by-step guide. Unleash creativity and fun with this DIY project!
Converting LEGO set 42096 (the Porsche 911 RSR) into a remote-controlled car can be a fun and rewarding project. Here’s a step-by-step guide to help you through the process:
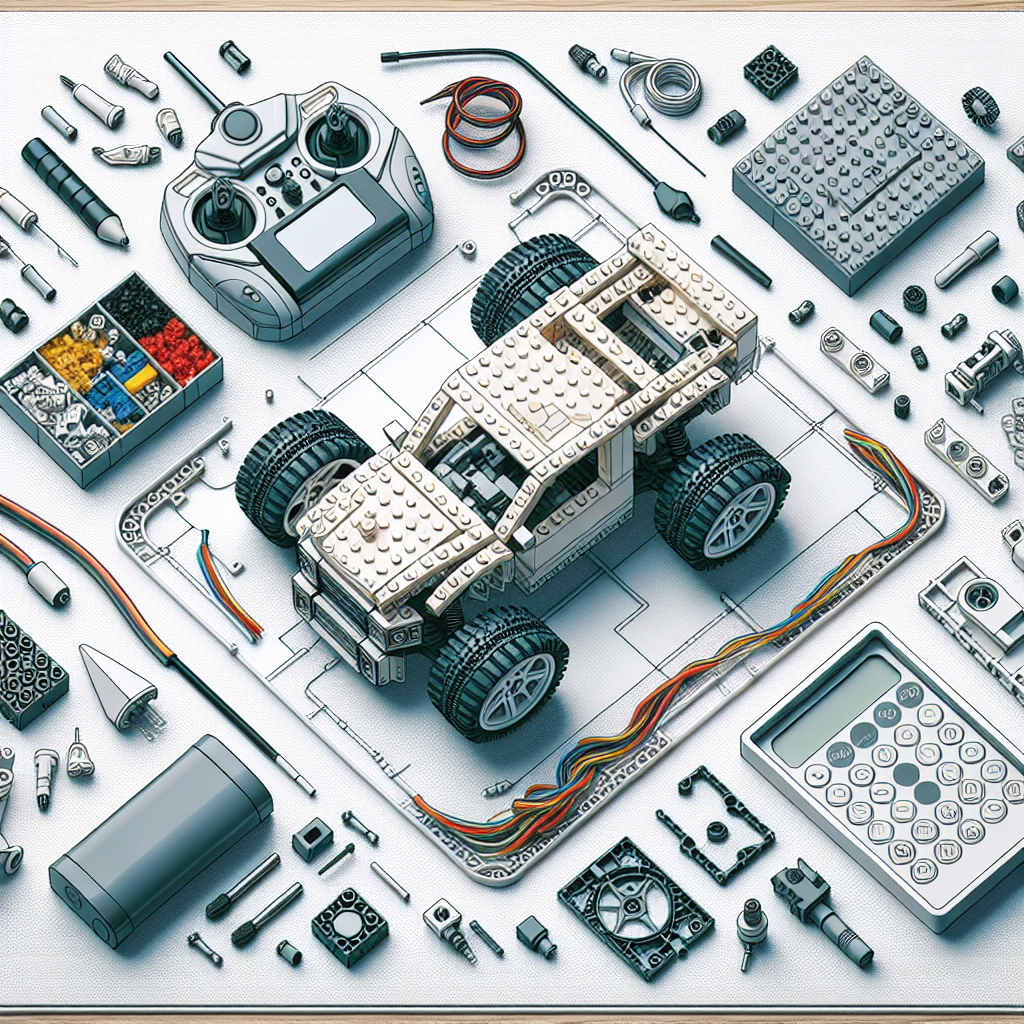
### Materials Needed:
1. **LEGO 42096 Set**: Ensure you have the complete set.
2. **LEGO Power Functions or Powered Up Components**: You will need:
– **Motor**: A LEGO motor (like the L-Motor or XL-Motor).
– **Battery Box**: A battery pack to power the motor.
– **Remote Control**: Either a LEGO Power Functions remote or a Powered Up hub with a compatible app.
3. **Additional LEGO Bricks**: You may need extra bricks to create a stable mounting for the motor and battery.
4. **Tools**: A small screwdriver (if needed for battery box) and possibly a LEGO brick separator.
### Steps to Convert LEGO 42096 into a Remote-Control Car:
#### Step 1: Disassemble the Car
– Carefully take apart the Porsche 911 RSR model. Keep track of all pieces, as you may need some for the new design.
#### Step 2: Plan the Motor Placement
– Decide where to place the motor. The most common placement is at the rear of the car, where the engine would be. Ensure that the motor can connect to the rear axle.
#### Step 3: Modify the Chassis
– Reinforce the chassis to accommodate the motor and battery pack. You may need to build a small platform or use existing LEGO pieces to create a stable base for the motor.
#### Step 4: Install the Motor
– Attach the motor to the chassis. Make sure it is securely fastened and aligned with the rear axle. You may need to use gears to connect the motor to the wheels, depending on the motor’s position.
#### Step 5: Connect the Battery Box
– Place the battery box in a location that does not interfere with the car’s aesthetics or functionality. Ensure it is easily accessible for battery changes.
#### Step 6: Wiring
– Connect the motor to the battery box and the remote control receiver. If you are using LEGO Power Functions, follow the wiring instructions provided with the components. For Powered Up, use the app to connect and control the motor.
#### Step 7: Test the Setup
– Before fully reassembling the car, test the motor and remote control to ensure everything is working correctly. Make adjustments as necessary.
#### Step 8: Reassemble the Car
– Once you are satisfied with the motor and battery placement, reassemble the car. Make sure all parts fit well and that the car looks as close to the original as possible.
#### Step 9: Final Adjustments
– Make any final adjustments to the design for better performance or aesthetics. You may want to add additional features like lights or a more detailed interior.
#### Step 10: Enjoy Your Remote-Controlled LEGO Car
– Once everything is in place, take your new remote-controlled LEGO Porsche 911 RSR for a test drive!
### Tips:
– Be creative with the design; you can customize the car further with additional LEGO pieces.
– If you have access to LEGO Digital Designer or similar software, you can plan your modifications digitally before building.
– Consider weight distribution to ensure the car handles well.
By following these steps, you should be able to successfully convert your LEGO 42096 set into a remote-controlled car. Enjoy your building and driving experience!
Converting the LEGO 42096 (the Porsche 911 RSR) into a remote-controlled car can be a fun and rewarding project. Here’s a step-by-step guide to help you through the process:
Converting the LEGO 42096 Porsche 911 RSR into a remote-controlled car can be an engaging and fulfilling project. Below is a structured step-by-step guide to assist you in this endeavor.
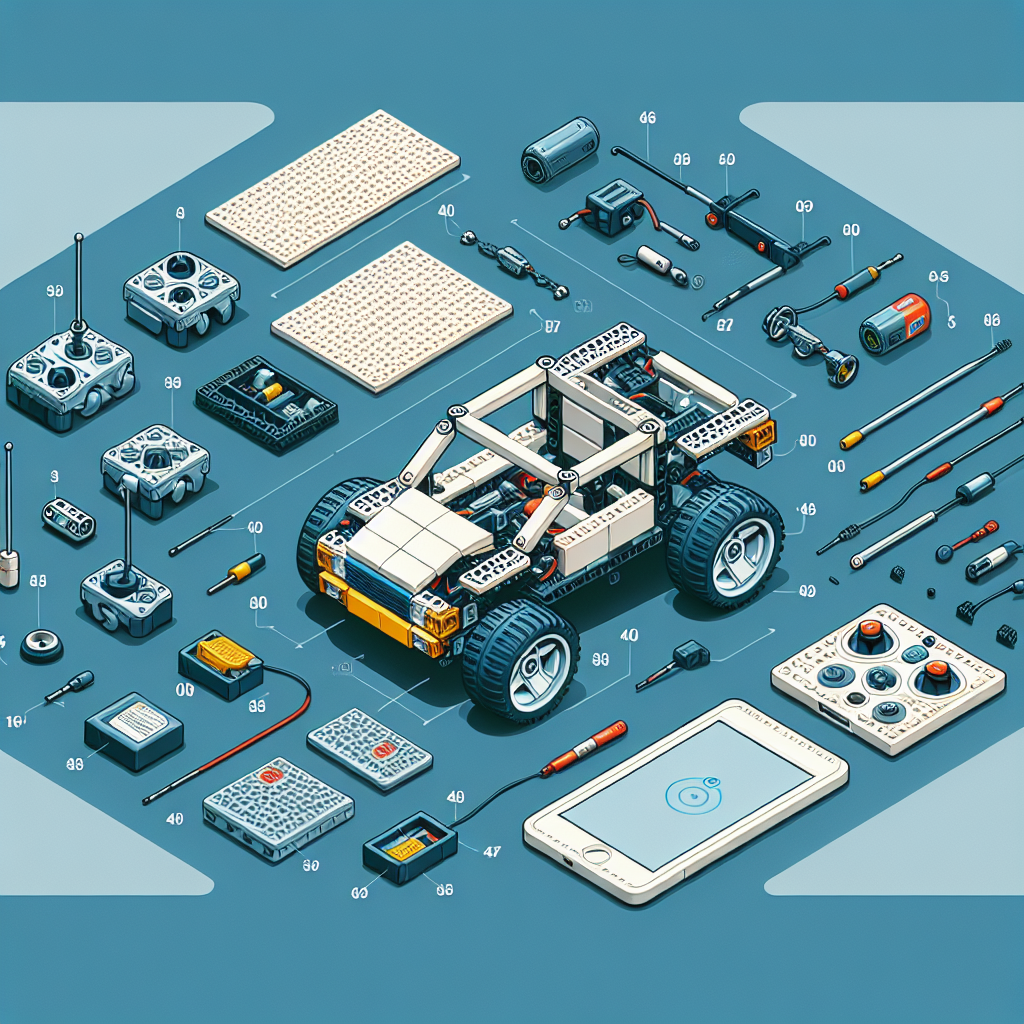
### Step 1: Gather Materials
Before you begin, ensure you have the following materials:
– LEGO 42096 Porsche 911 RSR set
– LEGO Power Functions or LEGO Powered Up components (motor, battery box, receiver)
– Additional LEGO pieces for modifications (if necessary)
– Remote control (compatible with your chosen motor system)
– Tools (if needed, such as a screwdriver for battery compartments)
### Step 2: Disassemble the Model
1. **Carefully Disassemble**: Begin by gently disassembling the Porsche 911 RSR model. Take care to keep track of all pieces, as you will need them for the conversion.
2. **Document the Assembly**: It may be helpful to take photos of the original assembly to reference later.
### Step 3: Plan the Conversion
1. **Identify Motor Placement**: Determine where to place the motor(s) within the chassis. The LEGO Power Functions L-Motor or XL-Motor is typically used for driving.
2. **Consider Steering Mechanism**: If you wish to have remote-controlled steering, plan for the placement of a servo motor or a compatible steering mechanism.
### Step 4: Modify the Chassis
1. **Reinforce the Structure**: Depending on the motor placement, you may need to reinforce the chassis to accommodate the additional weight and stress.
2. **Create Mounting Points**: Use LEGO bricks to create secure mounting points for the motor and any additional components.
### Step 5: Install the Motor and Electronics
1. **Attach the Motor**: Secure the motor in the designated area using LEGO bricks. Ensure it is firmly in place to prevent movement during operation.
2. **Connect the Receiver**: Install the receiver unit in a location that allows for easy access to the battery and control functions.
3. **Wire the Components**: Connect the motor and receiver according to the instructions provided with your LEGO Power Functions or Powered Up system.
### Step 6: Reassemble the Model
1. **Rebuild the Body**: Carefully reassemble the body of the Porsche 911 RSR around the newly installed components. Ensure that all parts fit together without obstruction.
2. **Test Fit**: Before finalizing the assembly, test the fit of the body to ensure that the motor and electronics do not interfere with the aesthetics or functionality of the model.
### Step 7: Test the Remote Control Functionality
1. **Power On**: Insert batteries into the battery box and power on the system.
2. **Test Movement**: Use the remote control to test the forward, backward, and steering functions. Make any necessary adjustments to improve performance.
3. **Fine-Tune**: If needed, adjust the motor placement or steering mechanism for optimal performance.
### Step 8: Final Adjustments and Customization
1. **Make Adjustments**: Based on your testing, make any final adjustments to improve handling, speed, or responsiveness.
2. **Customize**: Consider adding custom decals or modifications to enhance the appearance of your remote-controlled Porsche 911 RSR.
### Step 9: Enjoy Your Creation
Once you have completed the conversion and are satisfied with the performance, take your remote-controlled LEGO Porsche 911 RSR for a test drive. Enjoy the fruits of your labor and consider sharing your project with fellow LEGO enthusiasts.
### Conclusion
Converting the LEGO 42096 Porsche 911 RSR into a remote-controlled car is a rewarding project that combines creativity with engineering. By following these steps, you can create a unique and functional model that enhances your LEGO experience. Happy building!
### Materials Needed:
It seems like your request is incomplete. Could you please provide more context or specify what materials you need? For example, are you looking for materials for a specific project, event, or topic? This will help me assist you better.
**LEGO 42096 Set**: Ensure you have the complete set
To ensure you have the complete LEGO 42096 set, please follow these steps:
1. **Inventory Check**: Begin by reviewing the official inventory list provided in the instruction manual or on the LEGO website. This list will detail all the individual pieces included in the set.
2. **Piece Count**: Count each type of piece in your collection and compare it against the inventory list. Pay special attention to unique or small pieces that may be easily overlooked.
3. **Instruction Manual**: Ensure you have the complete instruction manual, as it contains essential information for assembly and may also include a parts list.
4. **Packaging**: Verify that you have all original packaging materials, including any bags or boxes that may contain additional pieces.
5. **Online Resources**: If you suspect any pieces are missing, consider checking online marketplaces or LEGO forums where you may be able to purchase individual pieces.
6. **Contact LEGO Support**: If you find that pieces are indeed missing, you can contact LEGO customer service for assistance. They may be able to provide replacement parts.
By following these steps, you can confirm that you have the complete LEGO 42096 set and are ready to enjoy your building experience.