Learn how to host an engaging LEGO 42096 building workshop for kids, fostering creativity and teamwork through fun, hands-on activities!
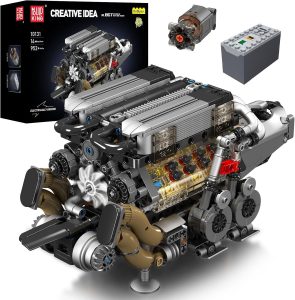
Conducting a LEGO 42096 building workshop for kids can be a fun and educational experience. The LEGO 42096 set, also known as the “Porsche 911 RSR,” is a complex model that can help kids develop their fine motor skills, creativity, and problem-solving abilities. Here’s a step-by-step guide to organizing and conducting the workshop:
### 1. **Preparation**
#### a. Gather Materials
– **LEGO 42096 Set**: Ensure you have enough sets for each child or group of children.
– **Building Instructions**: Print or provide digital access to the building instructions.
– **Tables and Chairs**: Set up a comfortable workspace for the kids.
– **Tools**: If necessary, provide tools for disassembly (like LEGO brick separators).
– **Snacks and Drinks**: Have refreshments available to keep energy levels up.
#### b. Set a Date and Time
– Choose a date and time that works for your target age group, typically after school or on weekends.
#### c. Promote the Workshop
– Use flyers, social media, or community boards to advertise the workshop. Specify the age range, date, time, and any costs involved.
### 2. **Workshop Structure**
#### a. Introduction (15-20 minutes)
– **Welcome**: Greet the kids and introduce yourself.
– **Icebreaker Activity**: Start with a fun icebreaker to help the kids get to know each other.
– **Overview of LEGO**: Briefly explain the history of LEGO and the specific set they will be building.
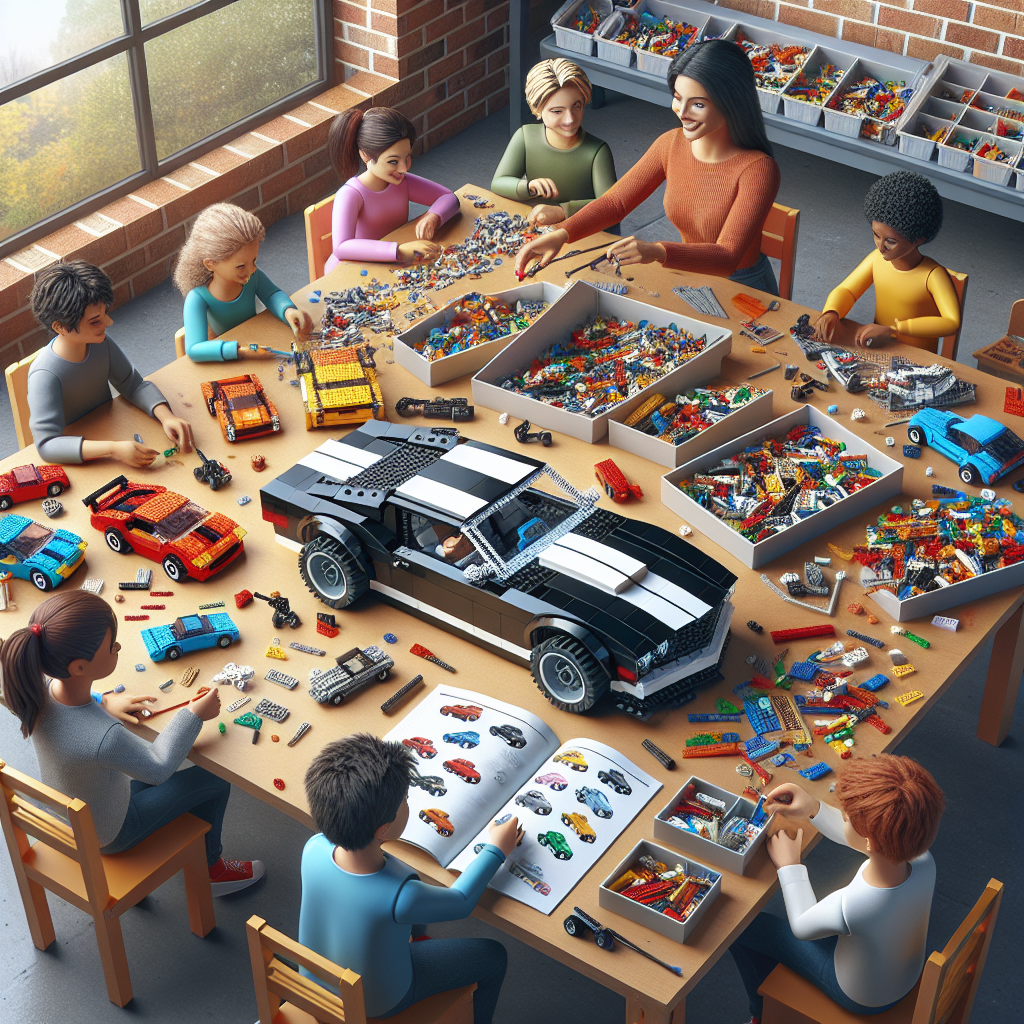
#### b. Building Session (1.5-2 hours)
– **Divide into Groups**: If you have a large number of kids, consider dividing them into smaller groups.
– **Distribute Sets**: Hand out the LEGO sets and instructions.
– **Building Guidelines**: Explain the building process, emphasizing teamwork and communication.
– **Encourage Creativity**: While the goal is to build the Porsche, encourage kids to personalize their models with unique colors or modifications.
#### c. Supervision and Assistance
– **Facilitate**: Walk around to assist with any challenges and encourage collaboration.
– **Safety**: Ensure that kids are using the pieces safely and not putting them in their mouths.
### 3. **Wrap-Up (30 minutes)**
– **Showcase**: Allow each group to present their completed models and share their building experience.
– **Feedback**: Ask the kids what they enjoyed most about the workshop and if they have any suggestions for improvement.
– **Certificates or Prizes**: Consider giving out certificates of participation or small prizes for creativity, teamwork, or other categories.
### 4. **Post-Workshop Activities**
– **Clean Up**: Involve the kids in cleaning up the workspace.
– **Follow-Up**: Send a thank-you email or message to parents, including photos from the workshop and information about future events.
### 5. **Tips for Success**
– **Be Patient**: Kids may need time to understand the building instructions, so be patient and encouraging.
– **Foster Teamwork**: Encourage kids to work together and help each other.
– **Adapt to Skill Levels**: Be prepared to assist younger or less experienced builders more than others.
By following these steps, you can create an engaging and enjoyable LEGO building workshop that fosters creativity and teamwork among kids. Enjoy the building experience!
Conducting a LEGO 42096 building workshop for kids can be a fun and educational experience. The LEGO 42096 set, also known as the NASA Apollo 11 Lunar Lander, is a great choice for a workshop because it combines creativity, engineering, and storytelling. Here’s a step-by-step guide to help you organize and run a successful workshop:
### Step-by-Step Guide to Organizing a LEGO 42096 Building Workshop for Kids
#### 1. **Define Objectives**
– **Educational Goals**: Determine what you want the children to learn, such as basic engineering principles, teamwork, and creativity.
– **Fun Factor**: Ensure the workshop is engaging and enjoyable to foster a love for building and creativity.
#### 2. **Plan the Workshop Structure**
– **Duration**: Decide on the length of the workshop (e.g., 2-3 hours).
– **Schedule**: Create a timeline that includes an introduction, building time, and a showcase of completed models.
– **Breaks**: Incorporate short breaks to keep the children refreshed and engaged.
#### 3. **Gather Materials**
– **LEGO 42096 Sets**: Ensure you have enough sets for each child or group of children.
– **Building Tools**: Provide additional tools if necessary (e.g., base plates, extra bricks).
– **Instruction Manuals**: Have printed or digital copies of the building instructions available.
#### 4. **Set Up the Workshop Space**
– **Workspace**: Arrange tables and chairs to create a comfortable building environment.
– **Supplies Station**: Set up a station with extra LEGO pieces, tools, and any other materials needed.
– **Display Area**: Designate a space for showcasing completed models.
#### 5. **Promote the Workshop**
– **Target Audience**: Identify the age group (e.g., 8-12 years) and promote the workshop through schools, community centers, and social media.
– **Registration**: Set up a registration process to manage the number of participants.
#### 6. **Prepare for the Workshop**
– **Staffing**: Recruit volunteers or staff to assist with the workshop, ensuring there are enough adults to help the children.
– **Training**: Brief the staff on the objectives, schedule, and how to assist children during the building process.
#### 7. **Conduct the Workshop**
– **Introduction**: Start with a brief introduction about the NASA Apollo 11 mission and the significance of the Lunar Lander.
– **Building Instructions**: Explain the building process and encourage teamwork among participants.
– **Assistance**: Circulate among the groups to provide guidance, answer questions, and encourage creativity.
#### 8. **Encourage Creativity**
– **Customization**: Allow children to modify their models or create additional features beyond the instructions.
– **Storytelling**: Encourage participants to come up with a story about their lunar mission, enhancing their engagement.
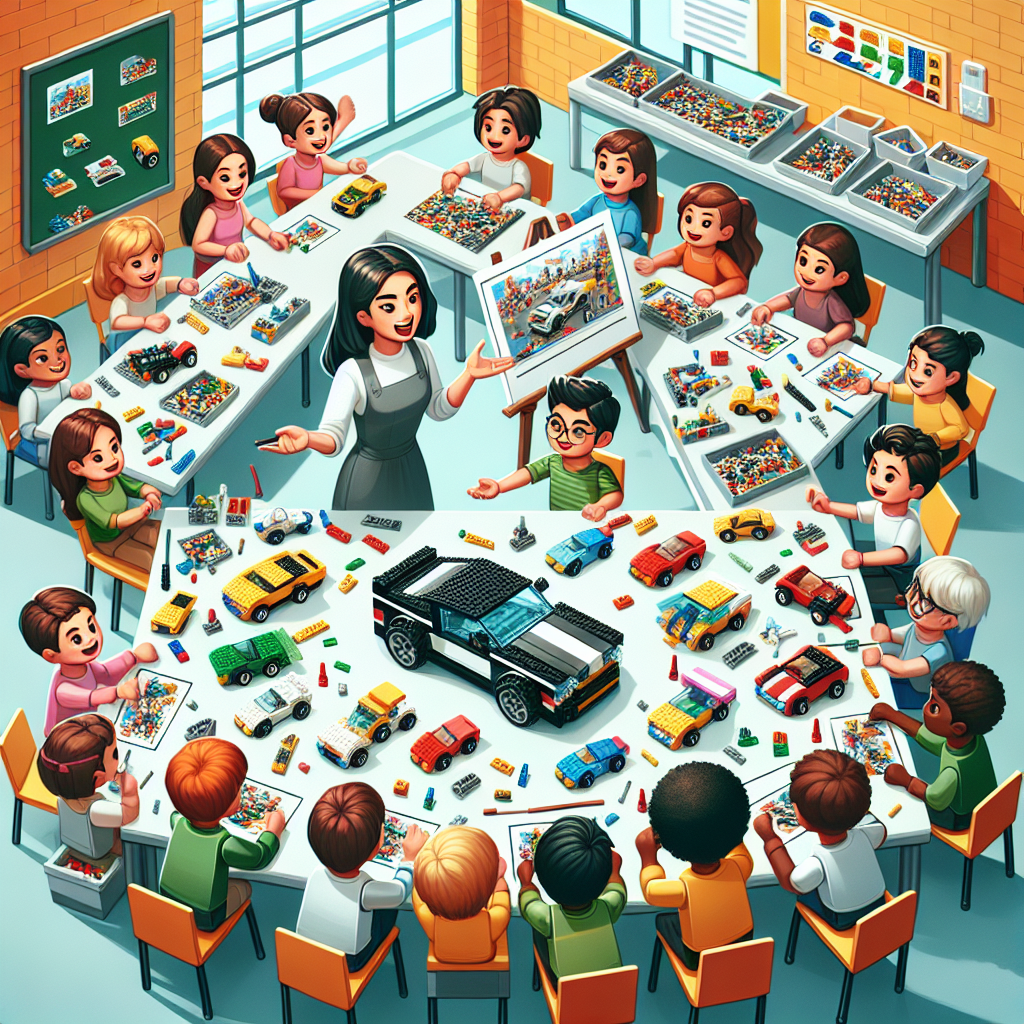
#### 9. **Showcase and Share**
– **Presentation**: Allow each group to present their completed models and share their stories.
– **Photography**: Capture photos of the completed models and participants for memories and future promotions.
#### 10. **Feedback and Reflection**
– **Surveys**: Distribute feedback forms to participants and parents to gather insights on their experience.
– **Reflection**: Hold a debriefing session with staff to discuss what worked well and areas for improvement for future workshops.
#### 11. **Follow-Up**
– **Thank You Notes**: Send thank-you notes to participants and volunteers.
– **Future Events**: Consider planning additional workshops or events based on feedback and interest.
By following these steps, you can create a memorable and educational LEGO building workshop that inspires creativity and teamwork among children while celebrating the achievements of the Apollo 11 mission.
### 1. **Preparation**
**Preparation** is a crucial phase in any formal process, whether it be for a meeting, presentation, project, or event. It involves several key steps to ensure that everything runs smoothly and effectively. Here are some essential components of formal preparation:
1. **Define Objectives**: Clearly outline the goals and objectives of the task at hand. Understanding what you aim to achieve will guide your preparation efforts.
2. **Research and Gather Information**: Collect relevant data, materials, and resources that will support your objectives. This may include background information, statistics, or case studies.
3. **Create a Plan**: Develop a structured plan that outlines the steps you need to take. This should include timelines, responsibilities, and any necessary resources.
4. **Organize Materials**: Ensure that all materials, documents, and equipment are organized and readily accessible. This may involve creating presentations, handouts, or other supporting documents.
5. **Rehearse**: If applicable, practice your presentation or speech multiple times. This will help you become more comfortable with the material and improve your delivery.
6. **Anticipate Questions and Challenges**: Consider potential questions or challenges that may arise and prepare responses or solutions in advance.
7. **Confirm Logistics**: Double-check all logistical details, such as venue arrangements, technology requirements, and participant availability.
8. **Communicate with Stakeholders**: Keep all relevant parties informed about the preparation process and any important updates. This ensures everyone is on the same page.
9. **Review and Adjust**: Before the final execution, review your preparation and make any necessary adjustments based on feedback or new information.
By following these steps, you can ensure that your preparation is thorough and effective, setting the stage for a successful outcome.
#### a. Gather Materials
### A. Gather Materials
In order to ensure a successful and efficient process, it is essential to systematically gather all necessary materials. The following steps outline the formal procedure for collecting the required items:
1. **Identify Required Materials**:
– Create a comprehensive list of all materials needed for the task or project. This may include tools, equipment, documents, and any other resources pertinent to the objective.
2. **Source Materials**:
– Determine the sources for each item on the list. This may involve checking inventory, purchasing from suppliers, or borrowing from colleagues or other departments.
3. **Verify Availability**:
– Confirm the availability of each material. This may require communication with suppliers or internal departments to ensure that all items can be procured in a timely manner.
4. **Organize Materials**:
– Once gathered, organize the materials in a logical manner. This may involve categorizing items by type, function, or usage frequency to facilitate easy access during the project.
5. **Document Materials**:
– Maintain a record of all materials collected, including quantities and sources. This documentation will be useful for tracking purposes and for any future reference.
6. **Review and Finalize**:
– Conduct a final review of the gathered materials to ensure completeness and readiness for use. Address any discrepancies or shortages before proceeding to the next phase of the project.
By following these steps, one can ensure that all necessary materials are effectively gathered and organized, thereby laying a solid foundation for the successful execution of the task at hand.