Discover advanced techniques for building LEGO cars with moving parts! Unleash your creativity and engineering skills for dynamic, functional designs.
Building LEGO cars with moving parts can be a fun and rewarding challenge. Here are some advanced techniques to help you create dynamic and functional LEGO vehicles:
### 1. **Understanding the Basics of LEGO Mechanics**
– **Studs and Tubes**: Familiarize yourself with how LEGO bricks connect. Studs on top of bricks fit into tubes on the bottom of others, allowing for a strong connection.
– **Axles and Wheels**: Use LEGO axles to connect wheels. Ensure they can rotate freely by using appropriate wheel sizes and axle lengths.
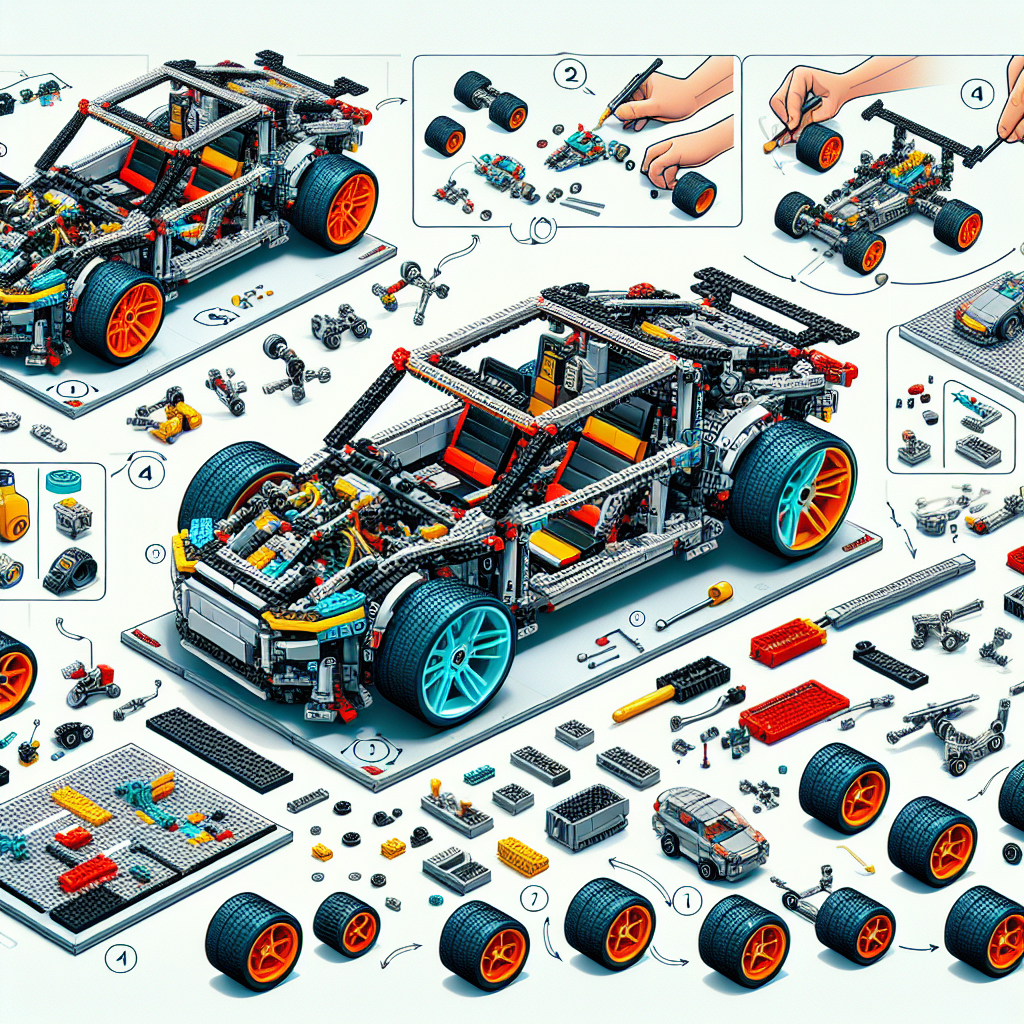
### 2. **Creating a Chassis**
– **Sturdy Base**: Start with a solid base using larger plates (e.g., 2×4 or 2×6) to create a chassis that can support the weight of your car and any moving parts.
– **Reinforcement**: Use beams and connectors to reinforce the structure, especially if you plan to add motors or other heavy components.
### 3. **Incorporating Moving Parts**
– **Steering Mechanism**:
– Use a simple rack-and-pinion system for steering. Attach a gear to the front axle and connect it to a steering wheel or lever.
– Alternatively, use a hinge mechanism to allow for more complex steering angles.
– **Suspension**:
– Create a suspension system using rubber bands or LEGO shock absorbers. This allows the wheels to move up and down, providing better handling.
– **Doors and Hoods**:
– Use hinges to create functional doors or hoods. Attach them to the main body of the car with a hinge piece, allowing them to open and close.
### 4. **Powering Your Car**
– **LEGO Power Functions**: Use LEGO Power Functions motors to add propulsion. Connect the motor to the rear axle for a simple drive system.
– **Remote Control**: If you want to take it a step further, consider using LEGO’s remote control systems or third-party options like SBrick or BuWizz for wireless control.
– **Battery Packs**: Integrate battery packs to power your motors. Ensure they are securely attached and easily accessible for charging.
### 5. **Adding Details and Aesthetics**
– **Bodywork**: Use a variety of bricks to create a sleek body. Curved bricks and slopes can help achieve a more aerodynamic look.
– **Lights and Accessories**: Incorporate LEGO lights or other accessories to enhance realism. You can use transparent bricks for headlights and taillights.
– **Decals and Customization**: Use stickers or custom decals to personalize your car. You can also paint some parts if you want a unique finish.
### 6. **Testing and Iteration**
– **Test Drive**: Once your car is built, take it for a test drive. Observe how it handles and make adjustments as necessary.
– **Iterate**: Don’t be afraid to modify your design. Experiment with different configurations for better performance or aesthetics.
### 7. **Advanced Techniques**
– **Gear Ratios**: Experiment with different gear ratios to change the speed and torque of your car. This can be done by using different sized gears in your drivetrain.
– **Differentials**: For more advanced builds, consider adding a differential to allow for smoother turns and better handling.
– **Pneumatics**: If you want to go even further, explore LEGO pneumatic systems to create moving parts that can be controlled with air pressure.
### 8. **Documentation and Sharing**
– **Build Instructions**: Document your build process with photos or videos. This can help others learn from your techniques.
– **Join Communities**: Share your creations on LEGO forums, social media, or local clubs. Engaging with other builders can provide inspiration and feedback.
### Conclusion
Building LEGO cars with moving parts requires creativity, engineering skills, and a willingness to experiment. By applying these advanced techniques, you can create impressive models that not only look great but also function dynamically. Happy building!
Building LEGO cars with moving parts can be a fun and rewarding challenge. Here are some advanced techniques to help you create dynamic and functional LEGO vehicles:
Building LEGO cars with moving parts can be an engaging and rewarding endeavor. To enhance your construction skills and create dynamic and functional LEGO vehicles, consider the following advanced techniques:
1. **Utilize Technic Elements**: Incorporate LEGO Technic pieces, such as beams, axles, and gears, to create complex mechanisms. These elements allow for greater structural integrity and enable the incorporation of moving parts, such as steering systems and suspension.
2. **Implement Gear Ratios**: Experiment with different gear ratios to optimize the speed and torque of your vehicle. By adjusting the size and arrangement of gears, you can achieve desired performance characteristics, whether for speed or power.
3. **Incorporate Motors**: Integrate LEGO Power Functions or LEGO Boost motors to add motorized movement to your vehicle. This can include driving, steering, or even activating additional features such as lights or sound.
4. **Design Functional Steering Systems**: Create a functional steering mechanism using a combination of gears and linkages. This can be achieved by connecting the front wheels to a central steering column, allowing for realistic turning capabilities.
5. **Build a Suspension System**: To enhance the realism and functionality of your vehicle, consider designing a suspension system. This can be accomplished using flexible LEGO elements or springs to absorb shocks and improve stability on uneven surfaces.
6. **Incorporate Pneumatic Systems**: For advanced builders, integrating pneumatic components can add an extra layer of functionality. Pneumatic cylinders can be used to create moving parts such as doors, hoods, or even adjustable suspensions.
7. **Focus on Aesthetics and Detail**: While functionality is essential, do not overlook the visual appeal of your vehicle. Pay attention to the design, color scheme, and detailing to create a visually striking model that complements its mechanical features.
8. **Experiment with Weight Distribution**: The performance of your vehicle can be significantly affected by its weight distribution. Ensure that the weight is evenly distributed to enhance stability and handling, particularly when navigating turns or uneven terrain.
9. **Test and Iterate**: After constructing your vehicle, conduct thorough testing to identify areas for improvement. Make adjustments to enhance performance, stability, and functionality based on your observations.
10. **Document Your Process**: Keep a record of your building process, including sketches, part lists, and modifications. This documentation can serve as a valuable resource for future projects and help you refine your techniques.
By employing these advanced techniques, you can elevate your LEGO car-building experience, resulting in vehicles that are not only visually appealing but also rich in functionality and dynamic movement.
### 1. **Understanding Gear Ratios**
### Understanding Gear Ratios
**Definition**: A gear ratio is a numerical representation of the relationship between the number of teeth on two meshing gears. It is a crucial concept in mechanical engineering, particularly in the design and analysis of gear systems used in various applications, from simple machines to complex automotive transmissions.
**Formula**: The gear ratio can be calculated using the following formula:
[
text{Gear Ratio} = frac{text{Number of Teeth on Driven Gear}}{text{Number of Teeth on Driving Gear}}
]
Where:
– **Driven Gear**: The gear that is being turned by another gear.
– **Driving Gear**: The gear that is providing the input motion.
**Interpretation**:
– A gear ratio greater than 1 indicates that the driving gear has fewer teeth than the driven gear, resulting in a mechanical advantage. This means that the output speed is reduced while the torque is increased.
– A gear ratio less than 1 indicates that the driving gear has more teeth than the driven gear, leading to an increase in speed but a decrease in torque.
**Applications**:
1. **Automotive Transmissions**: Gear ratios are used to optimize engine performance by balancing speed and torque for different driving conditions.
2. **Bicycles**: Gear ratios help cyclists manage their pedaling effort and speed on various terrains.
3. **Industrial Machinery**: Gear ratios are essential in designing systems that require precise control of speed and torque.
**Example**: Consider a system with a driving gear that has 10 teeth and a driven gear with 40 teeth. The gear ratio would be:
[
text{Gear Ratio} = frac{40}{10} = 4
]
This means that for every complete turn of the driving gear, the driven gear will turn one-quarter of a turn, effectively increasing the torque by a factor of 4 while reducing the speed.
**Conclusion**: Understanding gear ratios is fundamental for engineers and designers to create efficient mechanical systems. By manipulating gear ratios, one can achieve desired performance characteristics tailored to specific applications.
– **Gears**: Use different sizes of gears to create various gear ratios. This will allow you to control the speed and torque of moving parts
**Gears**: Employ a variety of gear sizes to establish distinct gear ratios. This approach enables precise control over the speed and torque of moving components, facilitating optimized performance in mechanical systems.