Watch the magic unfold as we create a stunning time-lapse build of LEGO 42096, capturing every intricate detail and step in this exciting journey!
Creating a time-lapse build of LEGO set 42096, the Porsche 911 RSR, can be a fun and rewarding project! Here’s a step-by-step guide to help you capture the process effectively:
### Preparation
1. **Gather Your Materials:**
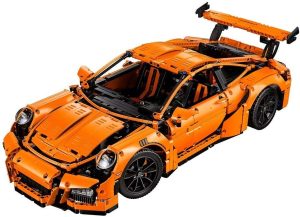
– LEGO 42096 set
– Camera or smartphone with time-lapse capability
– Tripod or stable surface for your camera
– Good lighting (natural light or softbox lights)
– A clean, flat workspace
2. **Set Up Your Workspace:**
– Choose a well-lit area to build your LEGO set.
– Ensure your workspace is organized and free of distractions.
3. **Camera Setup:**
– Position your camera on a tripod to keep it steady.
– Frame the shot to capture your entire building area.
– Make sure the camera is focused on the building area and that the LEGO pieces are clearly visible.
### Filming the Time-Lapse
4. **Choose Your Time-Lapse Settings:**
– If using a smartphone, check if it has a built-in time-lapse feature. If not, you can use a time-lapse app.
– If using a camera, set it to take a photo at regular intervals (e.g., every 5-10 seconds).
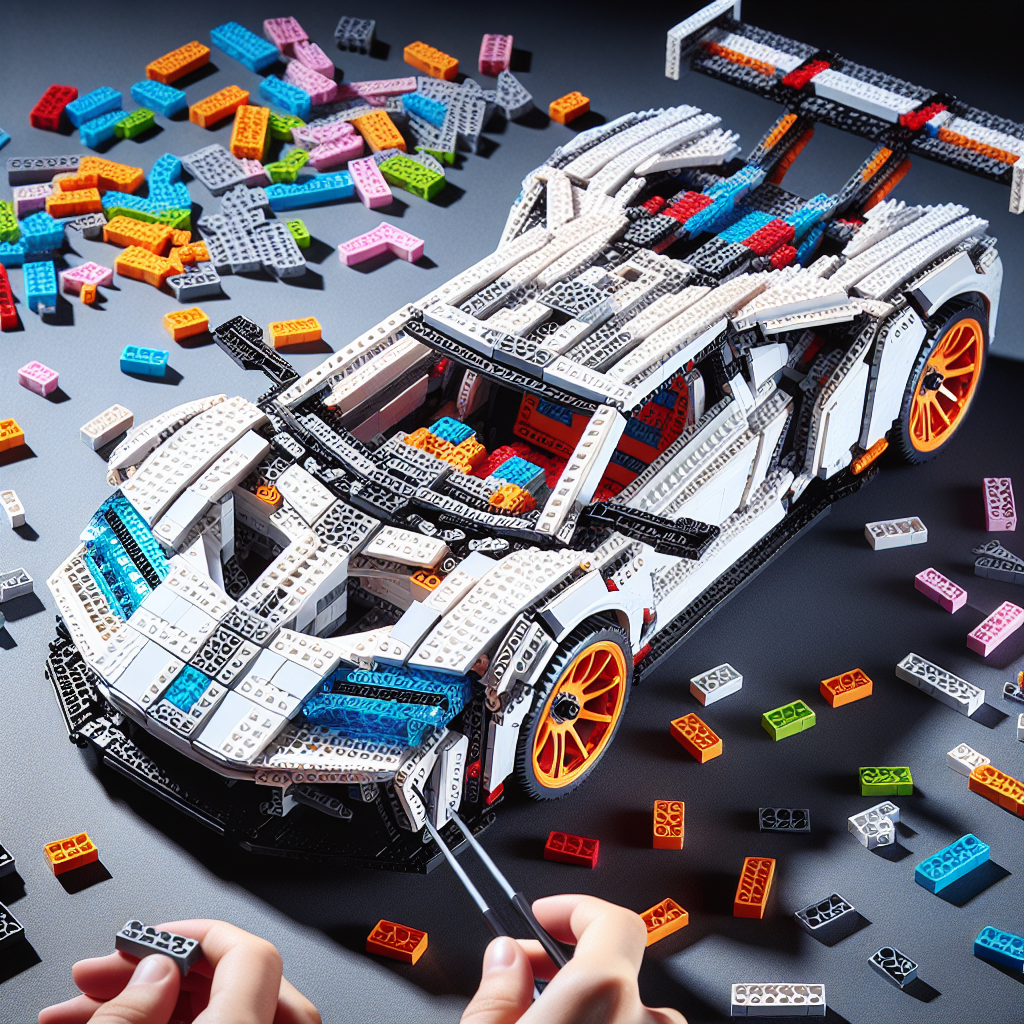
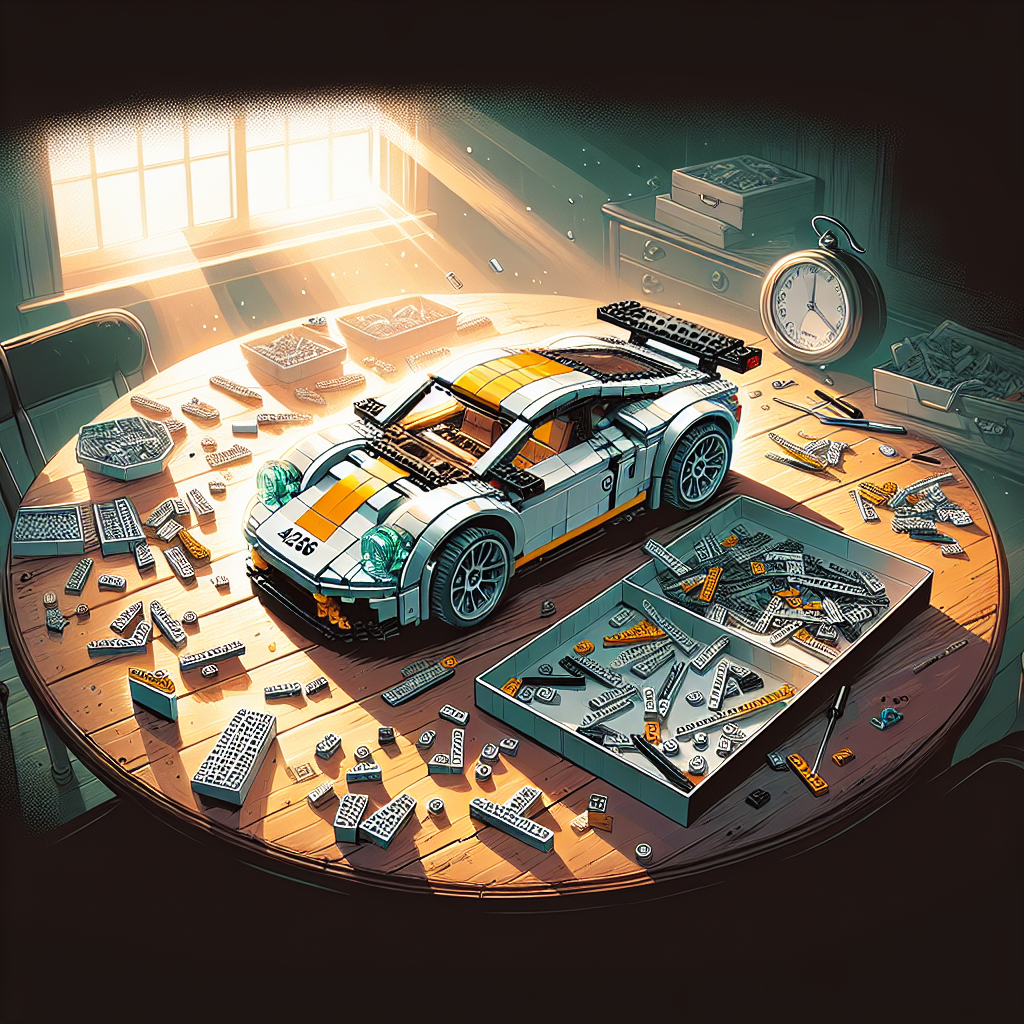
5. **Start Building:**
– Begin assembling the LEGO set as you normally would.
– Make sure to keep your hands and movements within the frame.
– Try to avoid long breaks; if you need to step away, pause the time-lapse.
6. **Monitor the Build:**
– Occasionally check the camera to ensure it’s still recording and that the framing is correct.
– Adjust lighting if necessary to maintain consistent visibility.
### Post-Production
7. **Editing the Time-Lapse:**
– Once you’ve completed the build, transfer the images or video to your computer.
– Use video editing software (like iMovie, Adobe Premiere Pro, or any other editing tool) to compile the images or video clips into a cohesive time-lapse.
– Adjust the speed of the video to create a smooth flow. A common speed is 24-30 frames per second.
8. **Add Music or Voiceover (Optional):**
– Consider adding background music or a voiceover to explain the building process or share your thoughts about the set.
9. **Export and Share:**
– Export your final video in a suitable format (like MP4).
– Share your time-lapse build on social media platforms, YouTube, or with friends and fellow LEGO enthusiasts.
### Tips for a Great Time-Lapse
– **Be Patient:** Building a LEGO set can take time, so don’t rush the process.
– **Experiment with Angles:** If you want to add variety, consider changing the camera angle during the build.
– **Engage with Your Audience:** If you plan to share the video, consider adding captions or commentary to make it more engaging.
By following these steps, you’ll create an enjoyable time-lapse build of the LEGO 42096 Porsche 911 RSR that you can share with others! Happy building!
Creating a time-lapse build of LEGO set 42096 (the Porsche 911 RSR) can be a fun and engaging project! Here’s a step-by-step guide to help you capture the process effectively:
Creating a time-lapse build of LEGO set 42096 (the Porsche 911 RSR) can be an enjoyable and rewarding project. Below is a formal step-by-step guide to assist you in capturing the building process effectively:
### Step 1: Preparation
1. **Gather Materials**:
– Ensure you have the LEGO set 42096 (Porsche 911 RSR) and all its components.
– Acquire a camera or smartphone with time-lapse capabilities.
– Prepare a tripod or stable surface to hold your camera steady during the recording.
2. **Select a Location**:
– Choose a well-lit area to enhance video quality. Natural light is preferable, but additional lighting may be necessary to avoid shadows.
3. **Organize Your Workspace**:
– Clear a flat surface to build the LEGO set. Organize the LEGO pieces by type or color to facilitate the building process.
### Step 2: Setting Up the Camera
1. **Position the Camera**:
– Set up your camera or smartphone on the tripod, ensuring it has a clear view of the building area. The angle should capture both the builder’s hands and the LEGO pieces.
2. **Adjust Settings**:
– If using a camera, set it to time-lapse mode. For smartphones, use a time-lapse app if necessary. Ensure the resolution is set to a high quality for better video output.
3. **Test the Frame**:
– Conduct a test recording to ensure that the entire building area is visible and that the lighting is adequate. Adjust the camera position as needed.
### Step 3: Building the LEGO Set
1. **Start the Recording**:
– Begin recording before you start building. This will ensure that you capture the entire process from start to finish.
2. **Follow the Instructions**:
– Use the official LEGO instruction manual to guide your building process. Assemble the set piece by piece, ensuring that each step is completed before moving on to the next.
3. **Maintain Consistency**:
– Try to keep your hands and movements within the frame. Avoid excessive movement that may distract from the building process.
### Step 4: Post-Build Editing
1. **Stop the Recording**:
– Once the build is complete, stop the recording. Review the footage to ensure that it captures the entire building process.
2. **Edit the Video**:
– Use video editing software to compile the time-lapse footage. Adjust the speed of the video to create a smooth viewing experience. Consider adding background music or voiceover commentary to enhance engagement.
3. **Add Titles and Effects**:
– Include an introductory title with the name of the LEGO set and any relevant information. You may also add transitions or effects to make the video more visually appealing.
### Step 5: Sharing Your Time-Lapse Build
1. **Export the Final Video**:
– Save the edited video in a suitable format for sharing, such as MP4 or MOV.
2. **Choose a Platform**:
– Decide where you would like to share your time-lapse build. Popular platforms include YouTube, Instagram, or TikTok.
3. **Engage with Your Audience**:
– Share your video and encourage viewers to comment or ask questions. Engaging with your audience can enhance their experience and foster a community around your content.
### Conclusion
By following these steps, you can effectively create a time-lapse build of LEGO set 42096 (the Porsche 911 RSR). This project not only showcases your building skills but also provides an opportunity to share your passion for LEGO with others. Enjoy the process and happy building!
### Equipment Needed:
To provide a comprehensive list of equipment needed, it would be helpful to know the specific context or activity you are referring to. However, here is a general list of equipment that might be needed for formal events or occasions:
### Equipment Needed for Formal Events
1. **Attire:**
– Formal dress or gown
– Suit or tuxedo
– Dress shoes
– Accessories (ties, cufflinks, jewelry)
9. **Miscellaneous:**
– Name tags or place cards
– Registration desk materials
– Photography equipment (if capturing the event)
If you have a specific type of formal event in mind (e.g., wedding, corporate gala, formal dinner), please provide more details for a tailored list.
**Camera/Smartphone**: A camera with time-lapse capabilities or a smartphone with a good camera
When selecting a device for capturing time-lapse photography, one may consider either a dedicated camera equipped with time-lapse capabilities or a smartphone that boasts a high-quality camera.
A dedicated camera, such as a DSLR or mirrorless model, often provides superior image quality, greater control over settings, and the ability to use various lenses, which can enhance the overall composition and detail of the time-lapse sequence. Many of these cameras come with built-in time-lapse functions or can be paired with external intervalometers to facilitate the shooting process.
Conversely, a smartphone with a good camera can offer convenience and portability, making it an excellent choice for casual users or those who prefer a more accessible option. Many modern smartphones are equipped with advanced camera technology and dedicated time-lapse modes, allowing users to easily capture stunning sequences without the need for extensive technical knowledge.
Ultimately, the choice between a dedicated camera and a smartphone will depend on the user’s specific needs, level of expertise, and the desired outcome of the time-lapse project.