Discover essential building tips and tricks for LEGO car sets! Enhance your creativity and skills to create stunning, custom vehicles with ease.
Building LEGO car sets can be a fun and rewarding experience. Here are some tips and tricks to enhance your building process and improve your final product:
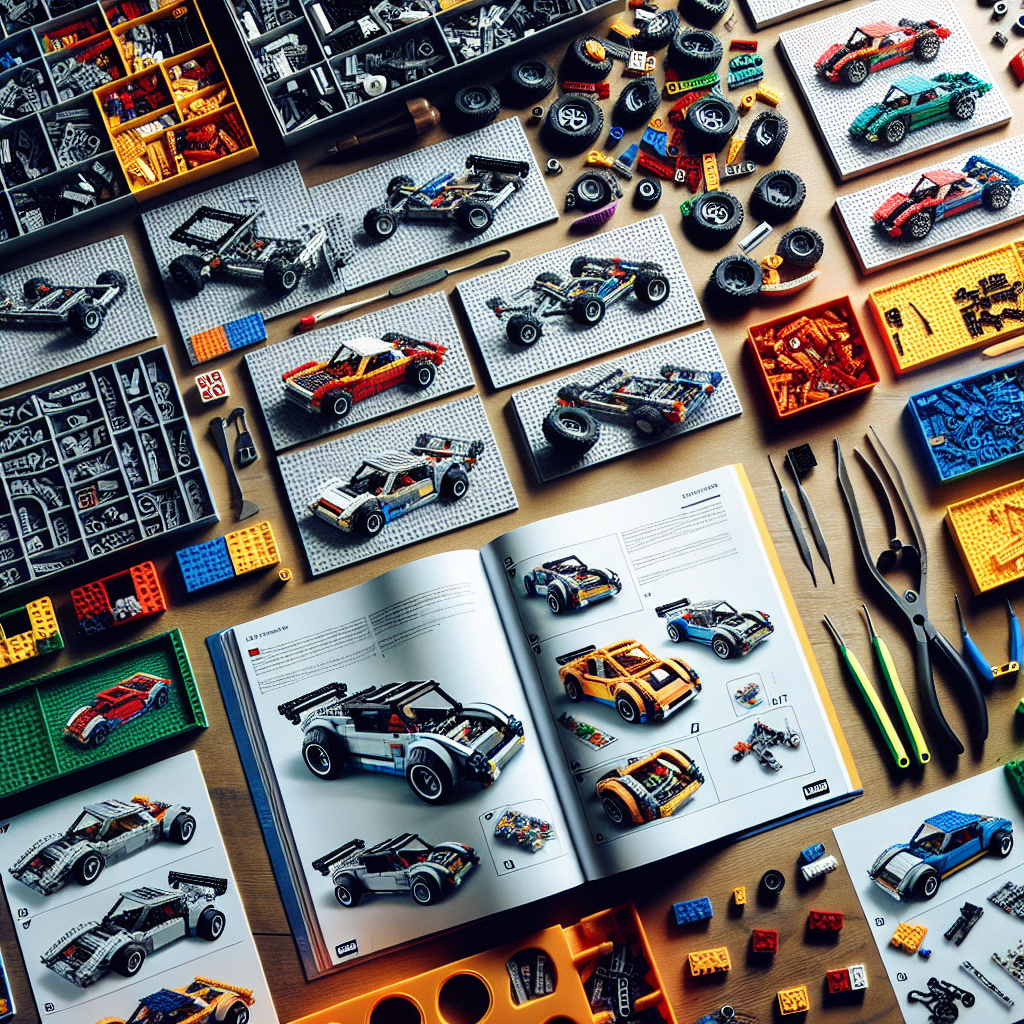
### 1. **Organize Your Pieces**
– **Sort by Color and Type**: Before you start building, sort your LEGO pieces by color and type. This will make it easier to find the pieces you need as you build.
– **Use Containers**: Use small bins or trays to keep your pieces organized. This can help prevent losing small parts.
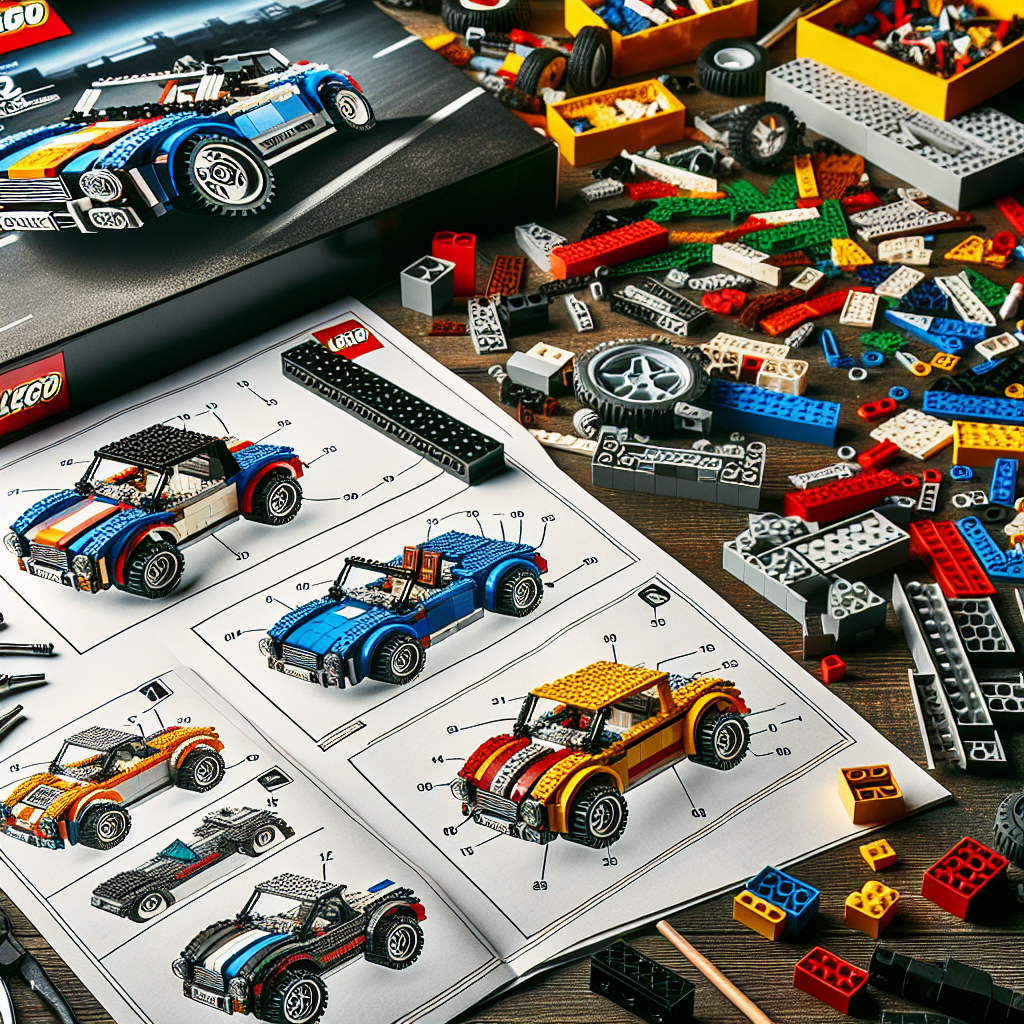
### 2. **Follow the Instructions Carefully**
– **Step-by-Step**: Pay close attention to the building instructions. Each step is designed to ensure stability and proper alignment.
– **Check Off Steps**: As you complete each step, check it off to avoid missing any parts.
### 3. **Build a Strong Foundation**
– **Use a Sturdy Base**: Start with a solid base for your car. This will help ensure that your car is stable and can support additional pieces.
– **Reinforce Connections**: Use additional bricks to reinforce connections, especially in areas that will bear weight or experience stress.
### 4. **Experiment with Design**
– **Customize Your Build**: Don’t be afraid to modify the design. Use different pieces to create unique features or styles.
– **Try Different Wheel Configurations**: Experiment with different wheel placements and sizes to see how they affect the car’s look and performance.
### 5. **Incorporate Functional Features**
– **Working Parts**: Consider adding functional elements like opening doors, a movable steering wheel, or a working trunk.
– **Suspension Systems**: If you’re feeling ambitious, try to incorporate a simple suspension system for a more realistic build.
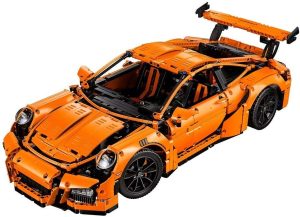
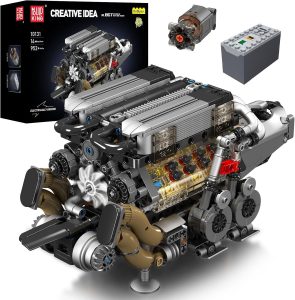
### 6. **Use Technic Pieces for Advanced Builds**
– **LEGO Technic**: If you want to add functionality, consider using Technic pieces for gears, axles, and motors. This can allow for remote control or motorized features.
– **Study Mechanisms**: Look at how real cars work and try to replicate those mechanisms with LEGO.
### 7. **Pay Attention to Aesthetics**
– **Color Schemes**: Choose a cohesive color scheme that matches the style of the car you want to build.
– **Detailing**: Add small details like headlights, taillights, and decals to enhance the realism of your car.
### 8. **Test for Stability and Performance**
– **Check Balance**: Make sure your car is balanced. If it tips over easily, adjust the weight distribution.
– **Rolling Test**: Test how well your car rolls. Adjust the wheel alignment if necessary to ensure smooth movement.
### 9. **Document Your Build**
– **Take Photos**: Document your building process with photos. This can help you remember what worked well and what didn’t for future builds.
– **Share Your Creations**: Consider sharing your designs online or with the LEGO community for feedback and inspiration.
### 10. **Have Fun!**
– **Enjoy the Process**: Remember that building with LEGO is about creativity and fun. Don’t stress too much about perfection; enjoy the journey of building.
By following these tips and tricks, you can enhance your LEGO car-building experience and create impressive models that showcase your creativity and engineering skills. Happy building!
Building LEGO car sets can be a fun and rewarding experience. Here are three tips and tricks to enhance your building process and improve the final result:
Building LEGO car sets can be an enjoyable and fulfilling endeavor. To enhance your building experience and improve the final outcome, consider the following three tips and tricks:
1. **Organize Your Pieces**: Before you begin assembling your LEGO car, take the time to sort and organize your pieces. Group similar types of bricks together, such as wheels, chassis components, and decorative elements. This will streamline the building process, allowing you to easily locate the necessary pieces and reducing the likelihood of errors.
2. **Follow Instructions Carefully**: While it may be tempting to improvise or make modifications during the building process, it is advisable to adhere closely to the provided instructions, especially for complex sets. This ensures that you understand the structural integrity and design of the car. Once you have completed the build, you can explore creative modifications or enhancements.
3. **Incorporate Customization**: After successfully assembling the car, consider personalizing it to reflect your unique style. This could involve adding custom decals, modifying the color scheme, or integrating additional features such as lights or movable parts. Customization not only enhances the aesthetic appeal of your LEGO car but also allows for a more engaging and satisfying building experience.
By implementing these strategies, you can elevate your LEGO car-building experience and achieve a more polished and enjoyable final product.
### 1. **Plan Your Build**
### 1. Plan Your Build
**Objective**: Establish a comprehensive plan that outlines the scope, resources, timeline, and objectives of the build project.
#### A. Define Project Scope
1. **Identify Goals**: Clearly articulate the primary objectives of the build. What are you aiming to achieve?
2. **Determine Requirements**: List the functional and non-functional requirements that the build must meet.
3. **Establish Boundaries**: Define what is included in the project and what is excluded to avoid scope creep.
#### B. Resource Allocation
1. **Budgeting**: Develop a detailed budget that includes all anticipated costs, such as materials, labor, and contingencies.
2. **Team Composition**: Identify the key personnel required for the project, including roles and responsibilities.
3. **Material Sourcing**: Research and select suppliers for necessary materials and equipment.
#### C. Timeline Development
1. **Milestones**: Break the project into key milestones to track progress effectively.
2. **Gantt Chart**: Create a Gantt chart or similar visual representation to outline the project timeline and dependencies.
3. **Risk Assessment**: Identify potential risks and develop mitigation strategies to address them.
#### D. Communication Plan
1. **Stakeholder Engagement**: Identify all stakeholders and establish a communication plan to keep them informed throughout the project.
2. **Reporting Structure**: Define how progress will be reported and the frequency of updates.
#### E. Review and Approval
1. **Feedback Loop**: Establish a process for reviewing the plan with stakeholders and incorporating their feedback.
2. **Final Approval**: Obtain formal approval of the plan before proceeding to the execution phase.
By meticulously planning your build, you can ensure that all aspects are considered, leading to a more efficient and successful project execution.
– **Study the Instructions**: Before diving in, take a moment to review the instruction manual. Familiarize yourself with the parts and the overall design. This can help you anticipate the steps and avoid confusion
– **Review the Instruction Manual**: Prior to commencing assembly, it is advisable to thoroughly examine the instruction manual. Acquaint yourself with the various components and the overall design of the product. This preparatory step will enable you to anticipate the necessary procedures and minimize potential confusion during the assembly process.