Discover the ultimate step-by-step guide to building LEGO 42096. Unleash your creativity and master this intricate set with ease!
Building the LEGO 42096, which is the “Porsche 911 RSR,” can be a fun and rewarding experience. Here’s a step-by-step guide to help you through the process:
### Step 1: Gather Your Materials
– **LEGO Set 42096**: Ensure you have the complete set with all pieces.
– **Instructions Manual**: You can find the manual in the box or download it from the LEGO website.
– **Workspace**: Find a clean, flat surface to build on.
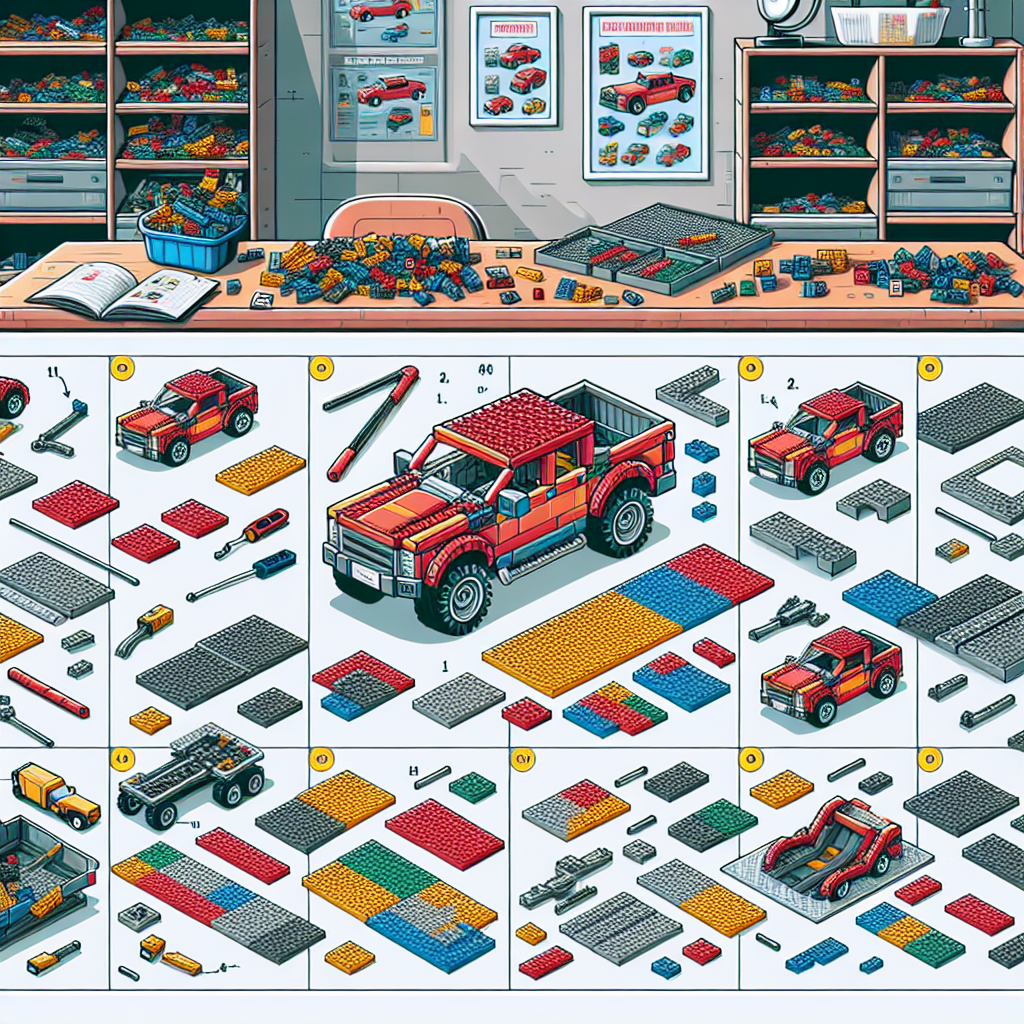
### Step 2: Sort Your Pieces
Before you start building, it can be helpful to sort the pieces by color or type. This will make it easier to find the pieces you need as you follow the instructions.
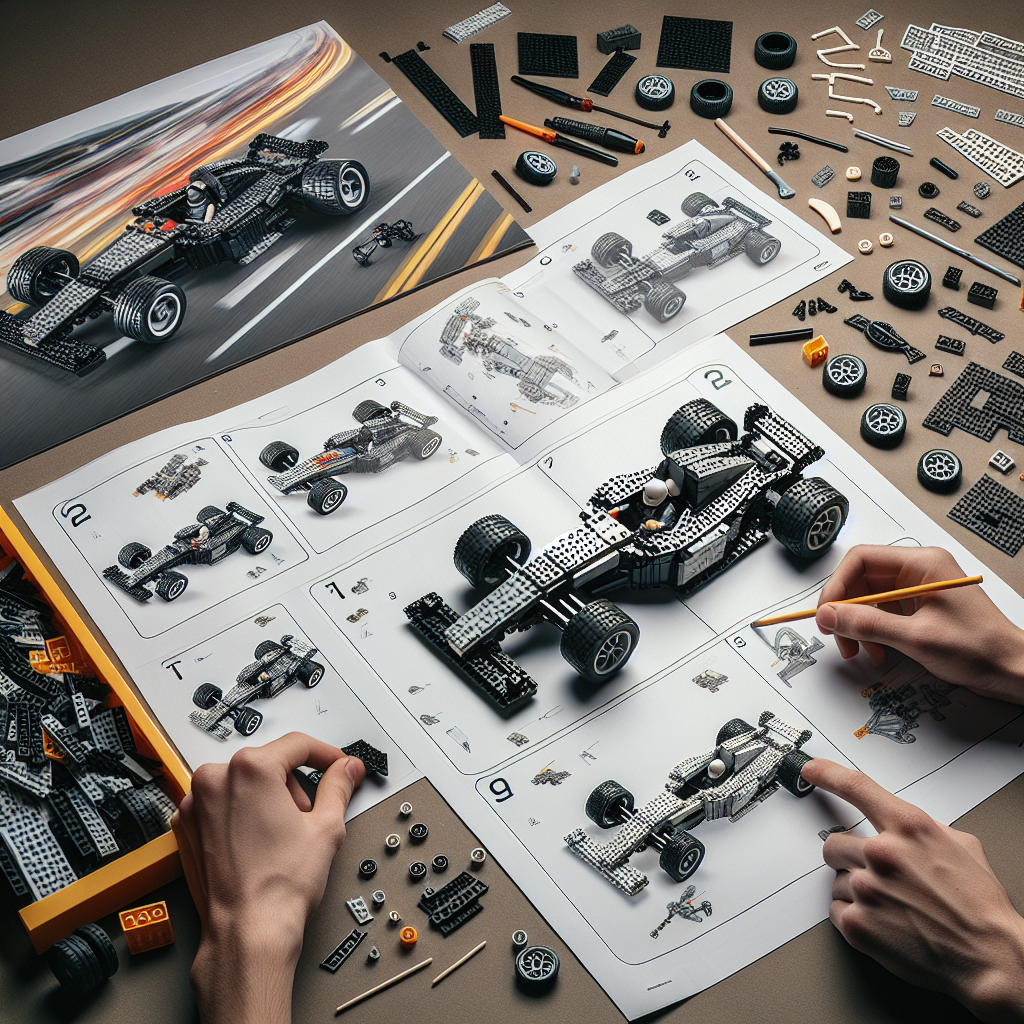
### Step 3: Start Building
Follow these steps based on the instruction manual:
#### **Building the Chassis**
1. **Base Frame**: Start by constructing the base frame of the car. This will involve connecting various beams and plates.
2. **Suspension**: Add the suspension components to the chassis. This will include the axles and shock absorbers.
#### **Building the Body**
3. **Front and Rear Bumpers**: Attach the front and rear bumpers to the chassis. Make sure they are securely connected.
4. **Side Panels**: Build and attach the side panels of the car. Pay attention to the orientation of the pieces.
#### **Adding Details**
5. **Engine**: Construct the engine and place it in the rear compartment. This is a key feature of the Porsche 911 RSR.
6. **Interior**: Build the interior components, including the seats and dashboard. Make sure to add any stickers or decals as indicated in the instructions.
#### **Final Assembly**
7. **Roof and Windows**: Attach the roof and any window pieces. Ensure they fit snugly.
8. **Wheels**: Finally, attach the wheels to the axles. Make sure they spin freely.
### Step 4: Finishing Touches
– **Stickers and Decals**: Apply any stickers or decals to give your Porsche its authentic look.
– **Check Stability**: Ensure all parts are securely attached and the model is stable.
### Step 5: Display Your Model
Once completed, find a nice spot to display your LEGO Porsche 911 RSR. You can also take photos to share with friends or on social media.
### Tips for Building
– **Take Your Time**: Don’t rush through the build. Enjoy the process!
– **Follow the Instructions**: Make sure to follow the manual step by step to avoid mistakes.
– **Use a Light**: If you’re building in a dim area, use a lamp to help see the pieces clearly.
### Conclusion
Building the LEGO 42096 Porsche 911 RSR is a great way to enjoy a classic car model. By following these steps and taking your time, you’ll create a stunning piece that you can be proud of. Happy building!
Building the LEGO 42096, also known as the Porsche 911 RSR, can be a fun and rewarding experience. Here’s a step-by-step guide to help you through the process:
Building the LEGO 42096, also known as the Porsche 911 RSR, can be an enjoyable and fulfilling endeavor. Below is a formal step-by-step guide to assist you throughout the assembly process:
### Step-by-Step Guide to Building LEGO 42096 Porsche 911 RSR
#### Step 1: Preparation
1. **Gather Materials**: Ensure you have the complete LEGO set, including all bags, instruction manuals, and any additional tools or accessories.
2. **Workspace**: Find a clean, flat surface with ample space to organize the pieces and work comfortably.
#### Step 2: Organize the Pieces
1. **Sort the LEGO Bricks**: Open the bags and sort the pieces by color, size, or type. This will facilitate easier access during the building process.
2. **Review the Instruction Manual**: Familiarize yourself with the instruction manual, noting the sequence of steps and any special techniques highlighted.
#### Step 3: Begin Assembly
1. **Follow the Instructions**: Start with the first step in the instruction manual. Carefully follow each step, ensuring that you are using the correct pieces as indicated.
2. **Check Connections**: As you build, periodically check that all connections are secure and that the structure is stable.
#### Step 4: Build the Chassis
1. **Construct the Base**: Begin by assembling the chassis of the Porsche 911 RSR, which serves as the foundation for the rest of the model.
2. **Incorporate Functional Elements**: Pay attention to any functional components, such as the steering mechanism and suspension, as these are integral to the model’s performance.
#### Step 5: Assemble the Body
1. **Add the Body Panels**: Once the chassis is complete, proceed to attach the body panels, ensuring that they align correctly with the chassis.
2. **Detailing**: Incorporate any decorative elements, such as stickers or decals, to enhance the authenticity of the model.
#### Step 6: Final Touches
1. **Install Wheels and Tires**: Attach the wheels and tires to the chassis, ensuring they rotate freely.
2. **Check for Completeness**: Review the model against the instruction manual to confirm that all pieces are in place and that the assembly is complete.
#### Step 7: Display and Enjoy
1. **Showcase Your Model**: Once completed, find a suitable location to display your LEGO Porsche 911 RSR.
2. **Share Your Experience**: Consider sharing your completed model with friends or on social media platforms to showcase your accomplishment.
### Conclusion
Building the LEGO 42096 Porsche 911 RSR is not only a test of patience and skill but also a rewarding experience that culminates in a stunning display piece. By following this guide, you can ensure a smooth assembly process and enjoy the intricate details of this remarkable model. Happy building!
### Step 1: Gather Your Materials
### Step 1: Gather Your Materials
To ensure a successful and efficient process, it is essential to collect all necessary materials prior to commencing your project. This preparation will facilitate a smoother workflow and minimize interruptions. Below is a comprehensive list of items you may need, depending on the nature of your task:
1. **Documentation**:
– Project guidelines or specifications
– Relevant research materials or reference documents
– Any necessary forms or templates
2. **Tools and Equipment**:
– Specific tools required for the task (e.g., software, hardware, or manual tools)
– Safety equipment, if applicable (e.g., gloves, goggles)
3. **Supplies**:
– Stationery items (e.g., pens, paper, markers)
– Any additional materials pertinent to the project (e.g., fabric, components)
4. **Technology**:
– Computer or device with necessary software installed
– Internet access for research or communication
5. **Workspace**:
– A clean and organized area conducive to productivity
– Adequate lighting and seating arrangements
6. **Time Management Tools**:
– Calendar or planner to schedule tasks
– Timer or stopwatch to track progress
By ensuring that all materials are gathered and organized before beginning, you will set a solid foundation for the successful completion of your project.
– **LEGO Set 42096**: Ensure you have the complete set with all pieces and instructions
To ensure that you have the complete LEGO Set 42096, please verify that all pieces are present and accounted for, along with the instruction manual. It is advisable to cross-reference the contents with the official inventory list provided by LEGO to confirm that no pieces are missing. If you find any discrepancies, consider reaching out to LEGO customer service for assistance. Thank you for your attention to detail in this matter.