Unlock your creativity with our beginner's guide to building your first LEGO car from scratch! Step-by-step tips and inspiration await. Start building today!
Building your first LEGO car can be a fun and rewarding experience! Here’s a beginner’s guide to help you get started:
### Step 1: Gather Your Materials
Before you start building, make sure you have the following materials:
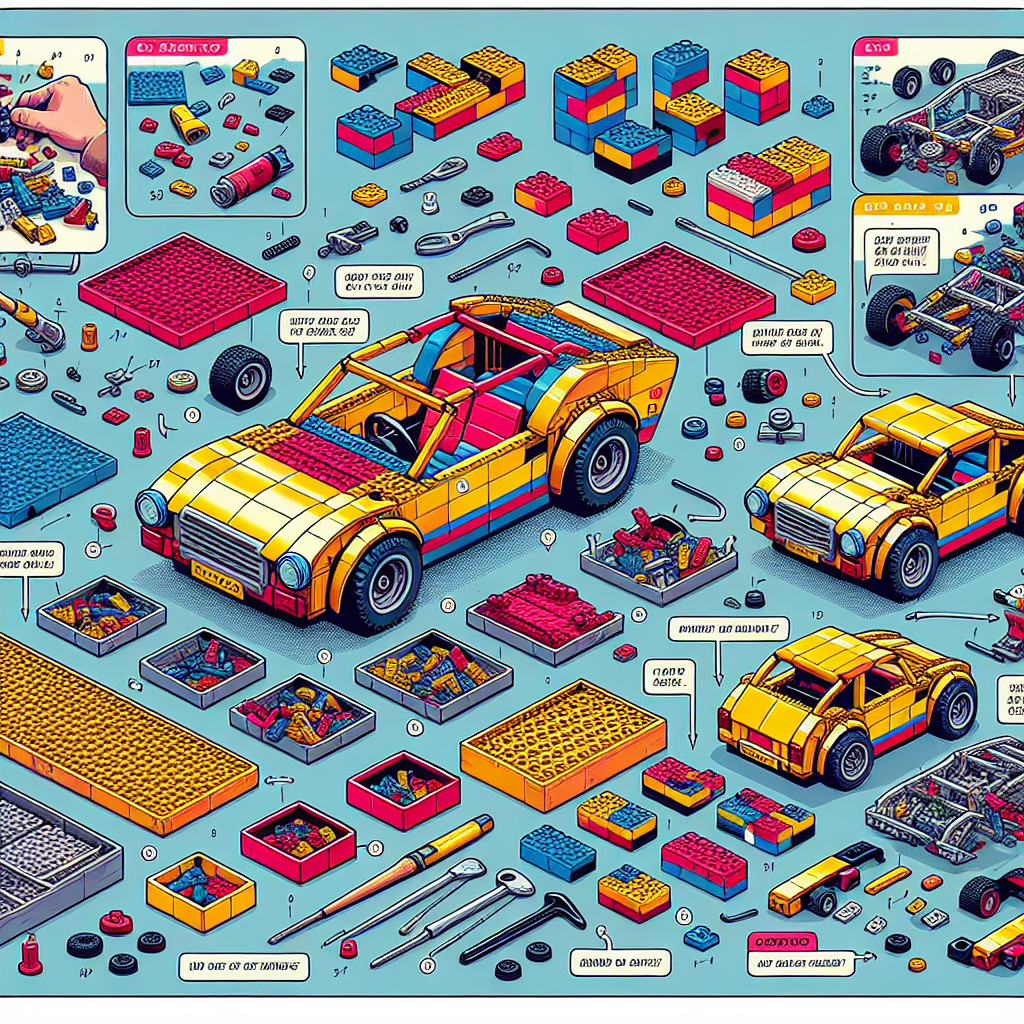
– **LEGO Bricks**: A variety of bricks, including:
– Baseplate (for the chassis)
– Wheels and wheel axles
– Bricks for the body
– Plates for the roof and other features
– **LEGO Tools**: If you have them, a LEGO brick separator can be helpful for disassembling pieces.
– **Instructions**: You can either follow a set of instructions from a LEGO set or create your own design.
### Step 2: Design Your Car
Think about the type of car you want to build. Here are some design elements to consider:
– **Chassis**: The base of your car. It should be sturdy enough to hold the wheels and body.
– **Wheels**: Decide how many wheels you want (typically 4 for a standard car).
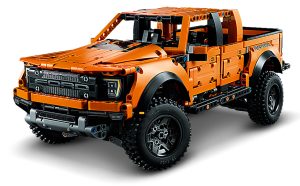
– **Body Shape**: Consider the shape and style of your car. Will it be a sports car, a truck, or something else?
– **Color Scheme**: Choose colors that you like and that will make your car stand out.
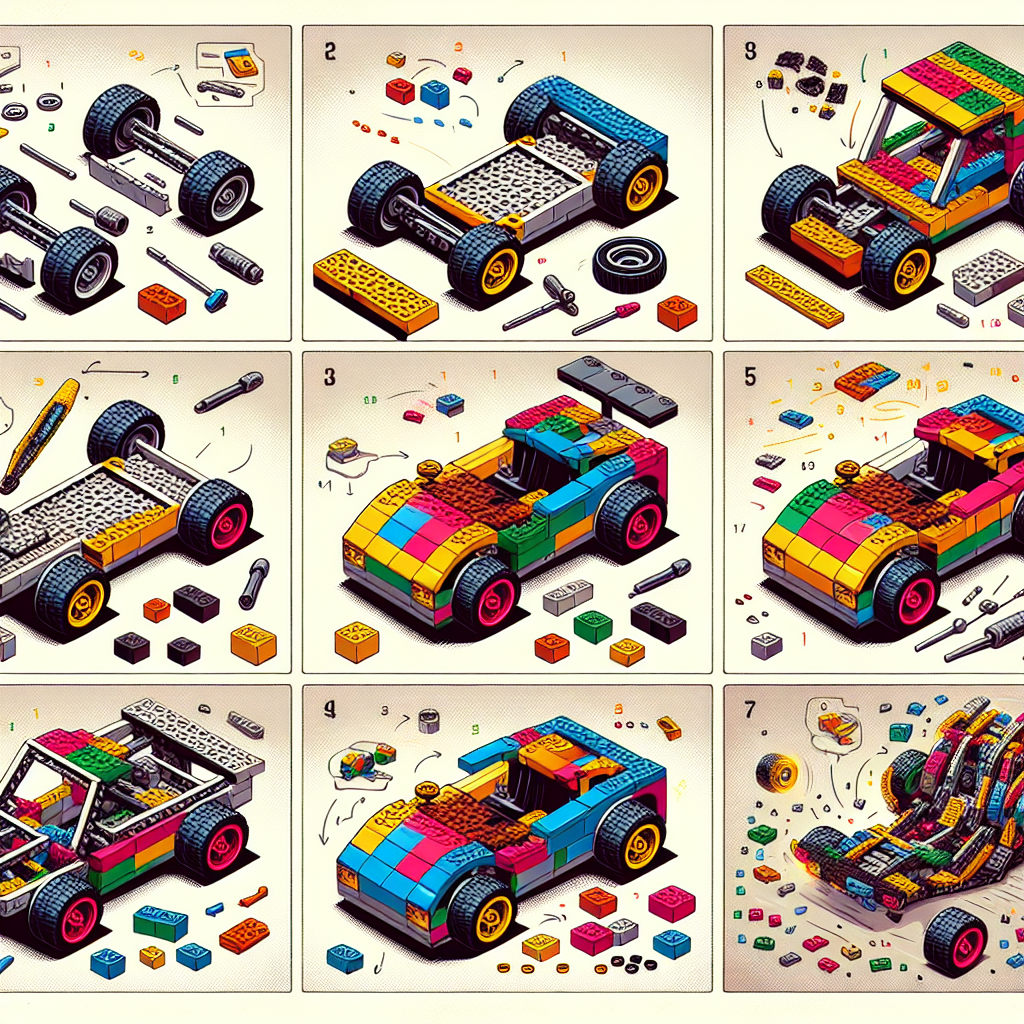
### Step 3: Build the Chassis
1. **Select a Baseplate**: Choose a flat baseplate that will serve as the foundation of your car.
2. **Attach Wheel Axles**: Use bricks to create a structure that will hold the wheel axles. Make sure they are spaced evenly.
3. **Add Wheels**: Attach the wheels to the axles. Ensure they spin freely.
### Step 4: Construct the Body
1. **Build Upwards**: Start adding bricks on top of the chassis to create the body of the car. You can use different shapes and sizes to create a unique design.
2. **Add Details**: Consider adding features like:
– Windows (using transparent bricks)
– A roof
– A front grille
– Headlights (small round pieces can work well)
3. **Make It Aerodynamic**: If you want a sporty look, try to make the body sleek and low to the ground.
### Step 5: Add Finishing Touches
1. **Interior Details**: If you want, you can add seats, a steering wheel, or other interior features.
2. **Decorate**: Use stickers or additional bricks to add details like racing stripes or logos.
3. **Test It Out**: Once your car is complete, give it a test drive! Roll it on a flat surface to see how it performs.
### Step 6: Troubleshoot and Modify
– If your car doesn’t roll well, check the wheel alignment and make sure they are securely attached.
– If it’s too heavy or top-heavy, consider removing some bricks or redesigning the body for better balance.
### Step 7: Experiment and Innovate
Once you’ve built your first car, don’t stop there! Experiment with different designs, sizes, and features. Try building different types of vehicles, like trucks, buses, or even futuristic cars.
### Tips for Success
– **Start Simple**: If you’re new to LEGO, start with a basic design before moving on to more complex builds.
– **Use Online Resources**: There are many online tutorials and videos that can provide inspiration and guidance.
– **Have Fun**: The most important part of building with LEGO is to enjoy the process and let your creativity shine!
Happy building!
### Beginner’s Guide: Building Your First LEGO Car from Scratch
# Beginner’s Guide: Building Your First LEGO Car from Scratch
LEGO building is a rewarding and creative hobby that allows individuals to express their imagination while developing problem-solving skills. This guide aims to provide beginners with a structured approach to constructing their first LEGO car from scratch.
## Materials Needed
Before you begin, gather the following materials:
1. **LEGO Bricks**: A variety of bricks, including:
– Baseplates
– Wheels and axles
– Standard bricks (2×4, 2×2, etc.)
– Specialty pieces (if desired, such as headlights or spoilers)
2. **Building Tools**: While LEGO can be assembled by hand, having a brick separator can be helpful for disassembling pieces.
3. **Design Reference**: Consider having a reference image or a simple sketch of the car you wish to build.
## Step-by-Step Instructions
### Step 1: Plan Your Design
1. **Choose a Style**: Decide on the type of car you want to build. Options include a sports car, a truck, or a classic car.
2. **Sketch Your Design**: Create a simple sketch of your car, noting the dimensions and features you want to include.
### Step 2: Create the Chassis
1. **Select a Baseplate**: Choose a baseplate that will serve as the foundation of your car. A rectangular shape is typically ideal.
2. **Attach Wheels**:
– Use wheel axles to attach the wheels to the baseplate. Ensure that the wheels are evenly spaced and can rotate freely.
– Position the wheels at the front and back of the baseplate for stability.
### Step 3: Build the Body
1. **Construct the Frame**:
– Use standard bricks to create the sides and top of the car. Start by building up the sides, leaving space for windows and doors if desired.
– Reinforce the structure by adding additional bricks to the corners and connecting pieces.
2. **Add Details**:
– Incorporate features such as headlights, a windshield, and a rearview mirror using smaller bricks or specialty pieces.
– Consider adding a roof or a spoiler for added aesthetics.
### Step 4: Interior Design (Optional)
1. **Create Seats**: Use small bricks or plates to build seats inside the car.
2. **Dashboard**: Add a dashboard using flat pieces to represent controls and instruments.
### Step 5: Final Assembly
1. **Review Your Build**: Ensure all pieces are securely attached and that the car is structurally sound.
2. **Test the Wheels**: Roll the car on a flat surface to check for smooth movement. Adjust the wheel alignment if necessary.
### Step 6: Personalize Your Car
1. **Color Scheme**: Use bricks of different colors to personalize your car’s appearance.
2. **Stickers and Decals**: If available, apply stickers or decals to enhance the design.
## Conclusion
Building your first LEGO car can be an enjoyable and educational experience. By following this guide, you will not only create a functional model but also develop skills in design and construction. Remember, the most important aspect of LEGO building is creativity—feel free to modify your design as you gain confidence and experience. Happy building!
Building a LEGO car can be a fun and rewarding project, especially for beginners. This guide will walk you through the basic steps to create your very own LEGO car from scratch. Let’s get started!
### Building a LEGO Car: A Step-by-Step Guide
Creating a LEGO car can be an enjoyable and fulfilling project, particularly for those new to LEGO building. This guide will provide you with a structured approach to constructing your very own LEGO car from scratch. Let us begin.
#### Materials Required
1. **LEGO Bricks**: A variety of bricks, including:
– Baseplate (for the chassis)
– Wheels and axles
– Bricks for the body
– Decorative elements (optional)
2. **LEGO Tools**:
– Brick separator (optional, for easier disassembly)
– Instructions or design ideas (optional)
#### Step 1: Design Your Car
Before you start building, it is advisable to have a design in mind. Consider the following aspects:
– **Size**: Determine how large you want your car to be.
– **Style**: Decide on the type of car (e.g., sports car, truck, etc.).
– **Functionality**: Consider whether you want your car to have moving parts, such as doors or a hood.
#### Step 2: Create the Chassis
1. **Select a Baseplate**: Choose a flat baseplate that will serve as the foundation of your car.
2. **Attach the Wheels**:
– Use axles to connect the wheels to the baseplate. Ensure that the wheels can rotate freely.
– Position the wheels at the corners of the baseplate for stability.
#### Step 3: Build the Body
1. **Construct the Frame**:
– Use bricks to create the sides and back of the car.
– Ensure that the frame is sturdy enough to support additional components.
2. **Add Details**:
– Incorporate elements such as windows, a windshield, and a roof.
– Use smaller bricks or decorative pieces to enhance the aesthetic appeal of your car.
#### Step 4: Assemble Additional Features
1. **Interior**:
– If desired, create an interior with seats and a steering wheel.
– Use smaller bricks to represent dashboard elements.
2. **Exterior Accessories**:
– Consider adding headlights, taillights, or decals to personalize your car.
– Use transparent bricks for windows and lights.
#### Step 5: Test Your Car
Once your car is fully assembled, it is important to test its functionality:
– **Rolling Test**: Push the car to ensure that it rolls smoothly.
– **Stability Check**: Ensure that the car remains stable when pushed or tilted.
#### Step 6: Make Adjustments
If you encounter any issues during the testing phase, do not hesitate to make adjustments:
– Reinforce weak areas of the structure.
– Modify the design for improved performance or aesthetics.
#### Conclusion
Building a LEGO car is a creative and enjoyable endeavor that allows for personal expression and problem-solving. By following this guide, you can construct a unique vehicle that reflects your style and preferences. Enjoy the process, and happy building!
#### Materials Needed:
Certainly! Here’s a formal list of materials needed for a project or event. Please specify the context if you have a particular project in mind.
### Materials Needed
1. **Stationery Supplies**
– Notebooks
– Pens and Pencils
– Highlighters
– Sticky Notes
– Folders or Binders
2. **Technology**
– Laptop or Desktop Computer
– Projector
– Printer
– USB Drives
– Internet Access
3. **Presentation Materials**
– Presentation Software (e.g., PowerPoint, Google Slides)
– Visual Aids (e.g., charts, graphs)
– Handouts for Participants
4. **Furniture and Equipment**
– Tables and Chairs
– Whiteboard and Markers
– Podium or Lectern
– Audio Equipment (e.g., microphones, speakers)
5. **Safety and Health Supplies**
– First Aid Kit
– Hand Sanitizer
– Masks (if necessary)
6. **Refreshments (if applicable)**
– Water Bottles
– Snacks or Meals
– Coffee and Tea Supplies