Revamp your space with creative LEGO car wall hangings! Discover fun ideas to showcase your passion for cars while adding a unique touch to your room.
Transforming your room with LEGO car wall hangings can add a unique and playful touch to your space. Here are some creative ideas to inspire you:
### 1. **LEGO Car Shadow Box**
– **Materials Needed**: Shadow box frame, LEGO cars, background paper.
– **Instructions**: Create a shadow box by placing a colorful or themed background paper inside the frame. Secure your favorite LEGO cars to the background using adhesive or small shelves. This creates a 3D effect and makes a great focal point.
### 2. **LEGO Car Wall Art**
– **Materials Needed**: Canvas or wooden board, LEGO cars, paint (optional).
– **Instructions**: Paint a canvas or wooden board in a color that complements your room. Arrange LEGO cars in a creative pattern or design (like a racetrack or cityscape) and glue them down. Hang it on your wall for a vibrant piece of art.
### 3. **LEGO Car Display Shelves**
– **Materials Needed**: Floating shelves, LEGO cars.
– **Instructions**: Install floating shelves on your wall and arrange your LEGO cars on them. You can group them by color, type, or size. This not only displays your collection but also adds dimension to your wall.
### 4. **LEGO Car Wall Decals**
– **Materials Needed**: LEGO car stickers or decals.
– **Instructions**: Use removable wall decals of LEGO cars to create a fun scene on your wall. You can design a racetrack, a garage, or a cityscape. This is a great option for renters or those who want a temporary solution.
### 5. **LEGO Car Mobile**
– **Materials Needed**: LEGO cars, fishing line, wooden dowel or hoop.
– **Instructions**: Create a mobile by suspending LEGO cars from a wooden dowel or hoop using fishing line. Hang it from the ceiling to add a whimsical touch to your room. This works well in a corner or above a desk.
### 6. **LEGO Car Collage**
– **Materials Needed**: Large poster board, LEGO cars, glue.
– **Instructions**: Create a collage by arranging LEGO cars on a large poster board. You can create patterns, shapes, or even spell out words. Frame it or hang it directly on the wall for a personalized touch.
### 7. **LEGO Car Wall Clock**
– **Materials Needed**: Clock mechanism, base (wood or cardboard), LEGO cars.
– **Instructions**: Create a unique wall clock by attaching LEGO cars around a clock mechanism. You can paint the base or leave it natural. This functional art piece will be a conversation starter.
### 8. **LEGO Car Photo Frame**
– **Materials Needed**: Photo frame, LEGO cars, photos.
– **Instructions**: Decorate a photo frame with LEGO cars around the edges. Insert your favorite photos of you and your friends or family with LEGO builds. This adds a personal touch to your decor.
### 9. **LEGO Car Wall Hooks**
– **Materials Needed**: Wall hooks, LEGO cars.
– **Instructions**: Attach small wall hooks to a board and glue LEGO cars on top of them. Use this as a functional piece to hang keys, bags, or hats while showcasing your LEGO collection.
### 10. **LEGO Car Mural**
– **Materials Needed**: Wall paint, LEGO car stencils or freehand skills.
– **Instructions**: If you’re feeling artistic, consider painting a mural of LEGO cars directly on your wall. You can create a scene with multiple cars racing or parked in a colorful city.
### Tips for Success:
– **Color Coordination**: Choose colors that match or complement your room’s decor.
– **Lighting**: Consider adding LED strip lights around your displays for added effect.
– **Personalization**: Incorporate your favorite LEGO themes or characters to make it uniquely yours.
By using these ideas, you can create a fun and dynamic atmosphere in your room that showcases your love for LEGO cars!
Transforming your room with LEGO car wall hangings can add a unique and playful touch to your space. Here are three creative ideas to inspire you:
Transforming your room with LEGO car wall hangings can infuse a unique and playful aesthetic into your space. Here are three creative ideas to inspire you:
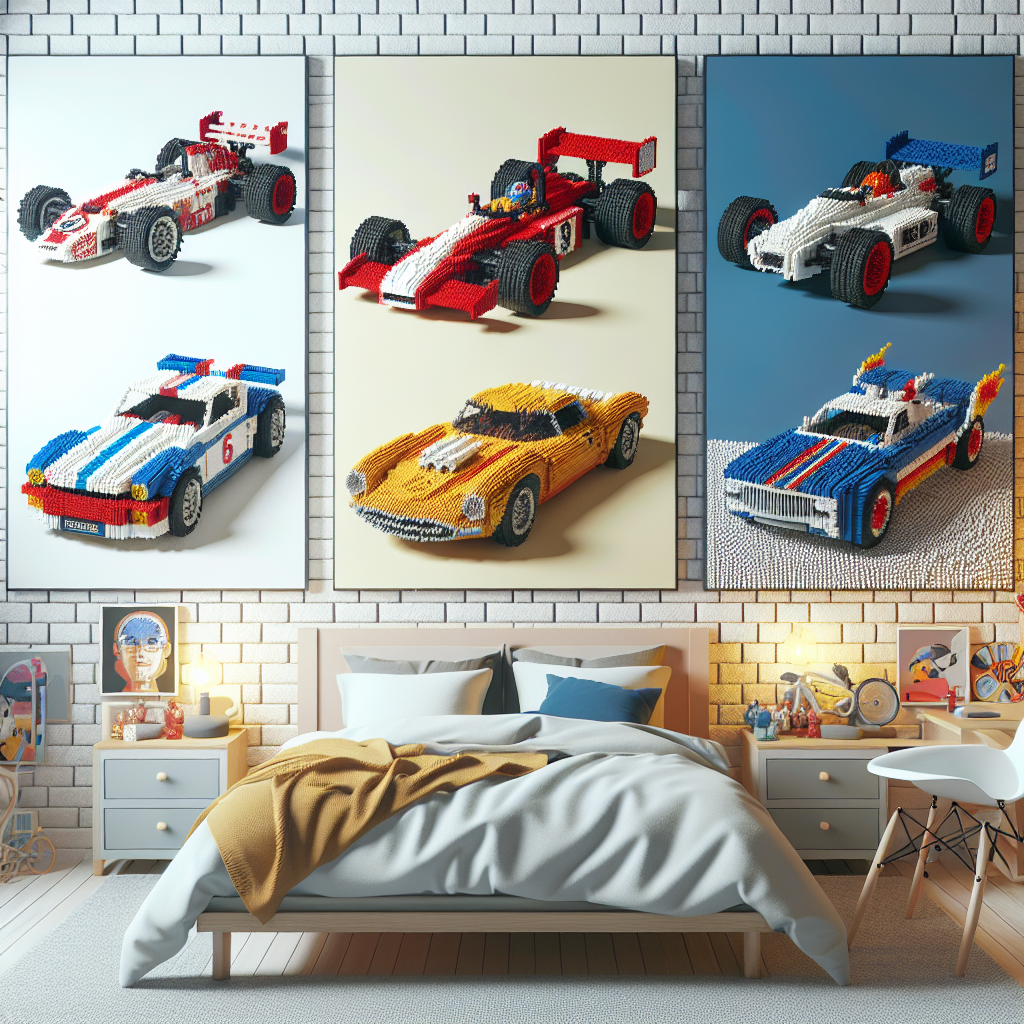
1. **Themed Collage**: Create a themed collage by arranging various LEGO car models in a visually appealing layout. Choose a color scheme that complements your room’s decor, such as vibrant primary colors for a playful atmosphere or sleek monochromes for a more sophisticated look. Use shadow boxes or floating frames to give depth to the display, allowing the cars to stand out as three-dimensional art pieces.
2. **Race Track Wall Art**: Design a race track mural on your wall and incorporate LEGO car hangings as part of the scene. Paint a winding track that meanders across the wall, and attach LEGO cars at various points along the track. This interactive design not only serves as a decorative element but also invites creativity and imagination, making it a dynamic focal point in the room.
3. **LEGO Car Shelf Display**: Install floating shelves to showcase your LEGO car collection. Arrange the cars in a way that highlights their unique designs and colors. You can enhance the display by adding LED strip lighting beneath the shelves to illuminate the cars, creating a striking visual effect. This approach allows for easy rotation of models and keeps the display fresh and engaging.
By incorporating these ideas, you can transform your room into a vibrant and imaginative space that reflects your personality and passion for LEGO.
### 1. **LEGO Car Shadow Box**
**LEGO Car Shadow Box: A Creative Display of Artistry and Nostalgia**
**Introduction**
The LEGO Car Shadow Box is a unique and artistic representation that combines the playful essence of LEGO with the elegance of shadow box art. This project not only serves as a decorative piece but also evokes nostalgia for those who have cherished their LEGO-building experiences.
**Materials Needed**
1. **Shadow Box Frame**: A deep-set frame that allows for dimensional display.
2. **LEGO Car Model**: A carefully constructed LEGO car, which can be a custom design or a classic set.
3. **Background Material**: This could be a printed scene, textured paper, or a painted backdrop that complements the car.
4. **Adhesive**: Strong glue or double-sided tape to secure the car and background.
5. **Decorative Elements**: Optional items such as miniature trees, road signs, or clouds to enhance the scene.
6. **Lighting (optional)**: Small LED lights to illuminate the shadow box.
**Instructions**
1. **Select the Background**: Choose a background that enhances the theme of your LEGO car. This could be a cityscape, a racetrack, or a natural landscape. Ensure it fits well within the dimensions of the shadow box.
2. **Prepare the Shadow Box**: Open the shadow box frame and remove any backing or inserts. If necessary, paint or decorate the interior to match your theme.
3. **Position the LEGO Car**: Place the LEGO car in the desired position within the shadow box. Consider the angle and perspective to create a dynamic look.
4. **Secure the Car**: Once satisfied with the positioning, use adhesive to firmly attach the LEGO car to the background or base of the shadow box.
5. **Add Decorative Elements**: If desired, incorporate additional elements such as trees, road signs, or other LEGO accessories to create a more immersive scene. Secure these items with adhesive as well.
6. **Lighting (optional)**: If you choose to include lighting, carefully install small LED lights around the interior of the shadow box to highlight the car and background.
7. **Final Assembly**: Once all elements are securely in place, reassemble the shadow box frame, ensuring everything is neatly enclosed.
8. **Display**: Choose a prominent location to display your LEGO Car Shadow Box, allowing it to be appreciated from various angles.
**Conclusion**
The LEGO Car Shadow Box is not just a display; it is a celebration of creativity, craftsmanship, and nostalgia. This project allows individuals to express their love for LEGO while creating a stunning piece of art that can be cherished for years to come. Whether as a gift or a personal keepsake, this shadow box serves as a reminder of the joy and imagination that LEGO inspires.
Create a shadow box display featuring your favorite LEGO cars.
Creating a shadow box display for your favorite LEGO cars can be a fun and creative project. Here’s a step-by-step guide to help you design a formal and visually appealing display:
### Materials Needed:
1. **Shadow Box Frame**: Choose a deep frame that can accommodate the height of the LEGO cars. A black or dark wood frame can add a formal touch.
2. **Background Material**: Consider using a solid color or patterned paper (like a subtle pinstripe or textured fabric) for the background. Dark colors like navy, charcoal, or deep green can enhance the formal look.
3. **Base for Cars**: A piece of foam board or a wooden base can provide a sturdy foundation for your LEGO cars.
4. **Display Stands**: Small acrylic risers or stands can help elevate some cars for a more dynamic display.
5. **Lighting**: Optional LED strip lights or small spotlights can highlight the cars and add elegance.
6. **Tools**: Scissors, glue, double-sided tape, and a ruler.
### Steps to Create the Display:
1. **Select Your LEGO Cars**: Choose your favorite LEGO car models. Consider a mix of different styles (sports cars, classic cars, etc.) for variety.
2. **Prepare the Shadow Box**:
– Remove the backing from the shadow box frame.
– Cut your background material to fit the back of the frame and attach it using glue or double-sided tape.
3. **Design the Layout**:
– Before securing anything, arrange the LEGO cars on the base to find a layout that you like. Consider varying the heights and angles for visual interest.
– Use the display stands to elevate some cars, creating a tiered effect.
4. **Secure the Cars**:
– Once you’re satisfied with the layout, use glue or double-sided tape to secure the cars to the base. Ensure they are firmly attached to prevent movement.
5. **Add Lighting (Optional)**:
– If you’re using LED lights, attach them around the inside perimeter of the shadow box or directly above the cars to create a spotlight effect.
6. **Final Assembly**:
– Carefully place the base with the secured LEGO cars back into the shadow box frame.
– Close the frame and secure it.
7. **Display Your Shadow Box**:
– Choose a prominent location to hang or place your shadow box. Ensure it’s at eye level for the best viewing experience.
### Additional Tips:
– **Labeling**: Consider adding small labels or nameplates for each car, detailing the model name or year it represents.
– **Thematic Elements**: You can incorporate small decorative elements like LEGO trees or road signs to enhance the theme.
– **Maintenance**: Keep the display away from direct sunlight to prevent fading and dust accumulation.
This shadow box display will not only showcase your favorite LEGO cars but also serve as a stylish piece of decor that reflects your passion for LEGO and automotive design. Enjoy your creative project!