Discover creative display ideas for LEGO 42096 in small spaces! Maximize your area with stylish arrangements that showcase your builds beautifully.
LEGO set 42096, also known as the “Porsche 911 RSR,” is a fantastic model that can be a great addition to any display, especially in small spaces. Here are some creative display ideas to showcase this set effectively:
### 1. **Floating Shelves**
– **Description**: Install floating shelves on your wall to create a sleek display area. This keeps the model off surfaces and adds visual interest.
– **Tip**: Use LED strip lights under the shelves to highlight the Porsche and create an eye-catching effect.
### 2. **Shadow Box Frame**
– **Description**: Use a shadow box frame to create a 3D display. This can protect the model from dust while making it a focal point.
– **Tip**: Paint the inside of the box a contrasting color to make the Porsche stand out.
### 3. **Display Case**
– **Description**: A small glass display case can protect the model while allowing it to be seen from all angles. Look for cases that fit on a desk or shelf.
– **Tip**: Choose a case with a mirrored back to enhance the visual depth.
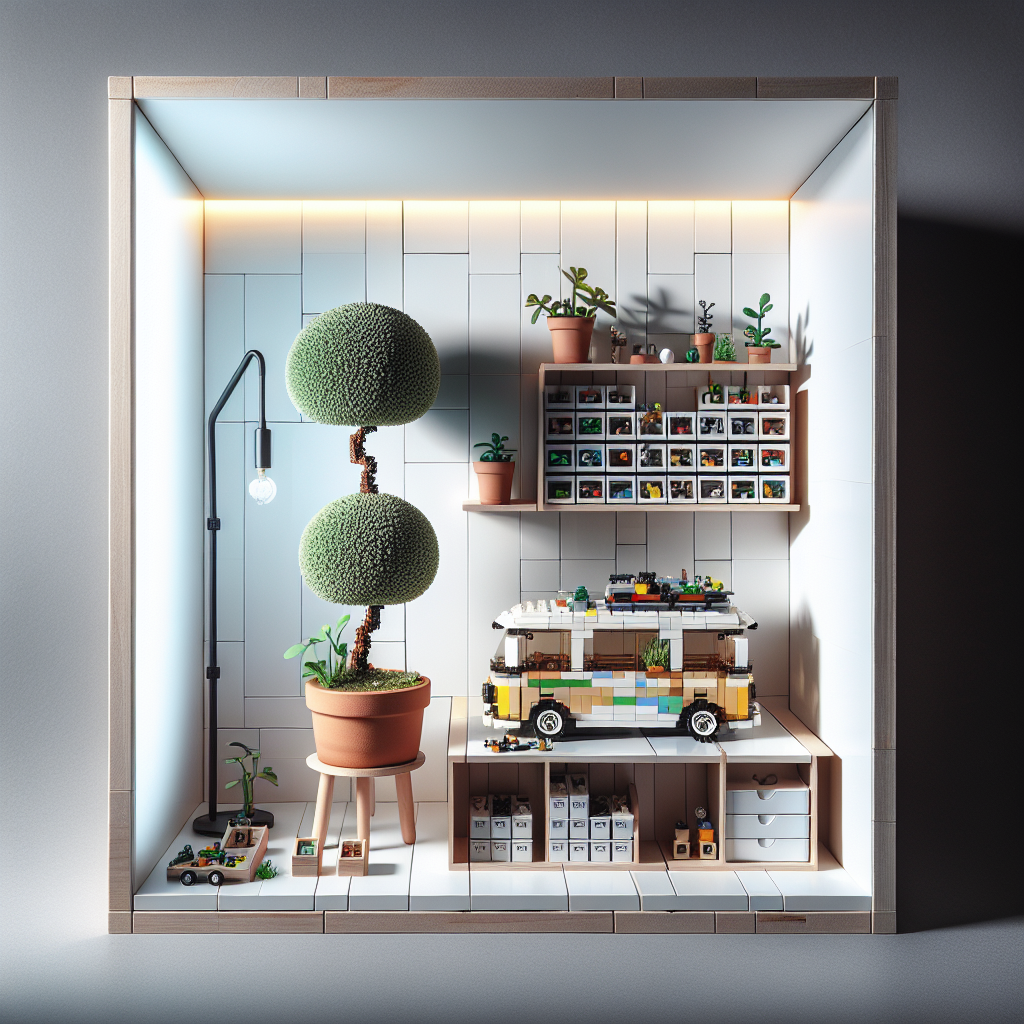
### 4. **Miniature Garage Scene**
– **Description**: Create a small diorama that resembles a garage or pit stop. Use LEGO bricks to build a backdrop and add tools or other vehicles.
– **Tip**: Keep the diorama compact to fit on a small shelf or table.
### 5. **Tabletop Stand**
– **Description**: Use a small, decorative stand or pedestal to elevate the Porsche. This can add height and make it more prominent in a small space.
– **Tip**: Choose a stand that complements the car’s color scheme for a cohesive look.
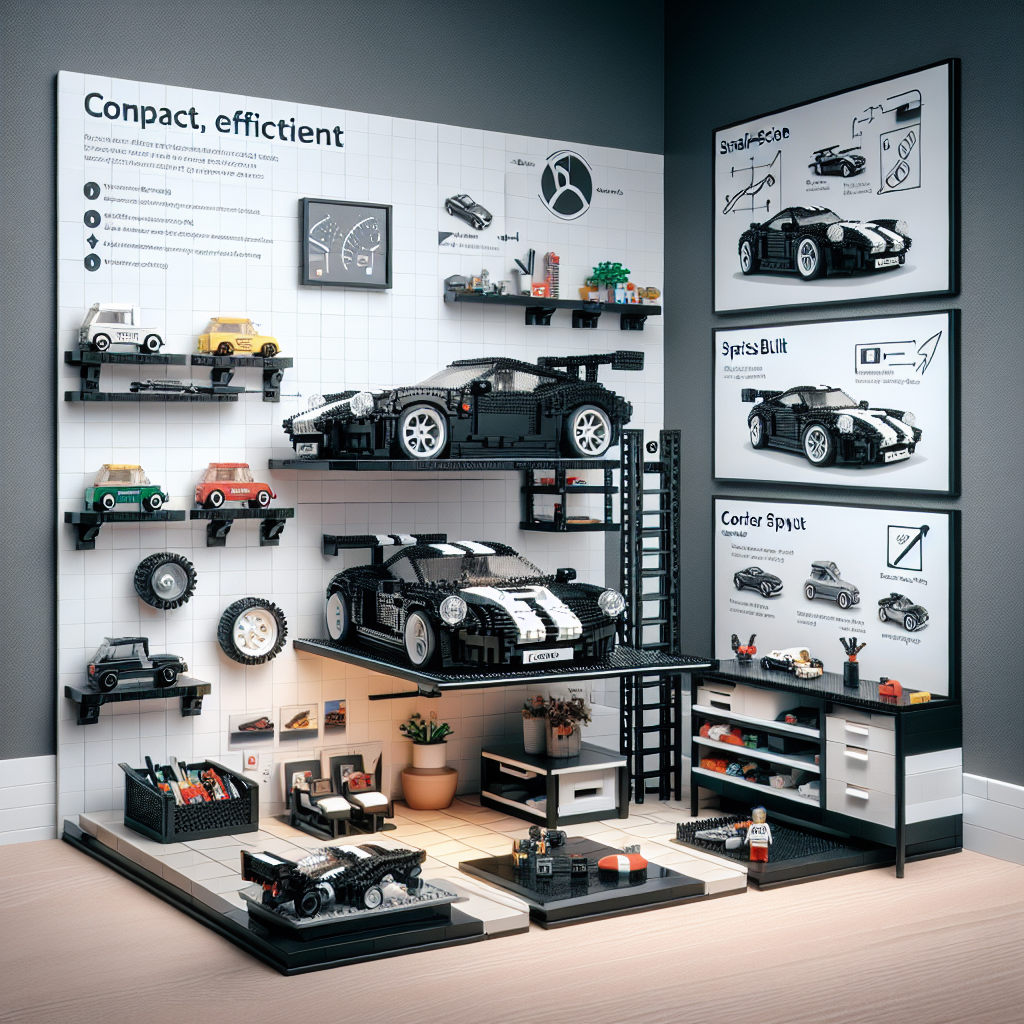
### 6. **Corner Display**
– **Description**: Utilize a corner shelf unit to display the Porsche along with other small LEGO sets or collectibles. This maximizes vertical space.
– **Tip**: Arrange the display in a way that draws the eye upward, creating an illusion of more space.
### 7. **Wall-Mounted Display**
– **Description**: Use wall-mounted brackets or a custom-built shelf to display the Porsche at eye level. This keeps the floor space clear.
– **Tip**: Consider a rotating display mount for a dynamic presentation.
### 8. **Themed Collection**
– **Description**: Combine the Porsche with other automotive-themed LEGO sets or models. This creates a cohesive display that tells a story.
– **Tip**: Use a small table or shelf dedicated to this theme, keeping it organized and visually appealing.
### 9. **Under Glass Coffee Table**
– **Description**: If you have a glass-top coffee table, consider placing the Porsche underneath it. This keeps it visible while saving space.
– **Tip**: Add a small light source underneath to illuminate the model.
### 10. **Rotating Display Turntable**
– **Description**: Use a small rotating display turntable to showcase the Porsche from all angles. This can be placed on a desk or shelf.
– **Tip**: Pair it with a simple backdrop to enhance the presentation.
### Final Thoughts
When displaying LEGO 42096 in small spaces, consider both aesthetics and functionality. Choose a display method that complements your decor while ensuring the model is protected and easily visible. With these ideas, you can create a stunning display that showcases your LEGO Porsche beautifully!
LEGO set 42096, also known as the Porsche 911 RSR, is a fantastic model that can be a stunning display piece. If you’re looking to showcase this set in a small space, here are three creative display ideas:
Certainly! Here are three creative display ideas for showcasing the LEGO set 42096, the Porsche 911 RSR, in a small space:
1. **Floating Shelf Display**: Install a sleek, floating shelf on your wall at eye level. This minimalist approach allows the Porsche 911 RSR to be the focal point of the display. Consider using a clear acrylic stand or a custom base to elevate the model slightly, giving it a sense of prominence. Surround the model with a few small, framed photographs of the real Porsche 911 RSR to enhance the theme and provide context.
2. **Glass Display Case**: Utilize a compact glass display case to protect and highlight the model. A case with a mirrored back can create an illusion of depth, making the display more visually appealing. You can add LED strip lighting inside the case to illuminate the Porsche, emphasizing its details and colors. This option not only keeps the model dust-free but also adds a touch of elegance to your space.
3. **Themed Shadow Box**: Create a themed shadow box that reflects the racing heritage of the Porsche 911 RSR. Use a deep frame and add a backdrop featuring a racetrack or a scenic landscape. Position the model on a custom base that mimics a racetrack surface, and include small accessories like checkered flags or miniature cones to enhance the racing theme. This creative display can be hung on the wall or placed on a small table, making it a dynamic addition to your decor.
These display ideas will not only showcase the beauty of the LEGO Porsche 911 RSR but also enhance your space with a touch of creativity and style.
### 1. **Floating Shelves**
Floating shelves are a contemporary and versatile storage solution that seamlessly integrates into various interior design styles. These shelves are mounted directly to the wall without visible brackets, creating a clean and minimalist aesthetic. They are ideal for displaying decorative items, books, or plants, while also providing functional storage space.
When selecting floating shelves, consider the material and finish to ensure they complement your existing decor. Common materials include wood, metal, and glass, each offering unique characteristics and durability. Additionally, the weight capacity of the shelves should be taken into account, particularly if you plan to display heavier items.
Installation is crucial for the stability and safety of floating shelves. It is recommended to secure them to wall studs or use appropriate wall anchors to ensure they can support the intended load. Properly installed floating shelves can enhance the visual appeal of a room while maximizing vertical space, making them an excellent choice for both residential and commercial environments.
– **Description**: Install a couple of floating shelves on your wall. These shelves can be placed at varying heights to create visual interest
**Project Title**: Installation of Floating Shelves
**Objective**: To enhance the aesthetic appeal and functionality of a wall space by installing floating shelves at varying heights.
**Materials Required**:
1. Floating shelves (size and material as per preference)
2. Wall anchors (appropriate for wall type)
3. Screws (included with shelf or suitable for wall anchors)
4. Level
5. Drill
6. Screwdriver
7. Measuring tape
8. Pencil
9. Stud finder (optional, depending on wall type)
**Procedure**:
1. **Select Location**: Identify the wall area where the floating shelves will be installed. Consider the surrounding decor and the purpose of the shelves (e.g., display items, books, etc.).
2. **Determine Heights**: Decide on the varying heights for the shelves. It is advisable to maintain a consistent spacing between the shelves for a cohesive look. Use a measuring tape to mark the desired heights on the wall with a pencil.
3. **Locate Studs (if applicable)**: Use a stud finder to locate wall studs for added support, especially if the shelves will hold heavier items. Mark the stud locations with a pencil.
4. **Mark Shelf Bracket Positions**: Based on the shelf design, mark the positions for the brackets on the wall. Ensure that the marks are level using a level tool.
5. **Drill Holes**: Drill holes at the marked positions. If using wall anchors, ensure the holes are of the appropriate size for the anchors.
6. **Install Wall Anchors**: Insert wall anchors into the drilled holes if necessary. Ensure they are flush with the wall surface.
7. **Attach Brackets**: Secure the brackets to the wall using screws. If attaching to studs, ensure the screws are driven into the studs for maximum support.
8. **Mount Shelves**: Carefully place the floating shelves onto the installed brackets. Ensure they are securely positioned and level.
9. **Final Adjustments**: Step back and assess the arrangement. Make any necessary adjustments to ensure the shelves are visually appealing and level.
10. **Style the Shelves**: Once installed, arrange decorative items, books, or plants on the shelves to enhance the overall aesthetic of the space.
**Conclusion**: The installation of floating shelves at varying heights not only optimizes wall space but also adds a stylish element to the room. This project can be completed in a few hours and significantly enhances the visual interest of the area.