Discover our step-by-step guide to building the LEGO Titanic 10294. Unleash your creativity and craftsmanship with tips for a stunning display piece!
Building the LEGO Titanic 10294 is an exciting and rewarding project for LEGO enthusiasts and Titanic fans alike. This set is known for its intricate details and impressive scale. Here’s a step-by-step guide to help you through the building process:
### Step 1: Preparation
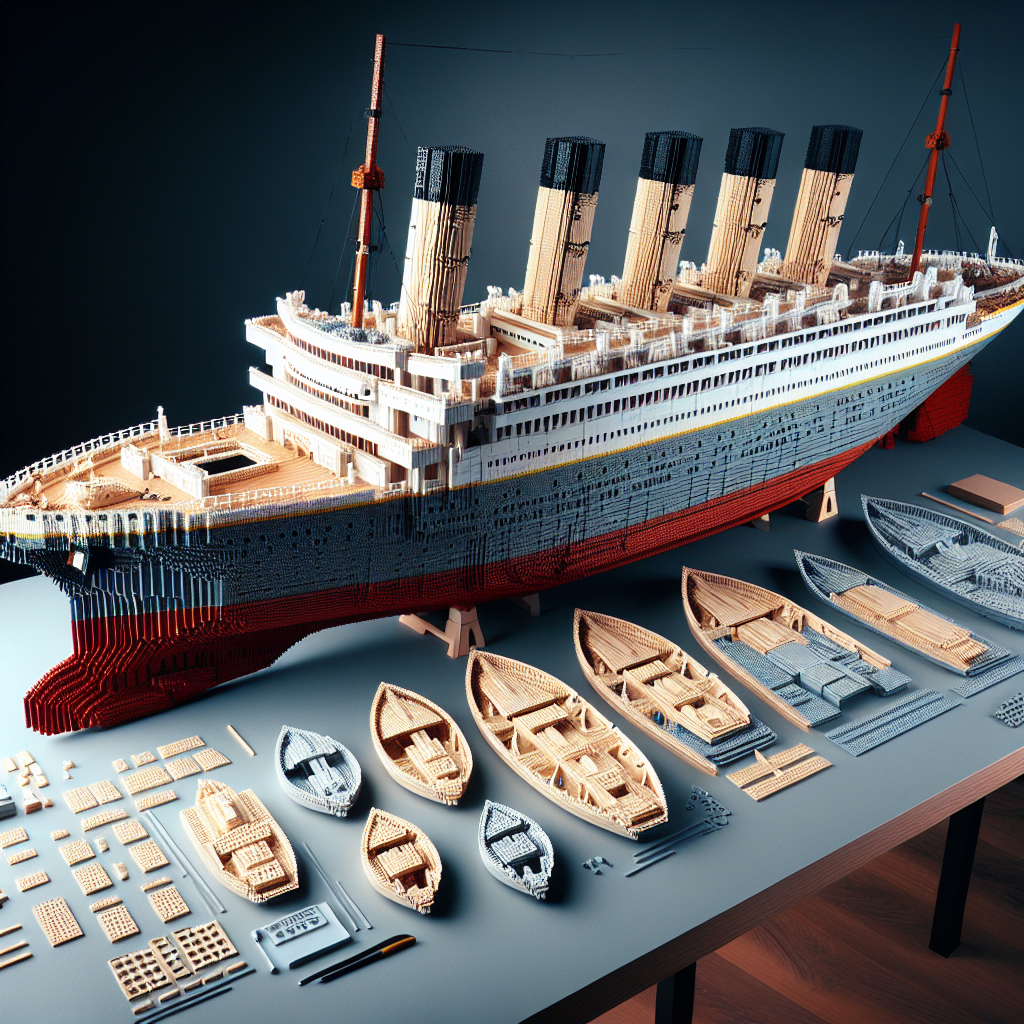
1. **Unbox the Set**: Carefully open the box and lay out all the bags of LEGO bricks. The set typically comes with numbered bags, which will help you keep track of the pieces.
2. **Read the Instructions**: Familiarize yourself with the instruction manual. It contains important information about the build and the history of the Titanic.
3. **Create a Workspace**: Find a large, flat surface to build on. Make sure you have good lighting and enough space to spread out the pieces.
### Step 2: Sort the Pieces
1. **Organize by Color and Size**: Before you start building, it can be helpful to sort the pieces by color or size. This will make it easier to find the pieces you need as you build.
2. **Check for Missing Pieces**: Ensure that all pieces are present by comparing them with the inventory list in the instruction manual.
### Step 3: Start Building
1. **Follow the Instructions**: Begin with the first numbered bag. The instructions will guide you step-by-step through the assembly process.
2. **Build the Hull**: The first part of the build will typically involve constructing the hull of the Titanic. Pay attention to the orientation of the pieces to ensure a sturdy structure.
3. **Add Details**: As you progress, you will start adding details such as the decks, lifeboats, and other features. Take your time to ensure everything is aligned correctly.
### Step 4: Building the Superstructure
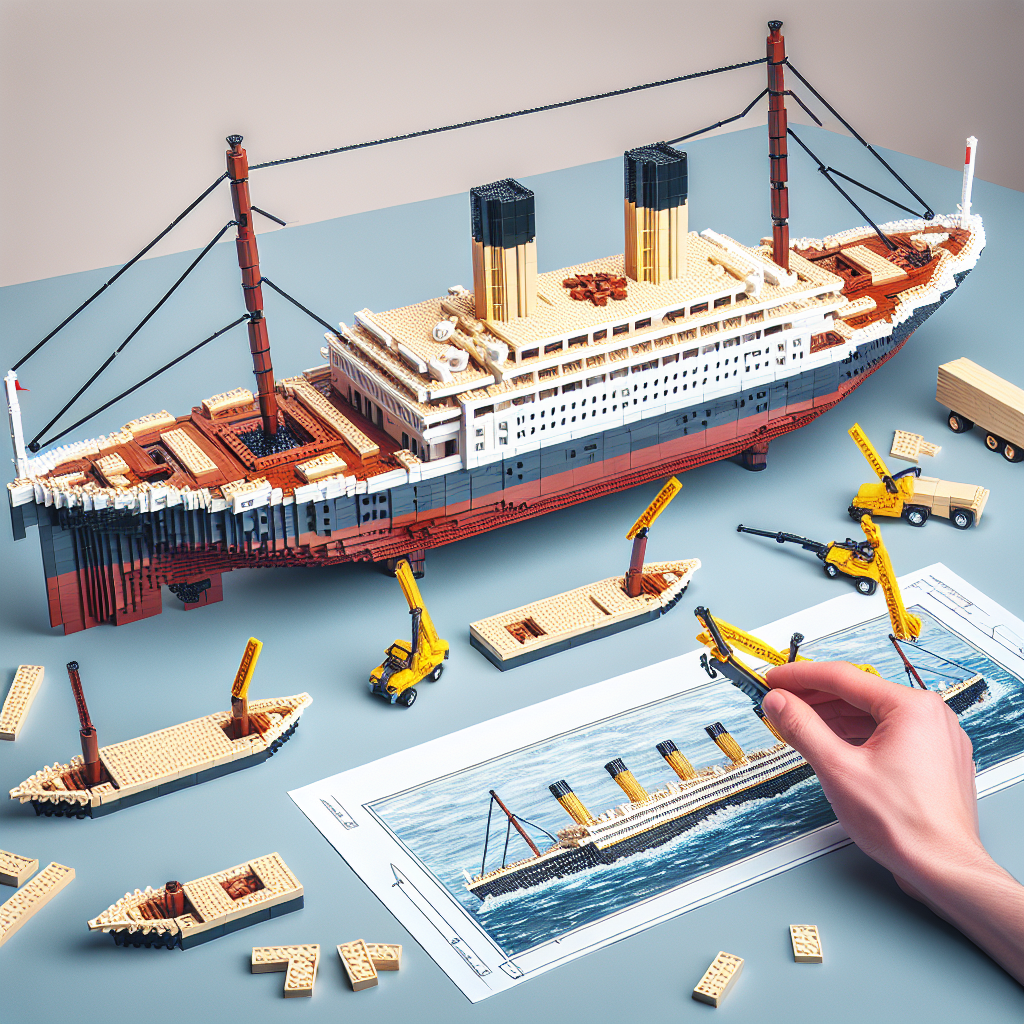
1. **Construct the Upper Decks**: After completing the hull, you will move on to building the upper decks. This includes the bridge, smokestacks, and other iconic features of the Titanic.
2. **Incorporate Interior Details**: The set includes various interior details that can be added as you build. Make sure to follow the instructions closely to get these details right.
### Step 5: Final Touches
1. **Add the Finishing Touches**: Once the main structure is complete, you will add the final details, such as flags, lifeboats, and other accessories.
2. **Check Stability**: Ensure that all parts are securely attached and that the model is stable.
### Step 6: Display Your Model
1. **Find a Suitable Display Location**: Once completed, find a prominent place to display your LEGO Titanic. Consider using a display case to protect it from dust.
2. **Share Your Creation**: Take photos of your completed model and share them with friends or on social media. You can also join LEGO fan communities to showcase your work.
### Tips for Building
– **Take Breaks**: Building such a large set can be time-consuming. Don’t hesitate to take breaks to avoid fatigue.
– **Stay Organized**: Keep your workspace tidy and organized to make the building process smoother.
– **Enjoy the Process**: Building the LEGO Titanic is not just about the final product; enjoy the journey and the intricate details along the way.
### Conclusion
Building the LEGO Titanic 10294 is a fulfilling experience that combines creativity, patience, and attention to detail. By following this step-by-step guide, you’ll be able to construct a stunning replica of one of history’s most famous ships. Happy building!
Building the LEGO Titanic 10294 is an exciting and rewarding experience for LEGO enthusiasts and Titanic fans alike. Here’s a step-by-step guide to help you through the process:
Building the LEGO Titanic 10294 is indeed an exciting and rewarding endeavor for both LEGO enthusiasts and Titanic aficionados. Below is a formal step-by-step guide to assist you in the construction process:
### Step-by-Step Guide to Building the LEGO Titanic 10294
#### Step 1: Preparation
1. **Workspace**: Choose a clean, spacious, and well-lit area to work on your LEGO set. Ensure that you have a flat surface to accommodate the size of the model.
2. **Organize Pieces**: Open the box and carefully sort the LEGO pieces by color and size. This will facilitate easier access during the building process.
3. **Instruction Manual**: Locate the instruction manual included in the set. Familiarize yourself with the layout and the various sections of the build.
#### Step 2: Begin Assembly
1. **Base Construction**: Start by constructing the base of the Titanic. Follow the instructions closely, ensuring that each piece is securely attached.
2. **Building the Hull**: Progress to building the hull of the ship. Pay attention to the orientation of the pieces, as this will affect the overall stability and appearance of the model.
3. **Deck and Superstructure**: Once the hull is complete, begin assembling the decks and superstructure. This includes the iconic features of the Titanic, such as the bridge and smokestacks.
#### Step 3: Detailing
1. **Adding Details**: As you build, incorporate the detailed elements such as lifeboats, railings, and other accessories. These details enhance the authenticity of the model.
2. **Interior Features**: If applicable, consider adding any interior features that may be included in the set. This could involve building rooms or other significant areas within the ship.
#### Step 4: Final Assembly
1. **Connecting Sections**: Once all major components are built, carefully connect them according to the instructions. Ensure that all parts fit snugly and securely.
2. **Final Touches**: Review the model for any missing pieces or adjustments that may be needed. Make sure that all details are in place and that the model is structurally sound.
#### Step 5: Display
1. **Choosing a Display Location**: Select a suitable location to display your completed LEGO Titanic. Consider using a shelf or display case that allows for visibility from all angles.
2. **Maintenance**: Regularly dust the model to keep it looking pristine. Avoid placing it in direct sunlight to prevent any fading of colors.
### Conclusion
Building the LEGO Titanic 10294 is a fulfilling project that requires patience and attention to detail. By following this step-by-step guide, you will not only create a stunning replica of the Titanic but also enjoy the process of construction. Happy building!
### Step 1: Preparation
### Step 1: Preparation
**Objective:** To establish a solid foundation for the task or project at hand, ensuring that all necessary resources, information, and strategies are in place for successful execution.
**Key Components:**
1. **Define Goals and Objectives:**
– Clearly articulate the purpose of the project.
– Set specific, measurable, achievable, relevant, and time-bound (SMART) objectives.
2. **Conduct Research:**
– Gather relevant information and data that will inform your approach.
– Analyze existing literature, case studies, or previous projects related to your topic.
3. **Identify Stakeholders:**
– Determine who will be affected by or involved in the project.
– Engage with stakeholders to understand their needs and expectations.
4. **Resource Assessment:**
– Inventory available resources, including personnel, budget, tools, and technology.
– Identify any gaps in resources and plan for acquisition or allocation.
5. **Develop a Timeline:**
– Create a detailed timeline outlining key milestones and deadlines.
– Ensure that the timeline is realistic and allows for flexibility.
6. **Risk Assessment:**
– Identify potential risks and challenges that may arise during the project.
– Develop mitigation strategies to address these risks proactively.
7. **Create a Communication Plan:**
– Establish clear channels of communication among team members and stakeholders.
– Determine the frequency and format of updates and reports.
8. **Draft a Project Plan:**
– Compile all the information gathered into a comprehensive project plan.
– Include sections on objectives, methodology, timeline, resources, and evaluation criteria.
9. **Review and Revise:**
– Share the project plan with key stakeholders for feedback.
– Make necessary adjustments based on input received.
10. **Finalize Preparation:**
– Confirm that all preparations are complete and that the team is ready to proceed.
– Schedule a kickoff meeting to officially launch the project.
By following these steps, you will ensure that you are well-prepared to move forward with your project, minimizing potential obstacles and maximizing the likelihood of success.
**Unbox and Organize**: Carefully open the box and lay out all the bags of LEGO pieces. The set typically comes with numbered bags, so organize them by number to make the building process smoother
**Unboxing and Organization Procedure**:
Commence by meticulously opening the box to avoid any damage to the contents. Once the box is opened, proceed to lay out all the bags of LEGO pieces in an orderly fashion. It is advisable to organize the bags according to their designated numbers, as this will facilitate a more efficient and streamlined building process. This systematic arrangement will enhance accessibility and ensure that all components are readily available when needed.
Explore how the LEGO Death Star shaped LEGO’s brand evolution, symbolizing creativity, complexity, and the fusion of pop culture with imaginative play.