Discover step-by-step tips to transform your LEGO ideas into reality, from concept development to building techniques and sharing your creation!
Turning your LEGO Ideas project into a reality can be an exciting journey! Here’s a step-by-step guide to help you navigate the process:
### 1. **Develop Your Idea**
– **Conceptualize**: Start with a clear idea. What do you want to build? Is it a specific theme, character, or scene?
– **Research**: Look at existing LEGO sets and themes to ensure your idea is unique and fits within the LEGO brand.
### 2. **Build Your Model**
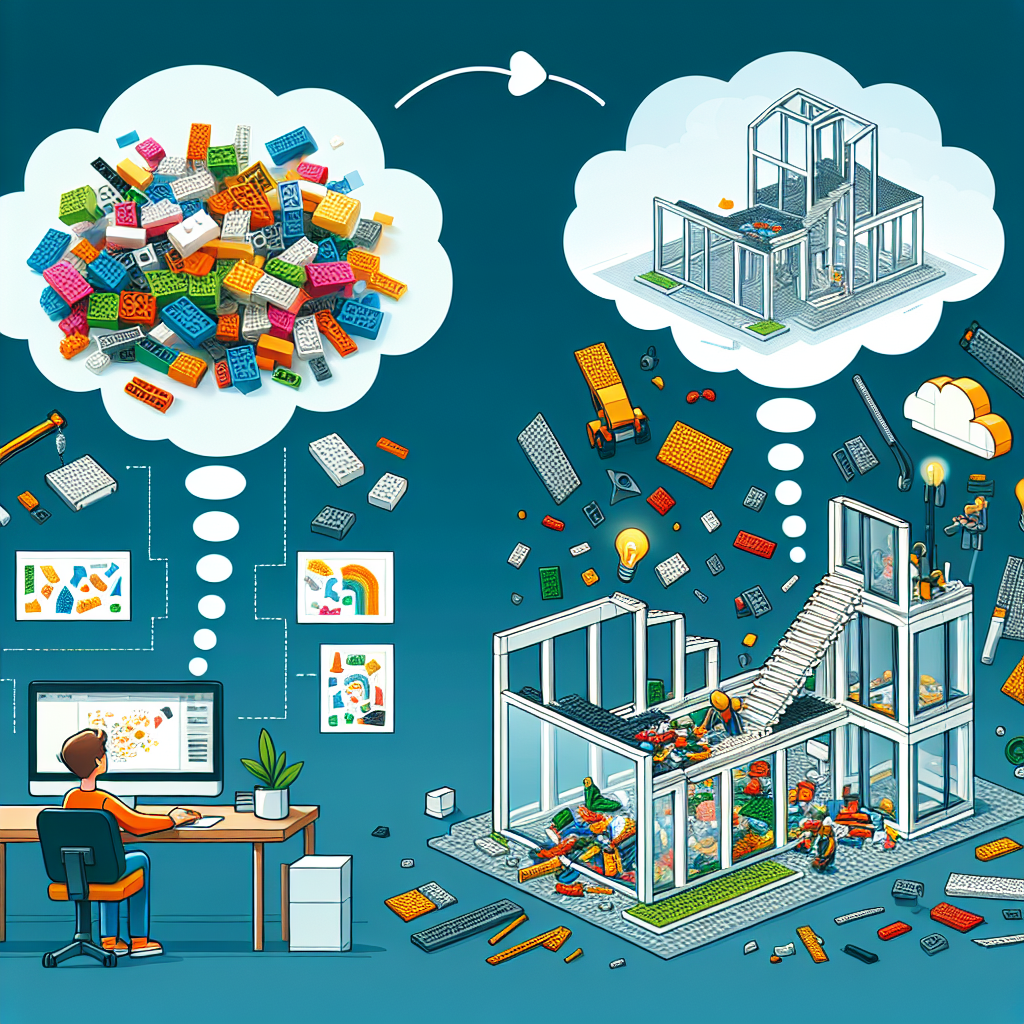
– **Design**: Use actual LEGO bricks to create your model. Pay attention to detail, functionality, and aesthetics.
– **Test Stability**: Ensure your model is sturdy and can withstand handling. Consider how it will be displayed or played with.
### 3. **Document Your Project**
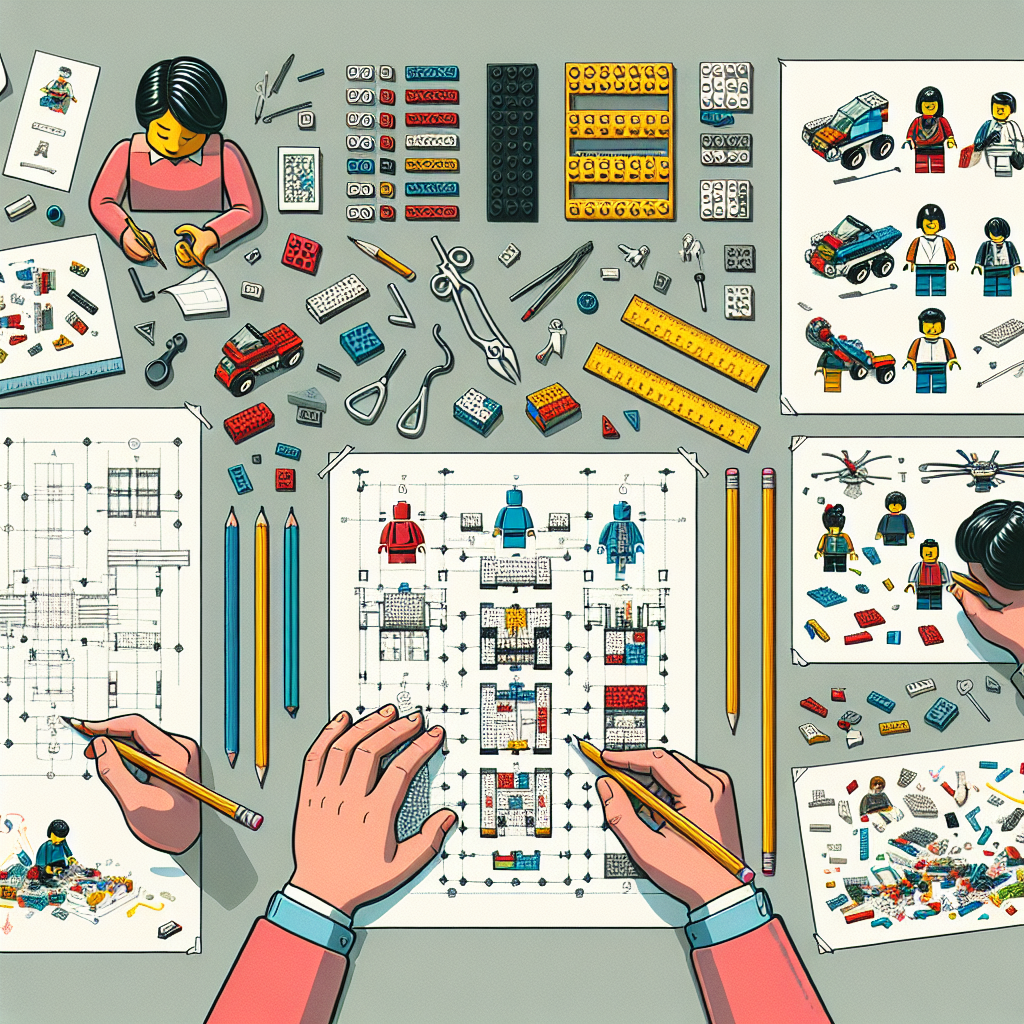
– **Photograph**: Take high-quality photos of your model from various angles. Good visuals are crucial for showcasing your project.
– **Create a Description**: Write a compelling description that explains your idea, its features, and why it would be a great addition to the LEGO lineup.
### 4. **Submit to LEGO Ideas**
– **Create an Account**: If you don’t have one, sign up for a LEGO Ideas account.
– **Follow Guidelines**: Make sure your project adheres to LEGO Ideas submission guidelines, including originality and content restrictions.
– **Submit Your Project**: Upload your photos and description to the LEGO Ideas platform.
### 5. **Promote Your Project**
– **Social Media**: Share your project on social media platforms to gain visibility. Use relevant hashtags and engage with the LEGO community.
– **LEGO Forums**: Participate in LEGO forums and communities to share your project and gather support.
– **Friends and Family**: Encourage them to support your project by voting and sharing it.
### 6. **Gather Support**
– **Reach the 10,000 Supporters**: Your project needs to reach 10,000 supporters to be considered by LEGO. Engage with your audience and encourage them to vote.
– **Respond to Feedback**: Be open to feedback and suggestions from the community. This can help improve your project and increase its appeal.
### 7. **Wait for Review**
– **LEGO Review Period**: Once you reach 10,000 supporters, your project will enter a review period where LEGO evaluates its feasibility and marketability.
– **Be Patient**: This process can take several months, so be patient while waiting for a response.
### 8. **Celebrate or Iterate**
– **If Approved**: If LEGO decides to produce your set, celebrate! You’ll likely be involved in the design process and receive credit for your creation.
– **If Not Approved**: Don’t be discouraged. Use the feedback you receive to improve your project or start a new one.
### 9. **Stay Engaged**
– **Continue Creating**: Keep building and submitting new ideas. The more you create, the better you’ll become at designing and promoting your projects.
– **Connect with the Community**: Stay active in the LEGO community, as networking can lead to new opportunities and collaborations.
### Conclusion
Turning your LEGO Ideas project into a reality requires creativity, persistence, and community engagement. By following these steps, you can increase your chances of success and potentially see your creation on store shelves! Good luck!
Turning your LEGO Ideas project into a reality can be an exciting journey! Here’s a step-by-step guide to help you navigate the process:
Turning your LEGO Ideas project into a reality can be an exciting journey! Here’s a step-by-step guide to help you navigate the process:
### Step 1: Concept Development
– **Identify Your Idea**: Begin by brainstorming and refining your concept. Consider what makes your idea unique and appealing to potential supporters.
– **Research**: Investigate existing LEGO sets and themes to ensure your idea is original and aligns with LEGO’s brand values.
### Step 2: Design and Build
– **Create a Prototype**: Use LEGO bricks to build a physical model of your idea. Focus on functionality, aesthetics, and structural integrity.
– **Digital Design**: Consider using LEGO design software (such as LEGO Digital Designer or BrickLink Studio) to create a digital version of your model, which can help in visualizing and sharing your project.
### Step 3: Documentation
– **Photograph Your Model**: Take high-quality images of your prototype from various angles. Good visuals are crucial for attracting attention.
– **Write a Description**: Craft a compelling project description that outlines the concept, features, and potential appeal of your set. Be clear and concise, highlighting what makes your project special.
### Step 4: Submit to LEGO Ideas
– **Create an Account**: If you haven’t already, sign up for a LEGO Ideas account.
– **Submit Your Project**: Follow the submission guidelines on the LEGO Ideas platform. Upload your images and description, ensuring that you adhere to all requirements.
### Step 5: Promote Your Project
– **Engage with the Community**: Share your project on social media, LEGO forums, and other platforms to gather support. Engage with comments and feedback to build a community around your idea.
– **Leverage Networks**: Reach out to friends, family, and fellow LEGO enthusiasts to encourage them to support your project.
### Step 6: Gather Support
– **Aim for 10,000 Votes**: Your project needs to reach 10,000 supporters to be considered by LEGO for potential production. Continue promoting your project and engaging with the community to reach this milestone.
### Step 7: Await Review
– **LEGO Review Process**: If your project reaches 10,000 votes, it will enter the LEGO review process. Be patient, as this can take several months.
– **Stay Informed**: Keep an eye on announcements from LEGO regarding the status of your project.
### Step 8: Celebrate and Adapt
– **Receive Feedback**: If your project is selected for production, celebrate this achievement! If not, consider the feedback provided by LEGO and think about how you can improve or adapt your idea for future submissions.
– **Continue Creating**: Regardless of the outcome, continue to innovate and create new projects. The journey of a LEGO Ideas creator is ongoing and filled with opportunities for growth.
By following these steps, you can effectively navigate the process of turning your LEGO Ideas project into a reality. Good luck, and may your creativity inspire others!
### 1. **Develop Your Idea**
**Developing Your Idea: A Structured Approach**
1. **Identify the Core Concept**: Begin by clearly articulating the central idea you wish to develop. This involves defining the problem it addresses, the target audience, and the unique value proposition it offers.
2. **Conduct Market Research**: Gather data on existing solutions, market trends, and potential competitors. This will help you understand the landscape and identify gaps that your idea can fill.
3. **Define Objectives and Goals**: Establish specific, measurable, achievable, relevant, and time-bound (SMART) objectives that will guide the development of your idea. This will provide a clear framework for assessing progress.
4. **Create a Detailed Plan**: Outline the steps necessary to bring your idea to fruition. This should include timelines, resources required, and key milestones. A well-structured plan will serve as a roadmap for implementation.
5. **Seek Feedback**: Engage with potential users, stakeholders, or mentors to gather insights and constructive criticism. This feedback is invaluable for refining your idea and ensuring it meets the needs of your target audience.
6. **Prototype and Test**: Develop a prototype or a minimum viable product (MVP) to test your idea in a real-world context. This allows you to gather data on its effectiveness and make necessary adjustments based on user experience.
7. **Iterate and Improve**: Use the feedback and data collected during testing to refine your idea. Iteration is key to enhancing the concept and ensuring it resonates with your audience.
8. **Develop a Marketing Strategy**: Create a comprehensive marketing plan that outlines how you will promote your idea to your target audience. This should include branding, messaging, and channels for outreach.
9. **Plan for Implementation**: Consider the logistics of launching your idea. This includes budgeting, resource allocation, and establishing partnerships or collaborations that may be necessary for success.
10. **Monitor and Evaluate**: After implementation, continuously monitor the performance of your idea against the established objectives. Regular evaluation will help you identify areas for improvement and ensure long-term sustainability.
By following this structured approach, you can effectively develop your idea into a viable and impactful solution.
– **Conceptualize**: Start with a clear idea. What do you want to build? Is it a specific theme, character, or scene?
**Conceptualization Phase**
1. **Define the Purpose**: Begin by articulating the primary objective of your project. Are you aiming to create a narrative, a visual piece, or an interactive experience? Understanding the purpose will guide your creative decisions.
2. **Identify the Theme**: Determine the overarching theme that will unify your work. This could range from love, conflict, and adventure to more abstract concepts like identity or transformation. A well-defined theme will provide depth and resonance to your project.
3. **Character Development**: If your project involves characters, outline their traits, motivations, and arcs. Consider how they relate to the theme and to one another. Strong, well-rounded characters can drive the narrative and engage the audience.
4. **Scene Setting**: If your focus is on a specific scene, visualize the environment. What are the key elements that will enhance the atmosphere? Consider aspects such as time of day, weather, and cultural context. A vivid setting can significantly impact the mood and tone of your work.
5. **Audience Consideration**: Reflect on your target audience. What are their interests, preferences, and expectations? Tailoring your concept to resonate with your audience can enhance engagement and impact.
6. **Research and Inspiration**: Gather inspiration from various sources—literature, art, film, or real-life experiences. Researching similar themes or characters can provide valuable insights and spark new ideas.
7. **Outline the Structure**: Create a preliminary outline of your project. This could include key plot points, character interactions, or visual elements. A structured approach will help maintain focus and coherence throughout the development process.
8. **Feedback Loop**: Consider establishing a feedback mechanism. Sharing your concept with trusted peers or mentors can provide fresh perspectives and constructive criticism, helping to refine your idea further.
By following these steps, you can develop a clear and compelling concept that serves as a strong foundation for your creative endeavor.