Discover creative ways to securely mount LEGO cars on your wall with our DIY guide. Transform your space while showcasing your collection safely!
Mounting LEGO cars on the wall can be a fun and creative way to display your collection. Here’s a DIY guide to securely mount LEGO cars on the wall while ensuring they are safe and visually appealing.
### Materials Needed:
1. **LEGO Cars**: Your collection of LEGO cars.
2. **Mounting Base**:
– **Shadow Box Frame**: A deep frame that can hold the cars.
– **Wooden Board**: A sturdy piece of wood (like plywood) to create a custom display.
3. **Mounting Hardware**:
– **Picture Hanging Strips**: For a damage-free option.
– **Wall Anchors and Screws**: For a more permanent solution.
4. **Adhesive**:
– **Hot Glue Gun**: For securing the cars to the base.
– **Super Glue**: For a stronger bond if needed.
5. **Paint or Stain**: Optional, for finishing the wooden board.
6. **Level**: To ensure your display is straight.
7. **Measuring Tape**: For accurate placement.
8. **Drill**: If using screws and anchors.
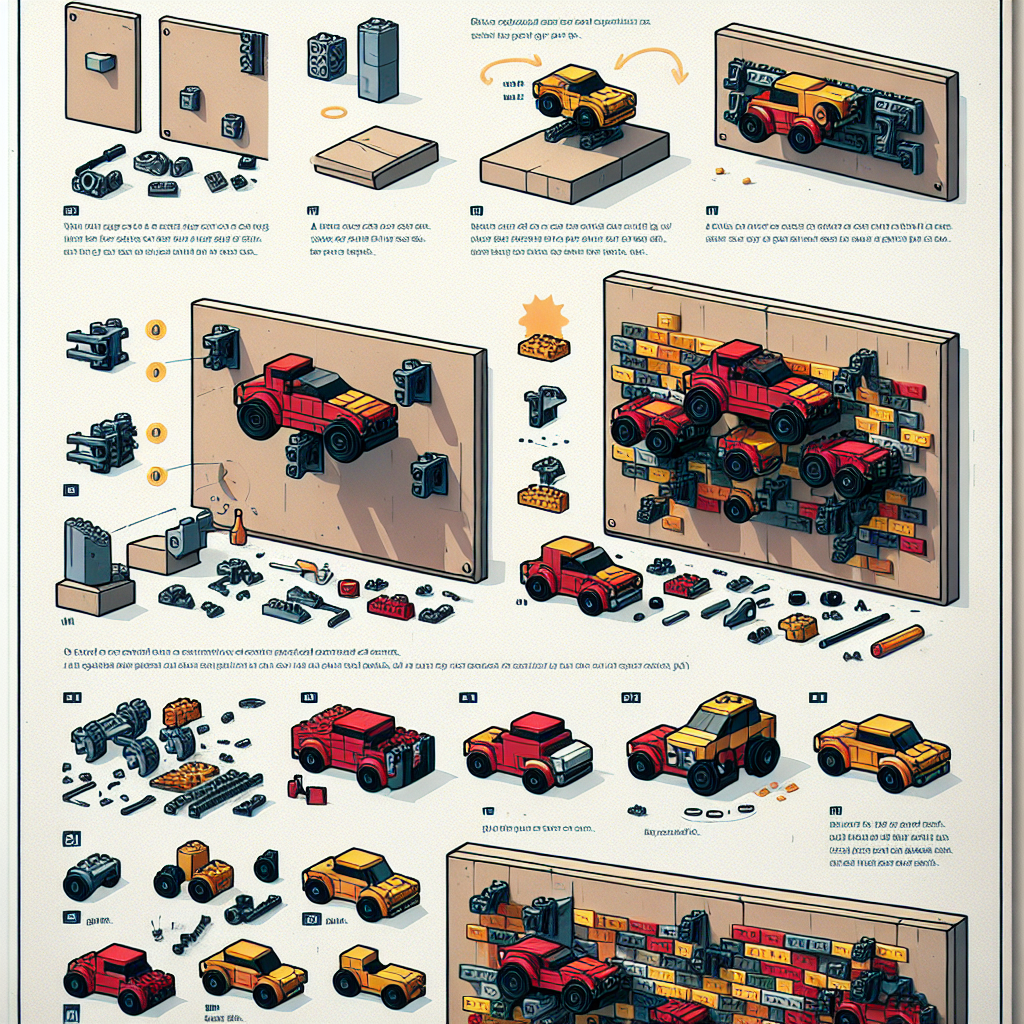
### Steps to Securely Mount LEGO Cars:
#### Step 1: Choose Your Display Method
Decide whether you want to use a shadow box frame or a wooden board. A shadow box is great for a more enclosed display, while a wooden board allows for more customization.
#### Step 2: Prepare the Base
– **For a Shadow Box**: Remove the back and ensure it’s clean and ready for mounting.
– **For a Wooden Board**: Sand the edges and surface to avoid splinters. Paint or stain it if desired, and let it dry completely.
#### Step 3: Plan Your Layout
– Arrange the LEGO cars on the base without attaching them first. This will help you visualize the final look and make adjustments as needed.
– Consider spacing and orientation for an aesthetically pleasing display.
#### Step 4: Secure the Cars
– Once you’re satisfied with the layout, start attaching the cars:
– **Hot Glue**: Apply a small amount of hot glue to the bottom of each car and press it onto the base. Hold it in place for a few seconds until the glue sets.
– **Super Glue**: For a more permanent bond, use super glue instead of hot glue.
#### Step 5: Mount the Display
– **Using Picture Hanging Strips**:
– Follow the instructions on the package to attach the strips to the back of the frame or board and the wall.
– **Using Wall Anchors and Screws**:
– Mark the spots on the wall where you want to mount the display. Use a level to ensure it’s straight.
– Drill holes and insert wall anchors if necessary. Then, screw the display into place.
#### Step 6: Final Touches
– Once mounted, check that all cars are secure and adjust if necessary.
– Clean the display area to remove any dust or fingerprints.
### Tips for Success:
– **Weight Consideration**: Ensure that the mounting method can support the weight of the cars and the base.
– **Location**: Choose a location that is not prone to vibrations or disturbances to prevent the cars from falling.
– **Accessibility**: If you want to change the display often, consider using removable mounting options.
### Conclusion
With these steps, you can create a beautiful and secure display for your LEGO cars that showcases your collection while keeping it safe. Enjoy your new wall-mounted display!
Mounting LEGO cars on the wall can be a fun and creative way to display your collection while keeping your space organized. Here’s a DIY guide to securely mount LEGO cars on the wall:
**DIY Guide to Securely Mounting LEGO Cars on the Wall**
**Introduction**
Displaying your LEGO car collection on the wall not only enhances the aesthetic appeal of your space but also provides an organized way to showcase your creativity. This guide outlines a step-by-step process to securely mount LEGO cars on the wall, ensuring both safety and visual impact.
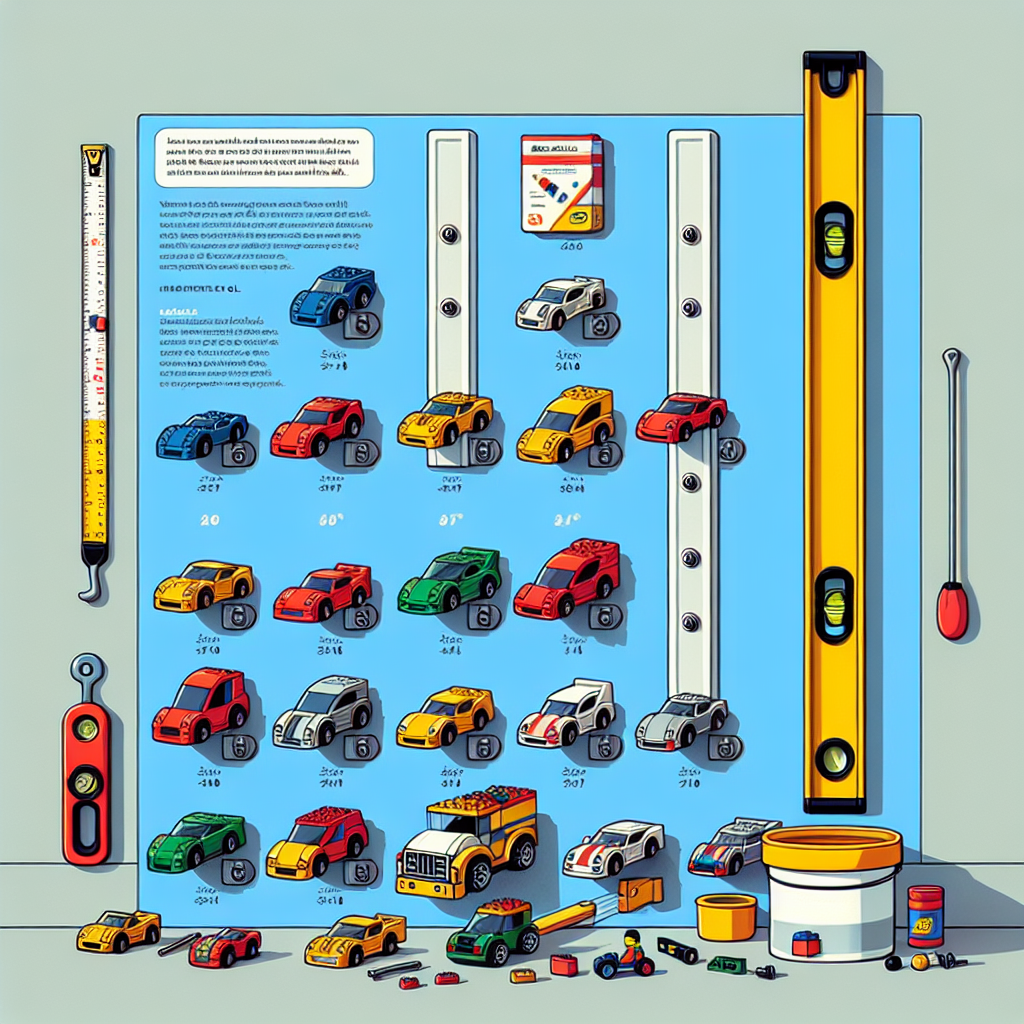
**Materials Needed**
1. **LEGO Cars**: Your collection of LEGO vehicles.
2. **Mounting Base**: Options include:
– Shadow boxes
– Floating shelves
– Custom-built display cases
3. **Adhesive Strips or Mounting Tape**: Strong double-sided tape or adhesive strips designed for wall mounting.
4. **Wall Anchors and Screws**: For heavier displays, ensure stability.
5. **Level**: To ensure your display is straight.
6. **Measuring Tape**: For accurate placement.
7. **Pencil**: For marking positions on the wall.
8. **Drill**: If using wall anchors and screws.
9. **Optional**: Paint or decorative paper for customizing the background of your display.
**Step-by-Step Instructions**
1. **Select the Display Location**: Choose a wall that is visible and accessible. Ensure it is free from obstructions and has adequate lighting.
2. **Choose Your Mounting Base**: Decide whether you will use shadow boxes, floating shelves, or a custom display case. Consider the size of your LEGO cars and the number of vehicles you wish to display.
3. **Prepare the Mounting Base**: If desired, paint or line the back of your display with decorative paper to enhance the visual appeal.
4. **Measure and Mark**: Use the measuring tape to determine the desired height and spacing for your display. Mark the positions on the wall with a pencil.
5. **Install the Mounting Base**:
– For adhesive strips: Follow the manufacturer’s instructions to apply the strips to the back of the mounting base and press it firmly against the wall.
– For wall anchors and screws: Drill holes at the marked positions, insert wall anchors, and secure the mounting base with screws.
6. **Arrange the LEGO Cars**: Before permanently attaching the cars, arrange them on the mounting base to determine the best layout. Consider grouping similar models or creating a thematic display.
7. **Secure the LEGO Cars**: Once satisfied with the arrangement, use adhesive strips or mounting tape to attach each LEGO car to the base. Ensure that the adhesive is strong enough to support the weight of the cars.
8. **Final Adjustments**: Step back and assess the display. Make any necessary adjustments to ensure everything is aligned and visually appealing.
9. **Enjoy Your Display**: Once everything is securely mounted, take a moment to appreciate your handiwork. Your LEGO car collection is now beautifully displayed and easily accessible.
**Conclusion**
Mounting LEGO cars on the wall is a rewarding project that allows you to showcase your collection in a unique and organized manner. By following this guide, you can create a visually striking display that enhances your space while keeping your LEGO cars safe and secure. Enjoy your creative endeavor!
### Materials Needed:
It seems like your request is incomplete. Could you please provide more context or specify what materials you need? For example, are you looking for materials for a specific project, event, or topic? This will help me assist you better.
**LEGO Cars**: Your collection of LEGO cars
**LEGO Cars Collection**
**Introduction**
The LEGO Cars collection is a curated assortment of LEGO sets and models that represent various vehicles, ranging from classic cars to modern supercars. This collection not only showcases the creativity and engineering prowess of LEGO but also serves as a testament to the enduring popularity of automotive design.
**Collection Overview**
1. **Classic Cars**
– **LEGO Creator Expert 10265 Ford Mustang**: A detailed replica of the iconic 1960s Ford Mustang, featuring a customizable design with various color options and interior details.
– **LEGO Creator 31089 Vintage Car**: A charming model that captures the essence of vintage automobiles, complete with retro styling and movable parts.
2. **Modern Supercars**
– **LEGO Technic 42115 Lamborghini Sián FKP 37**: A highly detailed model that reflects the sleek design and engineering of the Lamborghini Sián, featuring working doors, a V12 engine, and an intricate drivetrain.
– **LEGO Speed Champions 76909 McLaren Elva**: A compact and accurate representation of the McLaren Elva, designed for speed enthusiasts and collectors alike.
3. **Off-Road Vehicles**
– **LEGO Technic 42110 Land Rover Defender**: A robust model that captures the ruggedness of the Land Rover Defender, complete with functional features such as a working winch and adjustable suspension.
– **LEGO City 60216 Police Mobile Command Unit**: A versatile set that includes an off-road vehicle designed for police operations, showcasing the intersection of law enforcement and automotive design.
4. **Futuristic and Concept Cars**
– **LEGO Creator 31088 Race Car Transporter**: A set that includes a futuristic race car and a transporter, emphasizing innovation in automotive design.
– **LEGO Speed Champions 76911 Ferrari 488 GTE**: A model that represents the cutting-edge design and performance of Ferrari’s racing vehicles.
**Conclusion**
The LEGO Cars collection is a celebration of automotive history and innovation, offering enthusiasts and collectors a diverse range of models to explore. Each set not only provides an engaging building experience but also serves as a conversation piece, reflecting the intersection of creativity, engineering, and design in the world of automobiles.