"Discover tips to document your LEGO F1 building journey! Capture progress, share insights, and showcase your creativity in this exciting hobby."
Documenting your LEGO F1 building journey can be a fun and rewarding experience, allowing you to capture the creative process, share your progress with others, and reflect on your achievements. Here’s a step-by-step guide to help you document your journey effectively:
### 1. **Set Up Your Documentation Tools**
– **Choose a Platform**: Decide where you want to document your journey. Options include a blog, social media (Instagram, Twitter, Facebook), YouTube, or a personal journal.
– **Photography Equipment**: Use a good camera or smartphone to take high-quality photos. Consider using a tripod for stability.
– **Video Recording**: If you plan to create video content, ensure you have a decent camera and microphone for clear audio and visuals.
### 2. **Create a Project Plan**
– **Define Your Goals**: What do you want to achieve with your LEGO F1 build? Is it a specific model, a custom design, or a themed collection?
– **Timeline**: Set a timeline for your project, including milestones for different stages of the build.
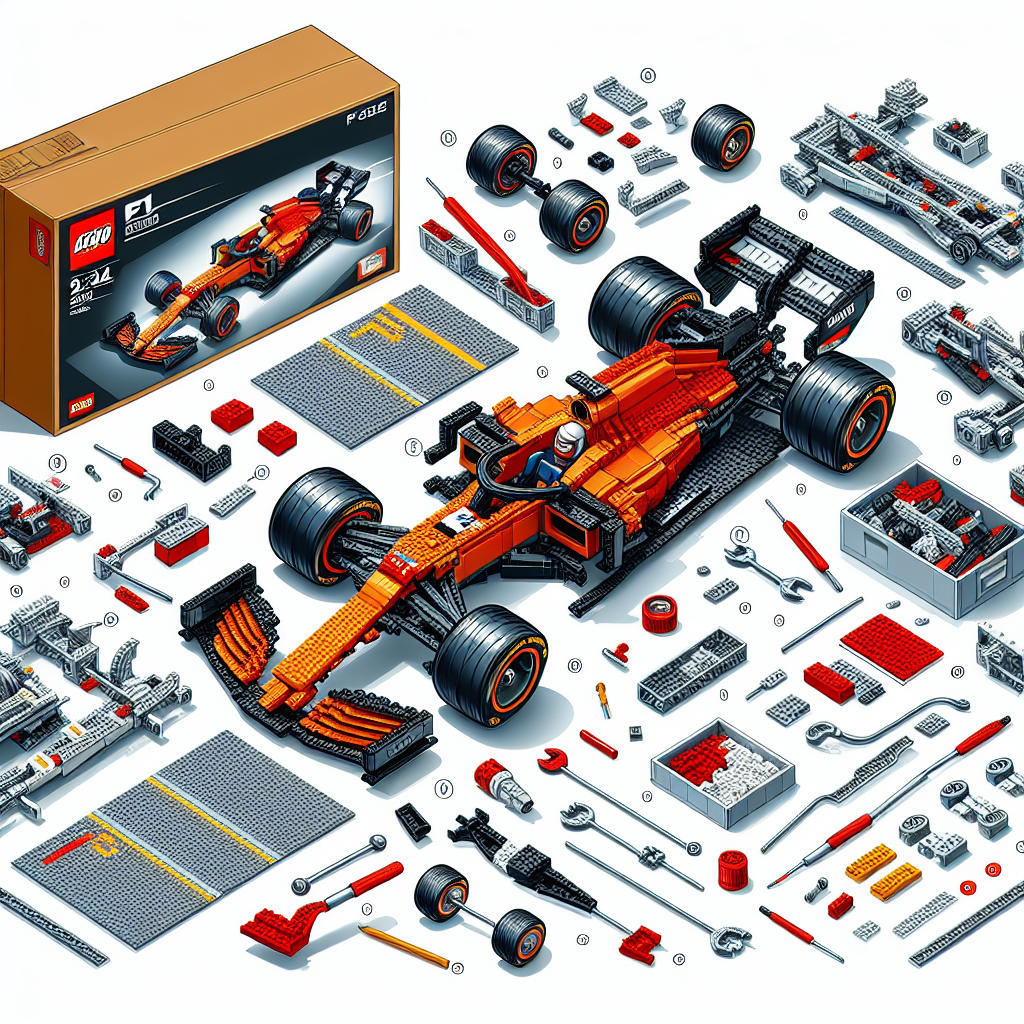
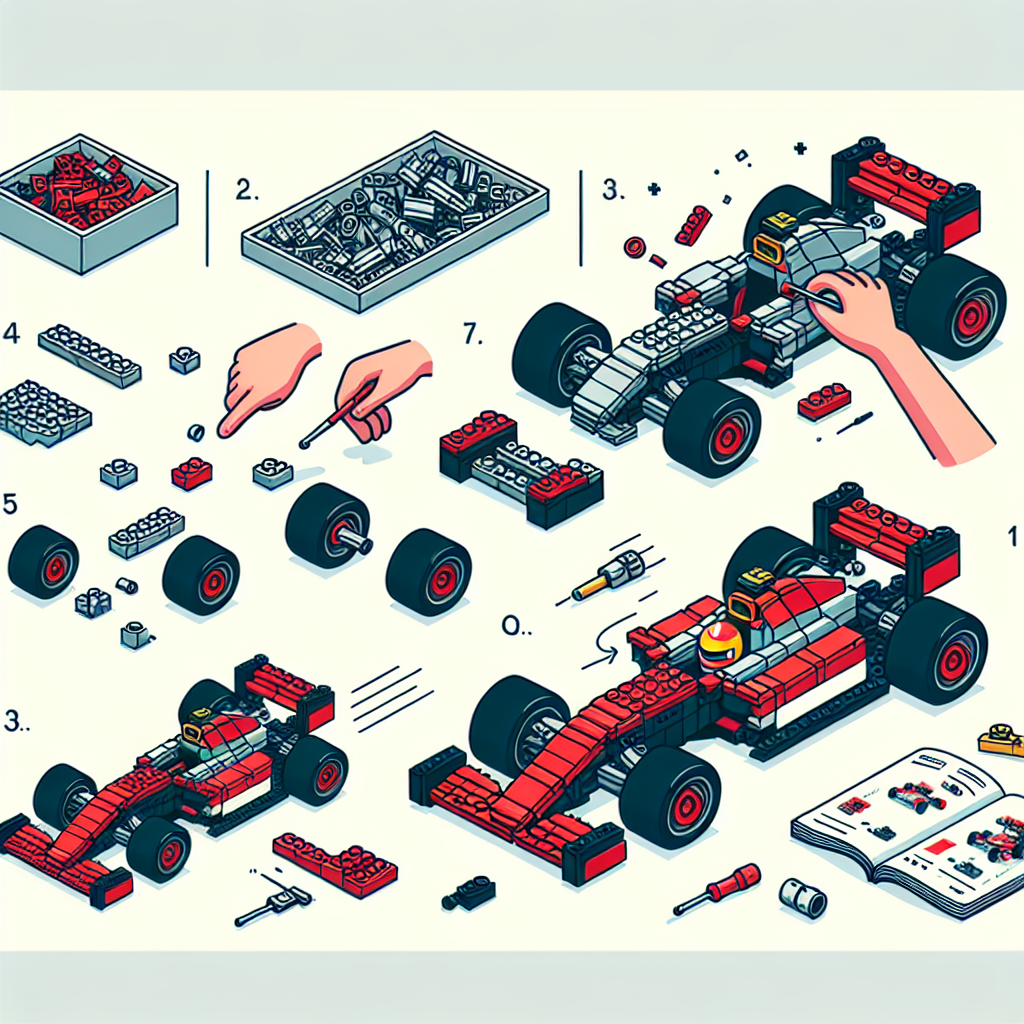
### 3. **Document the Building Process**
– **Take Photos**: Capture images at various stages of the build. Include:
– The initial setup (boxes, instructions, and pieces).
– Key milestones (completed sections, unique techniques).
– Final assembly.
– **Write Descriptions**: Accompany your photos with descriptions of what you’re doing, challenges faced, and techniques used.
– **Time-Lapse Videos**: Consider recording time-lapse videos of your building process to show the progression in a condensed format.
### 4. **Share Your Progress**
– **Social Media Updates**: Post regular updates on your chosen platform. Use relevant hashtags (e.g., #LEGO, #F1, #LEGOBuilder) to reach a wider audience.
– **Engage with the Community**: Join LEGO and F1-related groups or forums to share your progress and get feedback.
### 5. **Reflect on Your Experience**
– **Write About Challenges**: Document any challenges you faced during the build and how you overcame them.
– **Share Tips and Tricks**: If you discovered any useful techniques or shortcuts, share them with your audience.
– **Personal Insights**: Reflect on what you enjoyed most about the process and what you learned.
### 6. **Create a Final Showcase**
– **Final Photoshoot**: Once your build is complete, take high-quality photos from different angles. Consider using a backdrop that complements your model.
– **Video Review**: Create a video showcasing the finished product, discussing features, and sharing your thoughts on the build.
– **Write a Summary**: Summarize your journey, including what you learned, your favorite moments, and any future plans for LEGO building.
### 7. **Preserve Your Documentation**
– **Compile Everything**: Gather all your photos, videos, and written content into a single document or digital album.
– **Backup Your Work**: Ensure you have backups of your documentation on cloud storage or an external hard drive.
### 8. **Engage with Your Audience**
– **Ask for Feedback**: Encourage your audience to share their thoughts and experiences related to LEGO building.
– **Host a Q&A**: Consider hosting a live session or a Q&A to discuss your build and answer questions from fellow enthusiasts.
### 9. **Plan Your Next Project**
– **Set New Goals**: After completing your F1 build, think about what you want to tackle next. Documenting your journey can become a continuous process!
By following these steps, you can create a comprehensive and engaging documentation of your LEGO F1 building journey that you can cherish and share with others. Happy building!
Documenting your LEGO F1 building journey can be a fun and rewarding experience, allowing you to capture the creative process, share your progress with others, and reflect on your achievements. Here’s a step-by-step guide on how to effectively document your journey:
**Documenting Your LEGO F1 Building Journey: A Step-by-Step Guide**
Documenting your LEGO F1 building journey can be an enriching experience, enabling you to capture the creative process, share your progress with a community of enthusiasts, and reflect on your accomplishments. Below is a structured approach to effectively document your journey.
### Step 1: Define Your Objectives
Before you begin, clarify your goals for documenting your journey. Consider the following questions:
– What do you hope to achieve through this documentation?
– Who is your intended audience (friends, family, online community)?
– How will you share your documentation (blog, social media, video)?
### Step 2: Choose Your Documentation Medium
Select the medium that best suits your style and audience. Options include:
– **Written Journal**: A traditional approach that allows for detailed descriptions and reflections.
– **Blog**: An online platform to share your journey with a wider audience.
– **Social Media**: Platforms like Instagram or Twitter for quick updates and visual storytelling.
– **Video**: Create a vlog to visually document the building process and share insights.
### Step 3: Capture the Initial Inspiration
Begin your documentation by noting what inspired you to build a LEGO F1 model. This could include:
– Personal interests in motorsports or LEGO.
– Specific F1 teams or cars that motivate you.
– Any relevant background information or research.
### Step 4: Document the Building Process
As you progress through the building stages, capture key moments:
– **Photographs**: Take high-quality images at various stages of construction. Consider before-and-after shots to highlight progress.
– **Notes**: Write down your thoughts, challenges faced, and solutions found during the building process.
– **Time-lapse Videos**: If possible, record time-lapse videos to showcase the entire building process in a condensed format.
### Step 5: Reflect on Challenges and Solutions
Document any challenges you encounter and how you overcame them. This could include:
– Difficult pieces or complex assembly steps.
– Adjustments made to the original design.
– Lessons learned that could benefit others in the community.
### Step 6: Share Your Progress
Regularly share updates with your audience. This could involve:
– Posting progress photos or videos on social media.
– Writing blog posts detailing specific stages of the build.
– Engaging with comments and feedback from your audience to foster a sense of community.
### Step 7: Showcase the Final Product
Once your LEGO F1 model is complete, dedicate a section of your documentation to showcase the final product:
– **High-Quality Photos**: Capture the completed model from various angles.
– **Detailed Description**: Write about the features of the model, including any unique elements or modifications you made.
– **Personal Reflection**: Share your feelings about the completed project and what it means to you.
### Step 8: Encourage Interaction
Invite your audience to engage with your documentation:
– Ask for feedback or suggestions for future builds.
– Encourage others to share their own LEGO building experiences.
– Consider hosting a Q&A session or live stream to discuss your journey.
### Step 9: Archive Your Documentation
Finally, ensure that your documentation is preserved for future reference:
– Organize your notes, photos, and videos in a dedicated folder or online platform.
– Consider creating a digital scrapbook or portfolio to showcase your journey.
### Conclusion
Documenting your LEGO F1 building journey can be a fulfilling endeavor that not only enhances your own experience but also inspires and connects with others in the LEGO community. By following these steps, you can create a comprehensive and engaging record of your creative process. Enjoy the journey!
### 1. **Set Up Your Documentation Tools**
### 1. Set Up Your Documentation Tools
Establishing a robust documentation framework is essential for effective communication and knowledge management within any organization. The following steps outline the process for setting up your documentation tools in a formal manner:
#### 1.1 Identify Documentation Needs
– **Assess Requirements**: Conduct a thorough analysis of the types of documentation required for your organization, including policies, procedures, technical manuals, and training materials.
– **Stakeholder Input**: Engage with key stakeholders to gather insights on their documentation needs and preferences.
#### 1.2 Select Appropriate Tools
– **Tool Evaluation**: Research and evaluate various documentation tools that align with your organization’s needs. Consider factors such as usability, collaboration features, integration capabilities, and cost.
– **Trial Period**: Implement a trial period for selected tools to assess their functionality and user experience.
#### 1.3 Establish Documentation Standards
– **Format and Style Guidelines**: Develop clear guidelines for document formatting, style, and structure to ensure consistency across all documentation.
– **Version Control**: Implement a version control system to track changes and maintain the integrity of documents over time.
#### 1.4 Create a Centralized Repository
– **Document Management System**: Set up a centralized document management system (DMS) to store, organize, and retrieve documentation efficiently.
– **Access Control**: Define user roles and permissions to ensure that sensitive information is protected while allowing appropriate access to relevant personnel.
#### 1.5 Train Staff on Documentation Practices
– **Training Sessions**: Conduct training sessions for staff to familiarize them with the documentation tools and standards.
– **Ongoing Support**: Provide ongoing support and resources to assist staff in adhering to documentation practices.
#### 1.6 Monitor and Review
– **Regular Audits**: Schedule regular audits of documentation practices to ensure compliance with established standards and identify areas for improvement.
– **Feedback Mechanism**: Implement a feedback mechanism to gather input from users on the effectiveness of the documentation tools and processes.
By following these steps, organizations can establish a comprehensive documentation framework that enhances communication, promotes knowledge sharing, and supports operational efficiency.
– **Choose a Platform**: Decide where you want to document your journey. Options include:
When choosing a platform to document your journey, consider the following options:
1. **Blogging Platforms**:
– **WordPress**: Highly customizable and great for long-form content.
– **Blogger**: User-friendly and easy to set up for beginners.
– **Medium**: Focuses on writing and storytelling, with a built-in audience.
2. **Social Media**:
– **Instagram**: Ideal for visual storytelling with photos and short captions.
– **Facebook**: Good for sharing updates with friends and family.
– **Twitter**: Great for quick updates and engaging with a broader audience.
3. **Video Platforms**:
– **YouTube**: Perfect for vlogging and sharing video content.
– **TikTok**: Great for short, engaging video snippets of your journey.
4. **Journaling Apps**:
– **Day One**: A digital journal that allows for text, photos, and audio entries.
– **Journey**: A cross-platform journaling app that supports multimedia entries.
5. **Project Management Tools**:
– **Trello**: Use boards to document milestones and progress visually.
– **Notion**: A versatile tool for creating a structured documentation space.
6. **Podcasts**:
– **Anchor**: Easy to use for recording and sharing your journey in audio format.
– **Spotify**: If you want to reach a larger audience with your podcast.
7. **Personal Website**:
– Create your own website using platforms like Wix or Squarespace to have full control over your content and design.
8. **Community Forums**:
– **Reddit**: Share your journey in relevant subreddits to engage with like-minded individuals.
– **Facebook Groups**: Join groups related to your journey for support and sharing.
Choose a platform that aligns with your goals, audience, and preferred style of documentation.
The LEGO Porsche RSR is a stunning model that captures the essence of the iconic sports car, offering an engaging building experience and showcasing intricate details.