"Discover step-by-step tips to create an exciting LEGO F1 diorama, from track design to car placement, for a stunning display of racing action!"
Creating a LEGO F1 diorama can be a fun and rewarding project! Here’s a step-by-step guide to help you design and build your own LEGO Formula 1 diorama:
### Step 1: Gather Materials
– **LEGO Bricks**: Collect a variety of LEGO bricks, including baseplates, bricks for the track, cars, and minifigures.
– **Baseplate**: Choose a large baseplate to serve as the foundation of your diorama.
– **Accessories**: Consider adding trees, spectators, pit stops, grandstands, and other elements to enhance the scene.
– **Reference Images**: Look for images of F1 tracks, cars, and pit stops for inspiration.
### Step 2: Plan Your Layout
– **Choose a Track**: Decide on a specific F1 track or create a fictional one. Sketch a layout on paper to visualize the design.
– **Determine Scale**: Decide on the scale of your diorama. This will help you choose the size of the cars and other elements.
– **Positioning**: Plan where to place the track, pit stops, grandstands, and any other features.
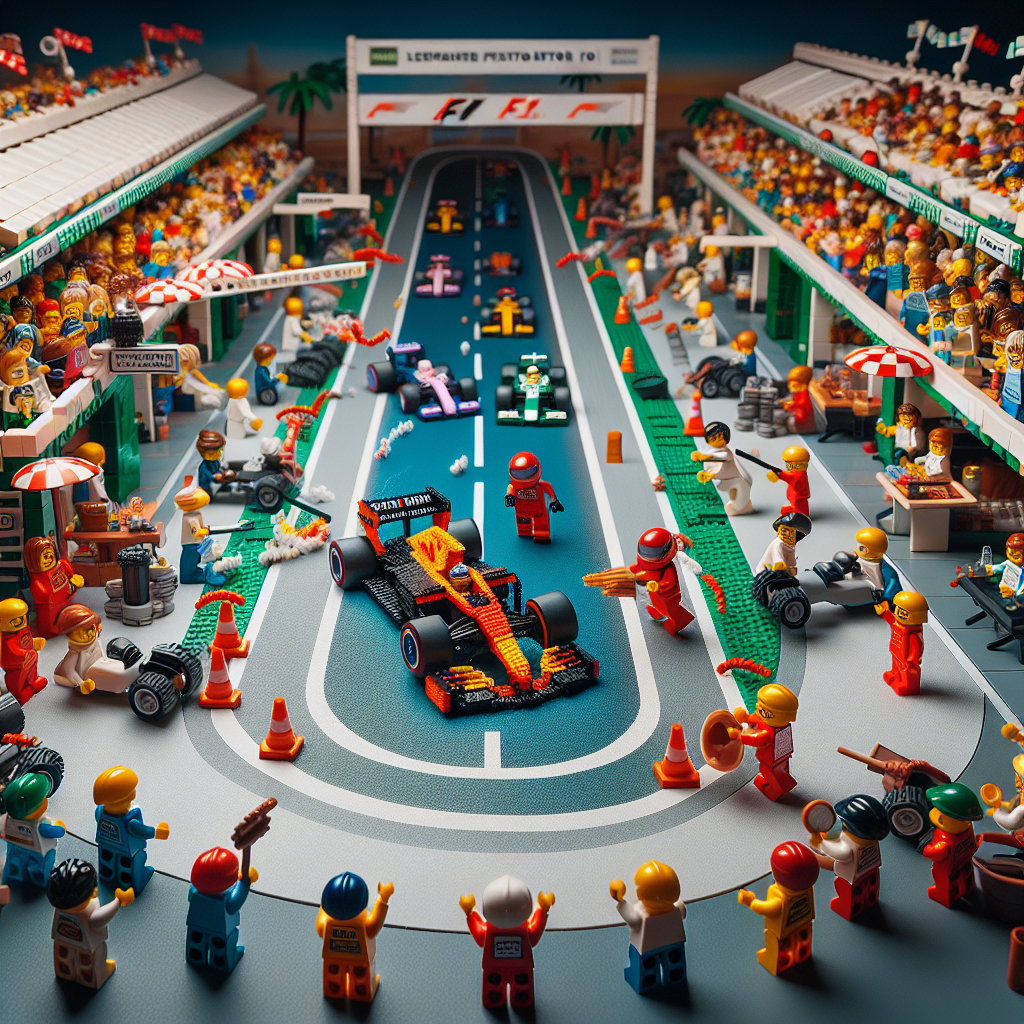
### Step 3: Build the Track
– **Create the Circuit**: Use black bricks or plates to form the track. You can create curves, straights, and elevation changes.
– **Add Track Details**: Use white bricks or tiles to create track markings, such as lane dividers and pit lane entries.
– **Include Barriers**: Add barriers or fencing along the sides of the track for realism.
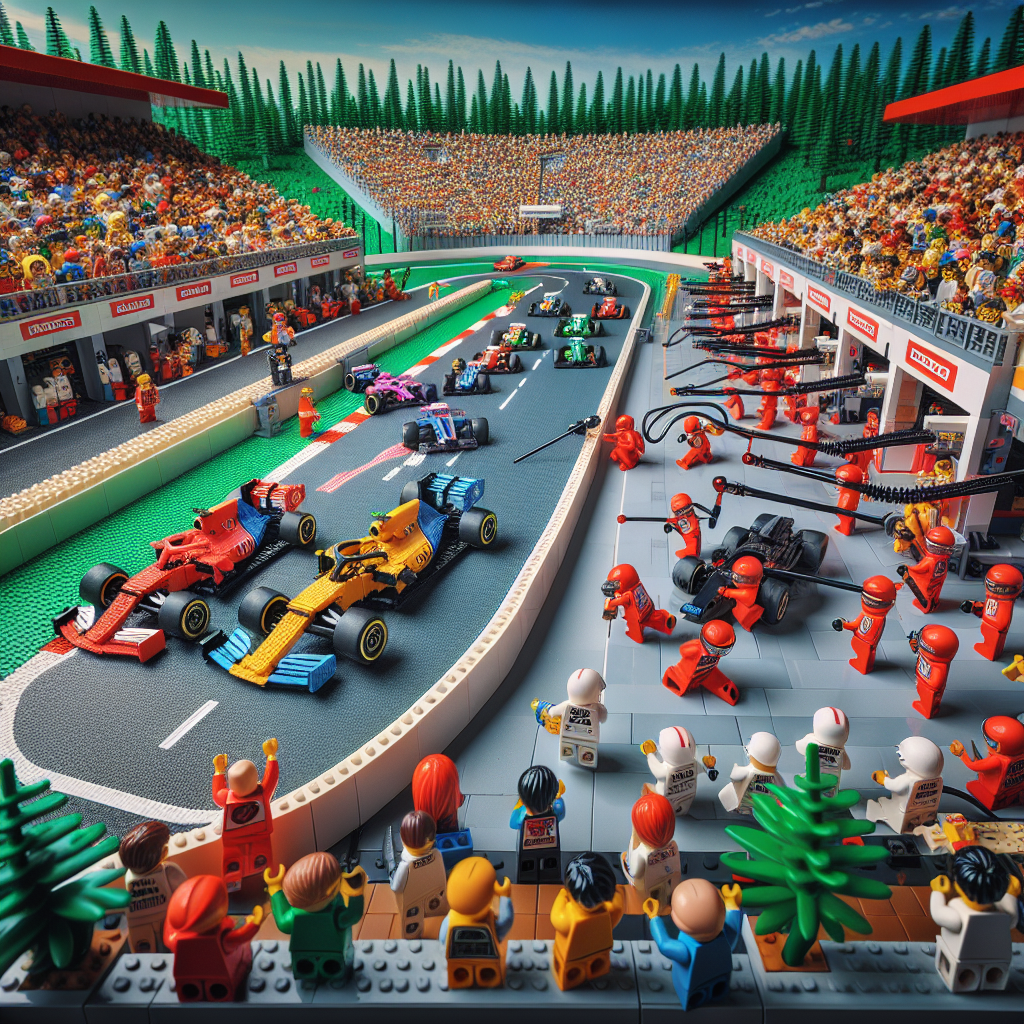
### Step 4: Construct the Pit Area
– **Build Pit Boxes**: Create pit boxes using bricks. Each box can represent a different F1 team.
– **Add Equipment**: Use small pieces to represent tools, tires, and other pit stop equipment.
– **Minifigures**: Place minifigures in the pit area to represent mechanics and team members.
### Step 5: Create Spectator Areas
– **Grandstands**: Build grandstands using bricks or plates. You can create seating areas for spectators.
– **Add Fans**: Use minifigures to represent fans in the stands, waving flags or holding signs.
### Step 6: Design the Cars
– **Choose Your Cars**: Decide which F1 cars you want to include. You can either use official LEGO F1 sets or create custom cars.
– **Detailing**: Add stickers or decals to the cars to represent real F1 teams or create your own designs.
### Step 7: Add Final Touches
– **Landscaping**: Add trees, bushes, and other landscaping elements around the track to enhance the environment.
– **Lighting**: If desired, incorporate LED lights to illuminate the diorama, especially if you plan to display it in a dim area.
– **Background**: Consider adding a backdrop or scenery to give context to your diorama.
### Step 8: Display Your Diorama
– **Find a Suitable Location**: Choose a place to display your diorama where it can be appreciated.
– **Protect It**: If possible, use a display case to protect your creation from dust and damage.
### Tips:
– **Be Creative**: Don’t be afraid to experiment with different designs and elements.
– **Use Online Resources**: Look for inspiration on LEGO fan sites, forums, and social media.
– **Take Your Time**: Building a diorama can be a lengthy process, so enjoy the journey!
With these steps, you should be well on your way to creating an impressive LEGO F1 diorama. Have fun building!
Creating a LEGO F1 diorama can be a fun and rewarding project! Here’s a step-by-step guide to help you design and build your own LEGO Formula 1 diorama:
Creating a LEGO Formula 1 diorama can be an enjoyable and fulfilling project that allows you to express your creativity while showcasing your passion for motorsport. Below is a step-by-step guide to assist you in designing and building your own LEGO F1 diorama.
### Step 1: Conceptualization
1. **Theme Selection**: Decide on the specific theme of your diorama. This could be a particular race, a pit stop scene, or a general representation of an F1 circuit.
2. **Research**: Gather reference images and information about the chosen theme. Look for details such as track layout, car designs, pit crew activities, and audience stands.
3. **Sketch Your Design**: Create a rough sketch of your diorama layout. Consider the placement of the track, cars, spectators, and any additional elements you wish to include.
### Step 2: Planning
1. **Dimensions**: Determine the size of your diorama. Ensure it fits within your available space while allowing for sufficient detail.
2. **Materials List**: Make a list of the LEGO pieces you will need. This may include base plates, bricks for the track, minifigures for the pit crew and spectators, and any additional accessories.
3. **Color Scheme**: Choose a color palette that reflects the F1 theme. Common colors include the vibrant hues of team liveries, the green of the grass, and the gray of the asphalt.
### Step 3: Building the Base
1. **Base Plate**: Start with a sturdy base plate to serve as the foundation of your diorama. This will provide stability and support for the entire structure.
2. **Track Construction**: Use black bricks or plates to create the racetrack. Incorporate curves, straight sections, and elevation changes to mimic a real F1 circuit.
3. **Surrounding Landscape**: Add elements such as grass, barriers, and grandstands around the track. Use green bricks for grass and gray or white bricks for barriers.
### Step 4: Adding Details
1. **Cars**: Build or acquire LEGO F1 cars. You can either create your own designs or use existing LEGO sets that represent real F1 cars.
2. **Pit Stop Area**: Construct a pit stop area with a pit wall, tire stacks, and tools. Include minifigures representing the pit crew in action.
3. **Spectators**: Add minifigures as spectators in the grandstands and around the track. Consider including flags, banners, and other fan paraphernalia.
### Step 5: Final Touches
1. **Lighting**: If desired, incorporate LED lights to enhance the diorama, especially if you plan to display it in low-light conditions.
2. **Signage**: Create signs for the track, such as lap counters, team logos, and directional signs. Use printed stickers or custom decals for added realism.
3. **Finishing Details**: Review your diorama for any additional details you may want to add, such as tire marks on the track, debris, or weather effects.
### Step 6: Display
1. **Location**: Choose an appropriate location to display your diorama, ensuring it is visible and protected from dust and damage.
2. **Presentation**: Consider using a display case or platform to elevate the diorama and enhance its visual appeal.
3. **Photography**: Capture your completed diorama through photography to share with friends, family, or online communities.
### Conclusion
Building a LEGO Formula 1 diorama is a creative endeavor that allows you to combine your love for LEGO and motorsport. By following these steps, you can create a detailed and visually appealing representation of the thrilling world of Formula 1 racing. Enjoy the process and let your imagination drive your design!
### Materials Needed:
It seems like your request is incomplete. Could you please provide more context or specify what materials you need? For example, are you looking for materials for a specific project, event, or topic? This will help me assist you better.
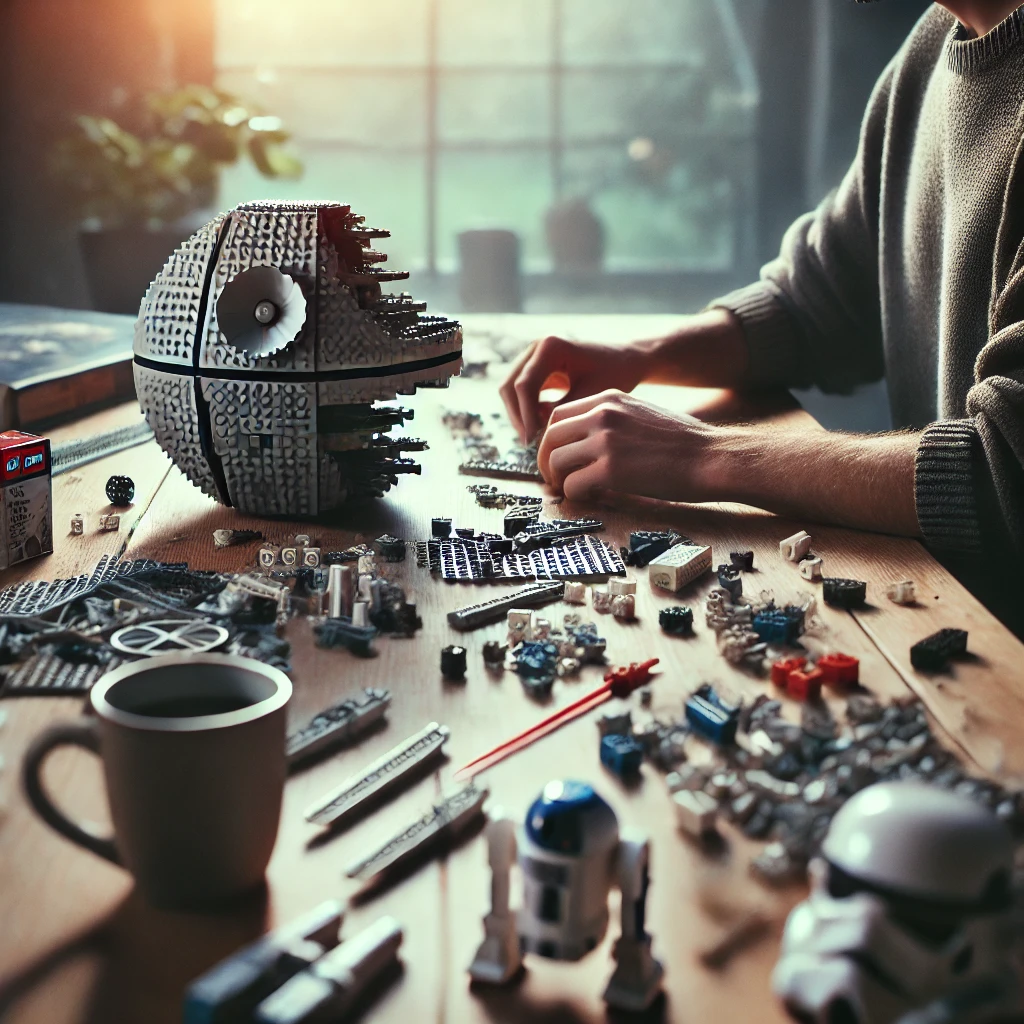
– LEGO bricks (various colors and sizes)
LEGO bricks, available in a diverse array of colors and sizes, serve as versatile building components that inspire creativity and innovation. These interlocking plastic pieces are designed to facilitate the construction of intricate models, structures, and imaginative designs. Their formal application extends beyond mere play; they are utilized in educational settings to enhance problem-solving skills, spatial awareness, and collaborative learning. The adaptability of LEGO bricks makes them an invaluable resource in both recreational and professional contexts, fostering a hands-on approach to design and engineering principles.