Discover creative tips for arranging multiple LEGO cars in a single display frame, showcasing your collection beautifully and maximizing visual impact!
Arranging multiple LEGO cars in a single display frame can be a fun and creative project. Here are some steps and tips to help you create an attractive display:
### Materials Needed:
– **Display Frame**: Choose a shadow box or a deep frame that can accommodate the height of the cars.
– **Base Plate**: A LEGO base plate or a sturdy board to serve as the foundation for your display.
– **LEGO Cars**: Your collection of LEGO cars.
– **Adhesive**: Double-sided tape, glue dots, or LEGO-compatible adhesive for securing the cars.
– **Decorative Elements**: Optional items like LEGO trees, buildings, or roads to enhance the scene.
– **Lighting**: Optional LED lights to highlight the display.
### Steps to Arrange the Display:
1. **Plan Your Layout**:
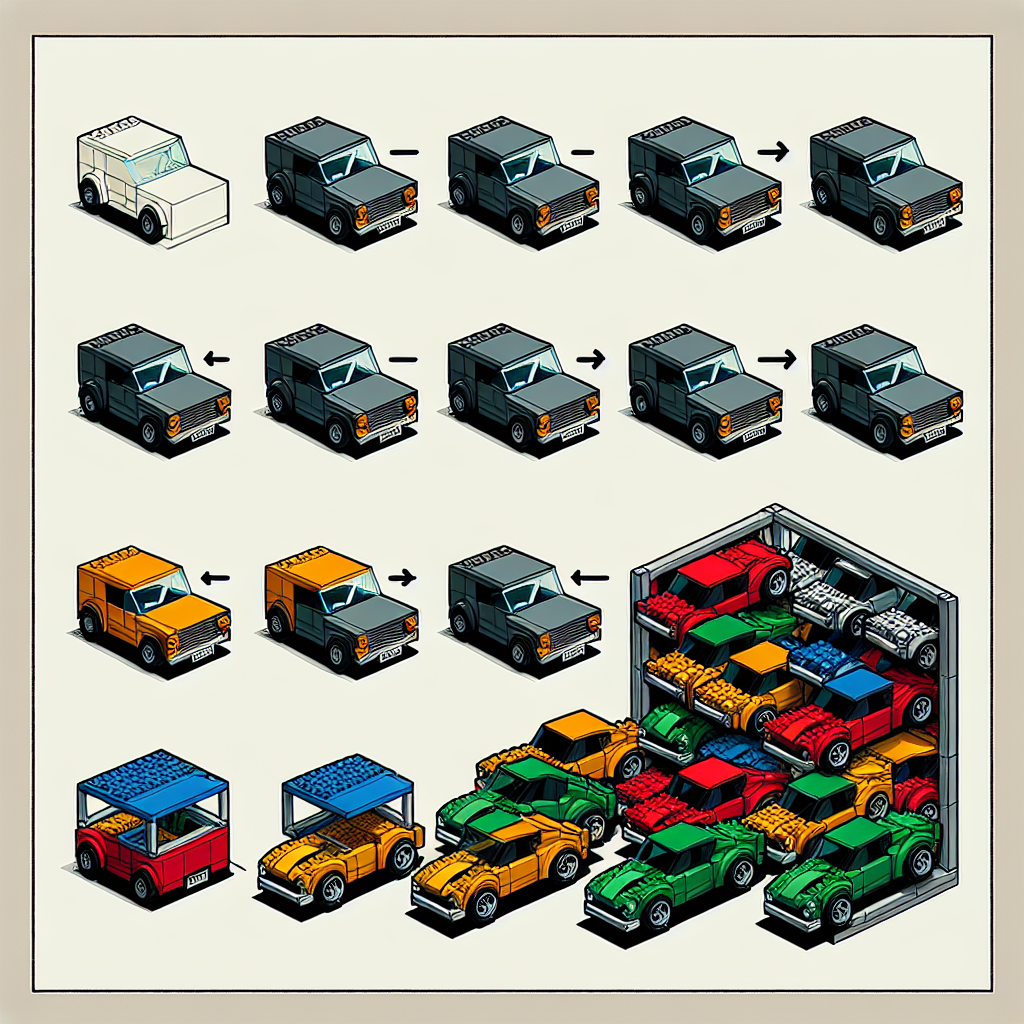
– Before securing anything, lay out the cars on the base plate to visualize the arrangement. Consider varying the orientation (some cars facing forward, others at angles) for a dynamic look.
– Think about the theme of your display (e.g., racing, city scene, off-road) to guide your arrangement.
2. **Create Levels**:
– If your display frame allows, consider creating different levels using small risers or additional base plates. This adds depth and interest to the display.
– You can use LEGO bricks to build small platforms or ramps for some cars.
3. **Secure the Base Plate**:
– Once you’re satisfied with the layout, secure the base plate to the bottom of the display frame using adhesive or screws, if applicable.
4. **Attach the Cars**:
– Use double-sided tape or glue dots to attach each car to the base plate. Make sure they are securely fastened to prevent them from moving or falling over.
– If you want to keep the cars removable, consider using LEGO bricks to create a base for each car that can be easily detached.
5. **Add Decorative Elements**:
– Incorporate additional LEGO elements like trees, buildings, or road pieces to create a scene around the cars. This can enhance the overall aesthetic and make the display more engaging.
– Arrange these elements around the cars without overcrowding the display.
6. **Lighting**:
– If desired, add LED lights to illuminate the display. You can place them around the frame or inside to highlight specific cars or features.
7. **Final Touches**:
– Clean the display frame and ensure everything is securely in place.
– Consider adding a background (like a printed cityscape or a simple color) to enhance the visual appeal.
8. **Seal the Frame**:
– Once everything is arranged and secured, close the display frame. Ensure it is sealed properly to protect your LEGO cars from dust and damage.
### Tips:
– **Theme Consistency**: Try to keep a consistent theme or color scheme for a more cohesive look.
– **Spacing**: Leave enough space between cars to avoid a cluttered appearance.
– **Rotation**: If you have a large collection, consider rotating the display periodically to showcase different cars.
By following these steps, you can create an eye-catching display that showcases your LEGO cars beautifully! Enjoy your creative process!
Arranging multiple LEGO cars in a single display frame can be a fun and creative project. Here’s a step-by-step guide to help you create an attractive display:
### Step-by-Step Guide to Arranging LEGO Cars in a Display Frame
Creating an attractive display for your LEGO cars can enhance their visual appeal and provide a unique way to showcase your collection. Follow these steps to design a captivating display:
#### Materials Needed:
– A display frame or shadow box
– Baseplate(s) for stability
– LEGO cars
– Decorative elements (e.g., mini-figures, trees, road signs)
– Adhesive (optional, for securing elements)
– Measuring tape or ruler
– Craft knife or scissors (if needed for baseplate adjustments)
#### Step 1: Select Your Display Frame
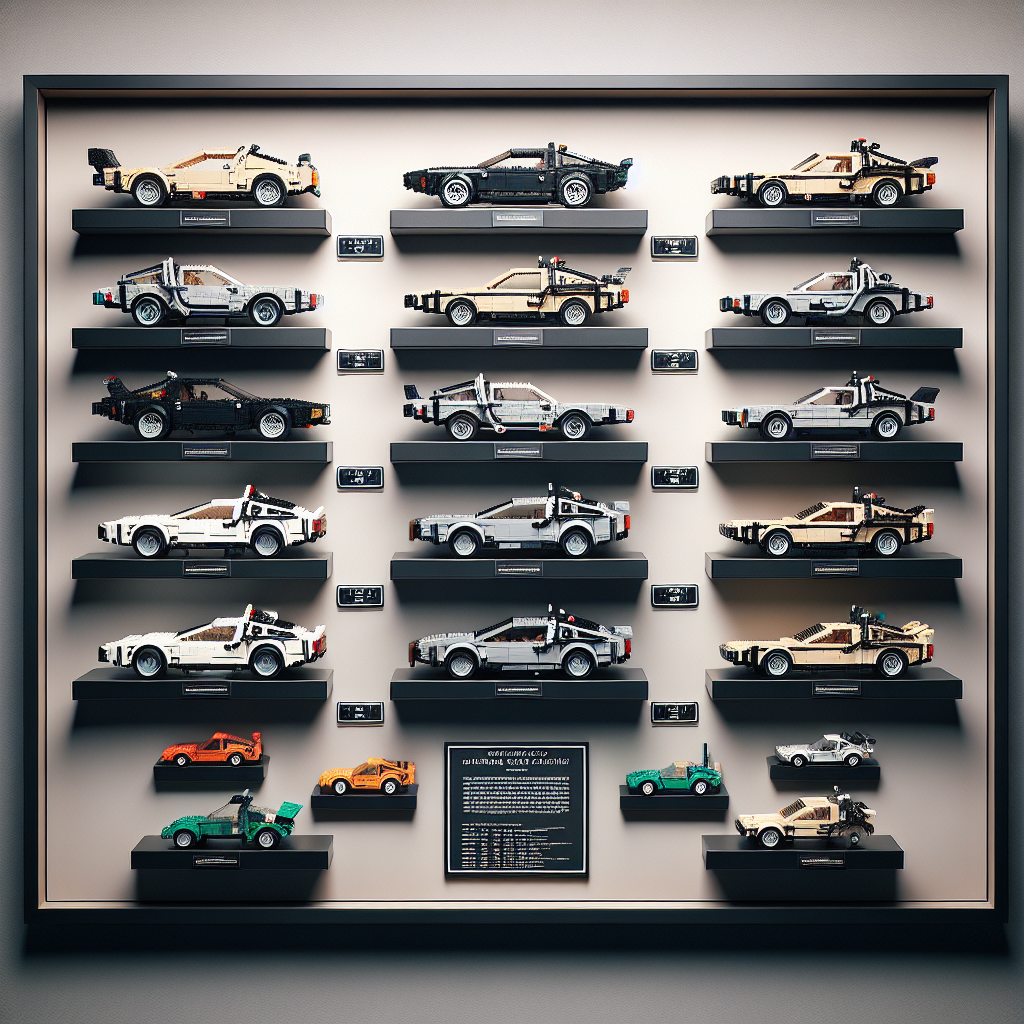
Choose a display frame or shadow box that complements the size and number of LEGO cars you wish to showcase. Ensure it has adequate depth to accommodate the cars and any additional decorative elements.
#### Step 2: Prepare the Base
1. **Measure the Frame**: Use a measuring tape to determine the dimensions of the display frame.
2. **Cut Baseplate**: If necessary, cut the baseplate to fit snugly within the frame. This will serve as the foundation for your display.
#### Step 3: Arrange the LEGO Cars
1. **Plan the Layout**: Before securing anything, arrange the LEGO cars on the baseplate. Consider varying the orientation and spacing to create visual interest.
2. **Group by Theme or Color**: You may choose to group cars by color, type, or theme (e.g., sports cars, vintage models) to create a cohesive look.
#### Step 4: Add Decorative Elements
1. **Incorporate Mini-Figures**: Position mini-figures around the cars to create scenes or narratives.
2. **Include Accessories**: Add trees, road signs, or other decorative elements to enhance the environment and provide context for the cars.
3. **Create a Road or Track**: If desired, use additional baseplates or LEGO pieces to create a road or track that connects the cars.
#### Step 5: Secure the Arrangement
1. **Adhere Elements**: If you wish to make the arrangement permanent, use adhesive to secure the cars and decorative elements to the baseplate.
2. **Ensure Stability**: Check that all elements are stable and will not shift when the display is moved.
#### Step 6: Finalize the Display
1. **Clean the Frame**: Wipe down the display frame to remove any dust or fingerprints.
2. **Insert the Baseplate**: Carefully place the baseplate with the arranged LEGO cars into the display frame.
3. **Seal the Frame**: Close the frame securely to protect the display from dust and damage.
#### Step 7: Choose a Display Location
Select a suitable location for your display frame, ensuring it is visible and well-lit. Consider placing it on a shelf, desk, or wall-mounted display.
#### Step 8: Enjoy Your Creation
Step back and admire your work! Your LEGO car display is now ready to be showcased, providing a delightful focal point in your space.
By following these steps, you can create an organized and visually appealing display that highlights your LEGO car collection while allowing for creativity and personalization.
### Materials Needed:
It seems like your request is incomplete. Could you please provide more context or specify what materials you need? For example, are you looking for materials for a specific project, event, or purpose? This will help me assist you better.
– **Display Frame**: Choose a frame that suits the size and number of LEGO cars you want to display. Shadow boxes or deep frames work well
When selecting a display frame for your LEGO cars, consider the following formal guidelines to ensure an aesthetically pleasing presentation:
1. **Frame Type**: Opt for a shadow box or deep frame, as these provide ample depth to accommodate the height of the LEGO cars while allowing for a three-dimensional display.
2. **Size Consideration**: Measure the dimensions of your LEGO cars to determine the appropriate size of the frame. Ensure that the frame can comfortably house the number of cars you wish to display without overcrowding.
3. **Material Selection**: Choose a frame made from high-quality materials such as wood or metal, which can enhance the overall look and durability of the display. A matte or glossy finish can be selected based on your personal preference and the aesthetic of the surrounding decor.
4. **Background**: Consider using a neutral or complementary background within the frame to highlight the colors and details of the LEGO cars. Options include fabric, paper, or painted surfaces that provide contrast without detracting from the models.
5. **Mounting Options**: Ensure that the frame has secure mounting options, such as hooks or brackets, to safely display the frame on a wall or shelf. If the frame is to be placed on a tabletop, consider a sturdy base.
6. **Accessibility**: If you wish to frequently change or rearrange the display, consider a frame with a front-opening design or one that allows for easy access to the interior.
7. **Lighting**: If possible, incorporate lighting within or around the frame to enhance visibility and draw attention to the LEGO cars. LED strip lights or small spotlights can create an inviting display.
By adhering to these guidelines, you can create a sophisticated and visually appealing display for your LEGO cars that showcases your collection effectively.