"Transform the LEGO Titanic 10294 from box to masterpiece! Discover tips, techniques, and the joy of building this iconic ship in stunning detail."
Completing the LEGO Titanic 10294 is an exciting journey that takes you through the intricate details of one of the most famous ships in history. Here’s a guide to help you navigate the building process and appreciate the masterpiece you’re creating.
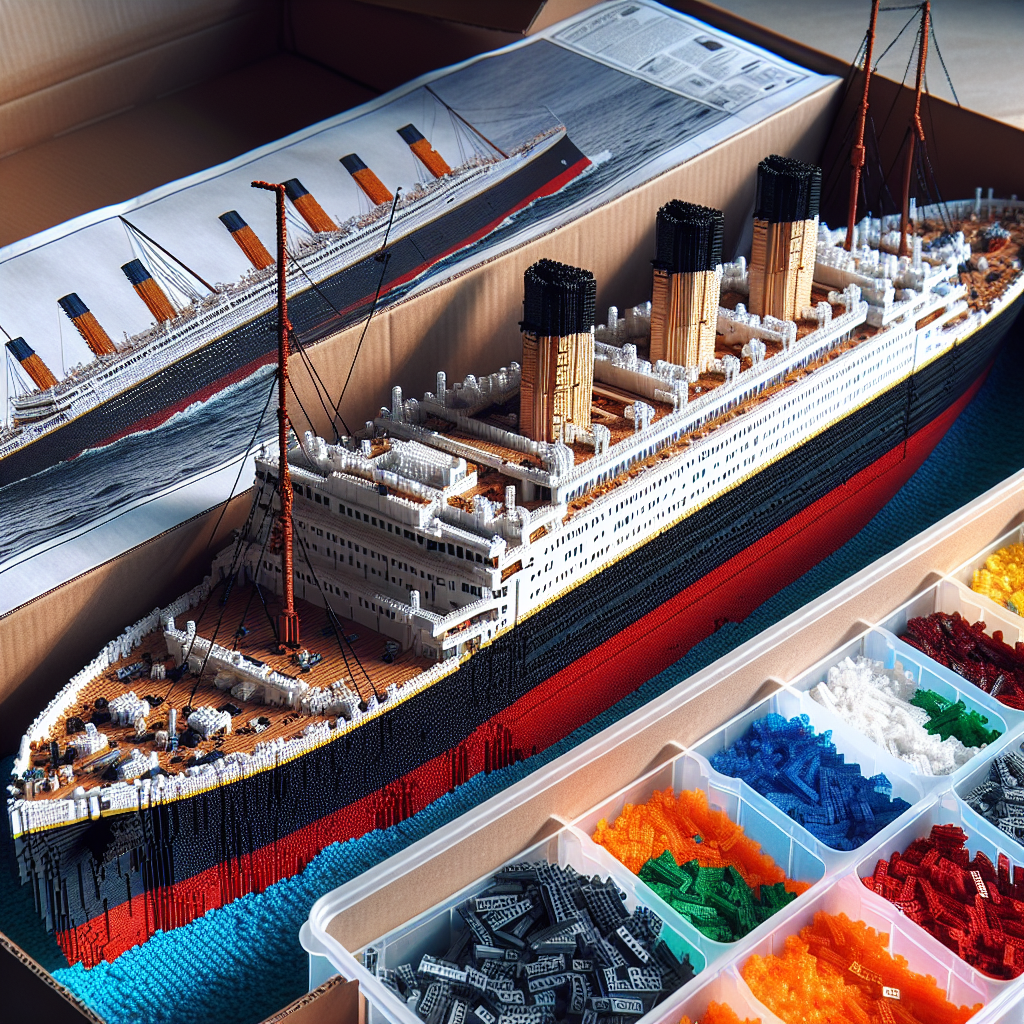
### 1. **Unboxing and Organization**
– **Open the Box**: Carefully open the box and lay out all the bags of LEGO pieces.
– **Sort the Pieces**: It can be helpful to sort the pieces by color or type. This will make it easier to find what you need as you build.
### 2. **Understanding the Instructions**
– **Read the Manual**: Before diving in, take a moment to read through the instruction manual. It provides not only building steps but also interesting facts about the Titanic.
– **Familiarize Yourself with the Sections**: The build is divided into sections, so understanding how they fit together will help you visualize the final product.
### 3. **Building the Hull**
– **Start with the Base**: The first steps will involve constructing the hull. This is a large and foundational part of the model.
– **Pay Attention to Stability**: Ensure that the structure is stable as you build upwards. The Titanic is a long model, and stability is key.
### 4. **Adding Details**
– **Decks and Cabins**: As you progress, you’ll start adding decks and cabins. Take your time to appreciate the details, such as the lifeboats and railings.
– **Interior Features**: The model includes intricate interior details, so be sure to follow the instructions closely to capture these elements.
### 5. **Final Touches**
– **Mast and Funnels**: The iconic funnels and masts are added towards the end of the build. Make sure they are securely attached.
– **Sails and Flags**: If your model includes flags or sails, add these last to avoid damaging them during the building process.
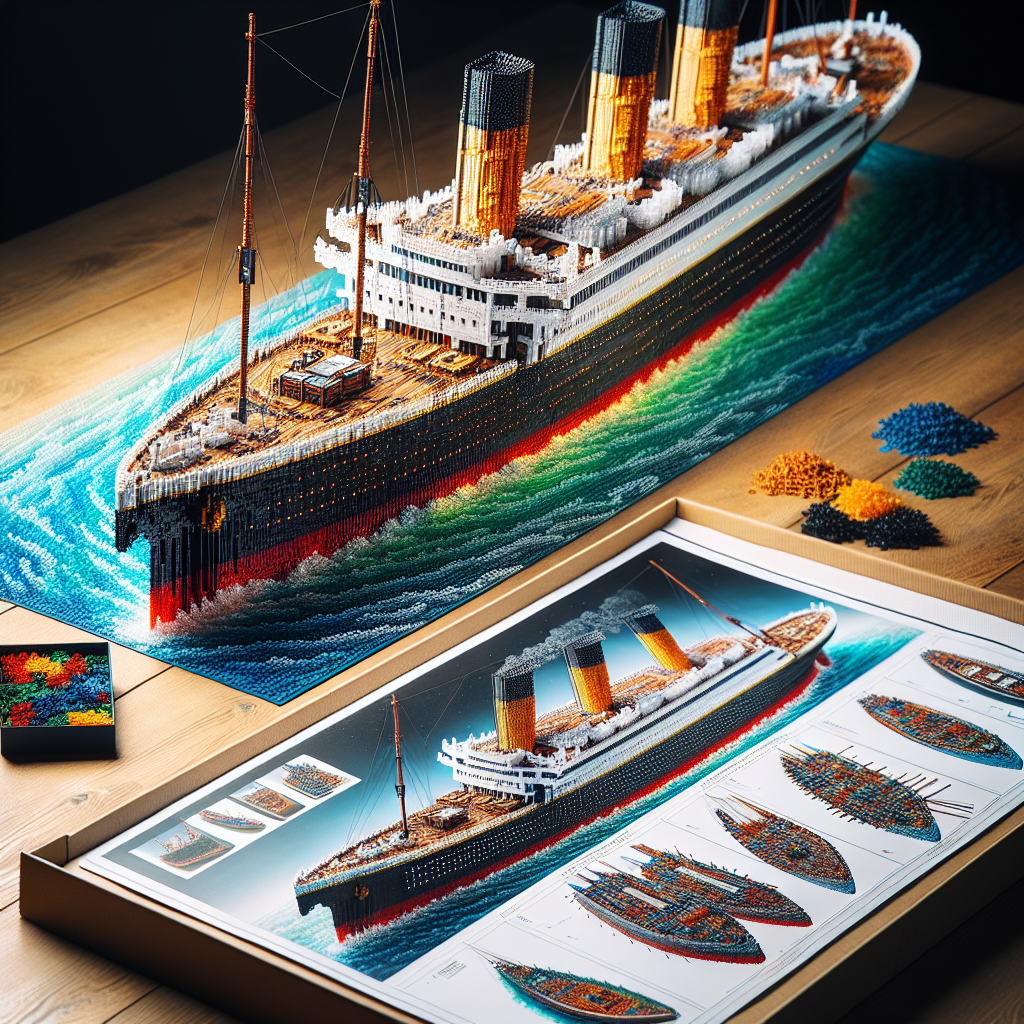
### 6. **Display and Enjoy**
– **Find a Suitable Display Area**: Once completed, find a prominent place to display your LEGO Titanic. Its size and detail make it a stunning centerpiece.
– **Share Your Creation**: Consider sharing your completed model on social media or with fellow LEGO enthusiasts. There are many online communities where you can showcase your work.
### 7. **Maintenance**
– **Dusting**: Keep your model clean by dusting it regularly. A soft brush or microfiber cloth works well.
– **Avoid Direct Sunlight**: To prevent fading, keep your model out of direct sunlight.
### 8. **Reflect on the Experience**
– **Enjoy the Journey**: Building the LEGO Titanic is not just about the final product; it’s about the experience of building and learning about the ship’s history.
– **Consider Future Builds**: If you enjoyed this project, think about what other LEGO sets you might want to tackle next!
Completing the LEGO Titanic 10294 is a rewarding experience that combines creativity, history, and engineering. Enjoy every step of the process as you transform a box of bricks into a stunning replica of a maritime legend!
Completing the LEGO Titanic 10294 is an exciting journey that transforms a simple box of bricks into a stunning replica of one of the most famous ships in history. Here’s a guide to help you through the process, from unboxing to displaying your masterpiece
**Guide to Completing the LEGO Titanic 10294**
Embarking on the assembly of the LEGO Titanic 10294 is an exhilarating experience that allows enthusiasts to transform a collection of bricks into a remarkable replica of one of history’s most iconic vessels. This guide aims to facilitate your journey from unboxing to the final display of your masterpiece.
### Unboxing the Set
1. **Preparation**: Before you begin, find a spacious, well-lit area to work. Ensure that you have a clean, flat surface to accommodate the various components of the set.
2. **Contents Check**: Carefully open the box and lay out all the bags of bricks, instruction manuals, and any additional elements. Verify that all pieces are present by cross-referencing with the inventory list provided in the instruction manual.
3. **Organizing Pieces**: For ease of assembly, consider sorting the bricks by color or type. This will streamline the building process and minimize the time spent searching for specific pieces.
### Building Process
1. **Follow the Instructions**: The LEGO Titanic 10294 comes with a comprehensive instruction manual. Adhere closely to the step-by-step guidelines to ensure accurate assembly. Take your time with each section, as this model is intricate and requires attention to detail.
2. **Patience is Key**: Building the Titanic is a time-consuming endeavor, often requiring several hours to complete. Approach the assembly with patience, allowing yourself to enjoy the process rather than rushing to finish.
3. **Utilize the Community**: If you encounter challenges during assembly, consider seeking assistance from online forums or LEGO enthusiast communities. Many experienced builders are willing to share tips and solutions to common issues.
### Final Touches
1. **Inspect Your Work**: Once the assembly is complete, take a moment to inspect your model thoroughly. Ensure that all pieces are securely attached and that the details are as intended.
2. **Add Personal Touches**: If desired, you may personalize your Titanic replica by incorporating custom elements or modifications. This can enhance the uniqueness of your model and reflect your individual style.
### Displaying Your Masterpiece
1. **Choosing a Location**: Select a suitable location for displaying your completed LEGO Titanic. Consider factors such as visibility, lighting, and protection from dust or damage.
2. **Display Stand**: If you wish to elevate the presentation of your model, consider investing in a display stand or case. This will not only enhance its aesthetic appeal but also safeguard it from potential harm.
3. **Share Your Achievement**: Finally, do not hesitate to share your completed model with fellow enthusiasts or on social media platforms. Documenting your journey can inspire others and foster a sense of community among LEGO fans.
### Conclusion
Completing the LEGO Titanic 10294 is not merely an assembly task; it is a rewarding experience that culminates in the creation of a stunning historical replica. By following this guide, you can navigate the process with confidence and ultimately enjoy the satisfaction of displaying your remarkable achievement.
### Unboxing the Set
**Unboxing the Set: A Formal Overview**
**Introduction**
The unboxing of a product is a significant moment that often sets the tone for the user experience. This formal overview aims to provide a structured examination of the unboxing process for a specific set, highlighting its components, presentation, and overall impression.
**1. Packaging Design**
The exterior packaging of the set is meticulously designed to reflect the brand’s identity and the product’s purpose. The use of high-quality materials not only ensures protection during transit but also enhances the aesthetic appeal. The packaging typically features:
– **Branding Elements**: Logos, color schemes, and typography that align with the brand’s image.
– **Informational Graphics**: Clear labeling of contents, usage instructions, and any relevant certifications.
– **Sustainability Considerations**: Eco-friendly materials that demonstrate a commitment to environmental responsibility.
**2. Initial Opening**
Upon opening the package, the first impression is crucial. The unboxing experience often includes:
– **Sealing Mechanisms**: Tamper-proof seals or stickers that assure the buyer of the product’s integrity.
– **Layered Presentation**: A thoughtful arrangement of components that creates a sense of anticipation and excitement.
**3. Contents of the Set**
The set typically includes various components, each serving a specific function. A detailed inventory may include:
– **Main Product**: The primary item that the set is designed around.
– **Accessories**: Additional tools or items that enhance the functionality of the main product.
– **Documentation**: User manuals, warranty information, and safety guidelines, often presented in a clear and accessible format.
**4. Quality Assessment**
As each component is removed from the packaging, a quality assessment can be conducted. Key factors to consider include:
– **Material Quality**: The durability and feel of the materials used in the product and accessories.
– **Craftsmanship**: Attention to detail in the construction and finishing of each item.
– **Functionality**: An initial evaluation of how well the components work together.
**5. Conclusion**
The unboxing of the set is not merely a practical task but an experience that can significantly influence customer satisfaction. A well-executed unboxing process, characterized by thoughtful design, quality materials, and an organized presentation, can enhance the perceived value of the product and foster a positive relationship between the consumer and the brand.
In summary, the unboxing experience serves as an essential touchpoint in the customer journey, warranting careful consideration by manufacturers and marketers alike.
**Check the Contents**: Open the box and lay out all the bags of bricks, the instruction manual, and any additional materials. Ensure you have all the pieces listed in the inventory
**Contents Verification Procedure**
1. **Open the Box**: Carefully open the box to avoid damaging any contents.
2. **Lay Out All Components**:
– Remove all bags of bricks and other materials from the box.
– Place the instruction manual in a designated area for easy reference.
3. **Inventory Check**:
– Refer to the inventory list provided in the instruction manual.
– Systematically compare each item in the box against the inventory list to ensure all pieces are accounted for.
4. **Additional Materials**:
– Identify and verify any additional materials included in the box, such as stickers, tools, or special pieces.
5. **Report Discrepancies**:
– If any items are missing or damaged, document the discrepancies for further action.
6. **Final Confirmation**:
– Once all items have been verified, confirm that you have all necessary components to proceed with the assembly.
By following this procedure, you will ensure that you have all the required pieces for your project.