Transform your LEGO 42096 with custom stickers and decals! Personalize your build and elevate your creativity with unique designs and vibrant colors.
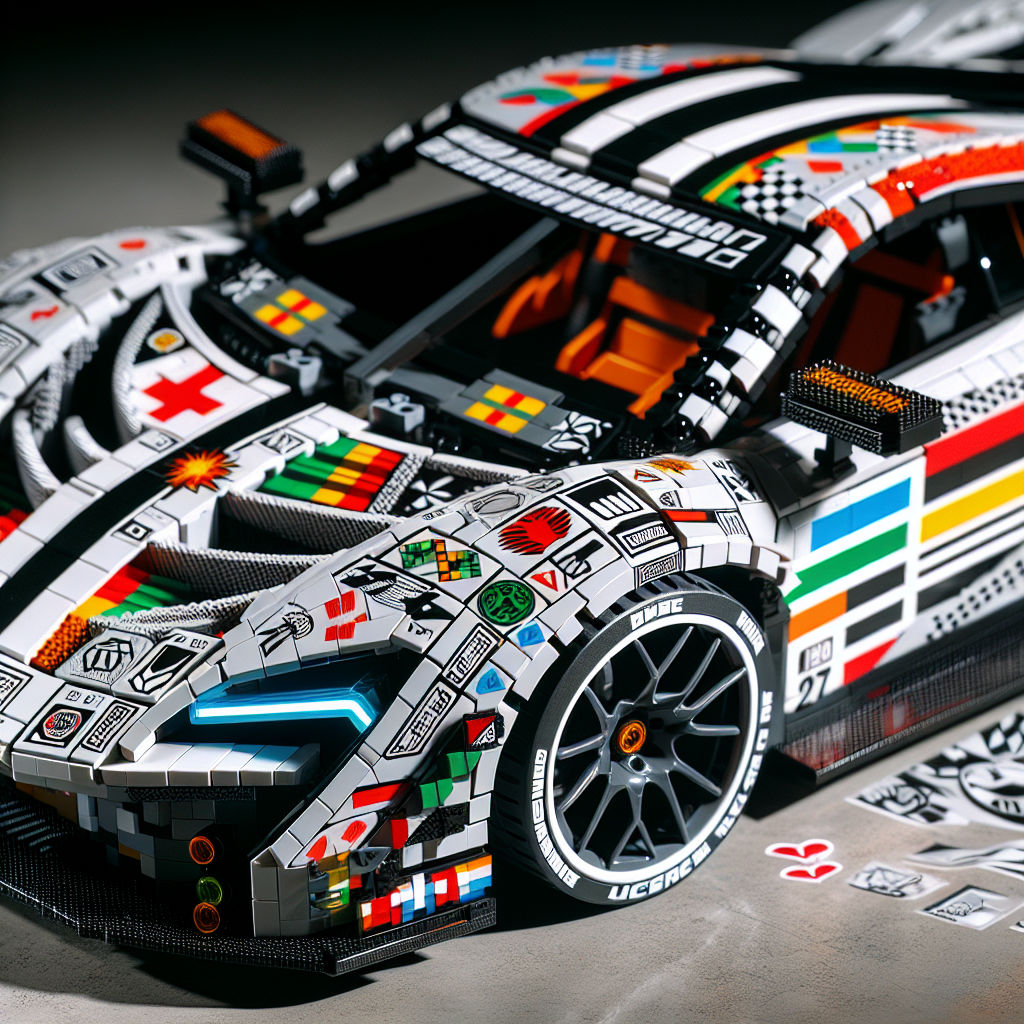
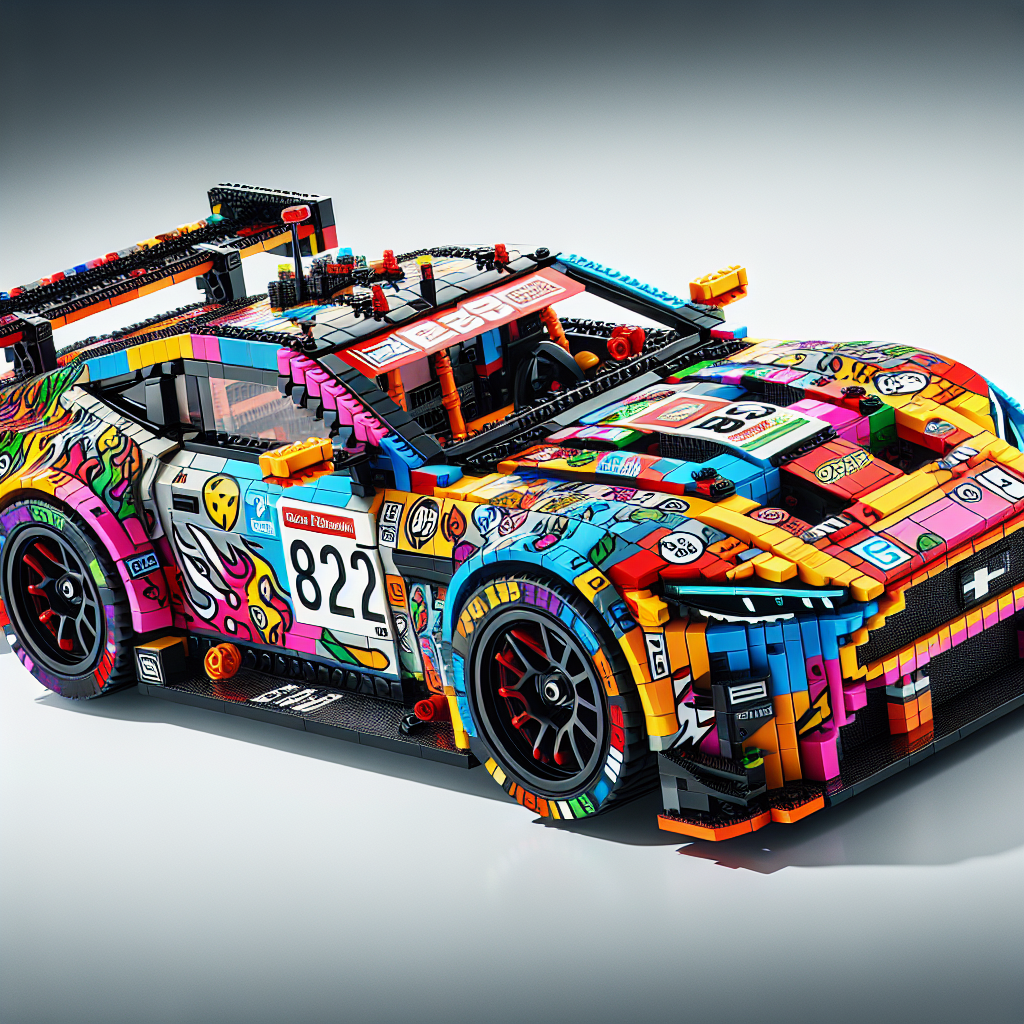
Enhancing the LEGO 42096 (the Porsche 911 RSR) with custom stickers and decals can be a fun way to personalize your model and make it stand out. Here are some steps and tips to help you create and apply custom stickers and decals effectively:
### 1. **Designing Your Stickers and Decals**
– **Software Tools**: Use graphic design software like Adobe Illustrator, Photoshop, or free alternatives like GIMP or Inkscape to create your designs.
– **Inspiration**: Look for inspiration from real-life Porsche racing cars, other LEGO models, or custom designs shared by the LEGO community.
– **Size and Scale**: Ensure your designs are scaled correctly to fit the LEGO pieces. You can measure the areas where you want to apply the stickers to get accurate dimensions.
### 2. **Choosing Materials**
– **Sticker Paper**: Use high-quality adhesive sticker paper that is compatible with your printer (inkjet or laser).
– **Vinyl Decals**: For a more durable option, consider using vinyl decal material, which can be cut using a vinyl cutter.
– **Clear vs. White**: Decide whether you want your stickers to have a white background or be clear. Clear stickers can give a more professional look but may require careful design to ensure visibility.
### 3. **Printing Your Designs**
– **Printer Settings**: Use the highest quality print settings on your printer for the best results. Make sure to do a test print on regular paper first.
– **Cutting**: If you’re using a vinyl cutter, ensure your designs are properly set up for cutting. If cutting by hand, use a sharp craft knife and a cutting mat for precision.
### 4. **Applying the Stickers**
– **Surface Preparation**: Clean the LEGO pieces where you will apply the stickers to ensure they are free of dust and oils.
– **Alignment**: Take your time to align the stickers properly before pressing them down. You can use a ruler or a straight edge for guidance.
– **Application Tools**: Use a credit card or a similar tool to smooth out air bubbles and ensure good adhesion.
### 5. **Finishing Touches**
– **Sealing**: If you want to protect your stickers, consider applying a clear sealant spray over them. Make sure it’s compatible with the sticker material.
– **Customization**: You can also add additional details like racing numbers, sponsor logos, or even custom paint jobs to enhance the overall look.
### 6. **Showcasing Your Work**
– **Photography**: Once you’ve completed your customizations, take high-quality photos to showcase your work. Consider different angles and lighting to highlight the details.
– **Community Sharing**: Share your customized LEGO 42096 on social media platforms or LEGO fan forums to inspire others and get feedback.
### 7. **Considerations**
– **Removability**: If you think you might want to revert to the original look, consider using removable adhesive or temporary tattoo paper for your designs.
– **Legal Aspects**: Be mindful of copyright issues if you’re using logos or designs that are trademarked.
By following these steps, you can create a unique and personalized version of the LEGO 42096 that reflects your style and creativity! Enjoy the process and have fun building!
Enhancing the LEGO 42096 (the Porsche 911 RSR) with custom stickers and decals can be a fun way to personalize your model and make it stand out. Here are some steps and tips to help you enhance your LEGO set:
Enhancing the LEGO 42096 (Porsche 911 RSR) with custom stickers and decals can be an enjoyable and creative endeavor. Below are steps and tips to guide you through the process of personalizing your model effectively:
### Steps to Enhance Your LEGO 42096 with Custom Stickers and Decals
1. **Research and Design:**
– **Inspiration:** Look for inspiration from real-life Porsche 911 RSR models, racing liveries, or other LEGO customizations.
– **Design Software:** Utilize graphic design software (such as Adobe Illustrator, Photoshop, or free alternatives like GIMP) to create your custom designs. Ensure that the dimensions match the areas where you intend to place the stickers.
2. **Materials Needed:**
– **Sticker Paper:** Purchase high-quality adhesive sticker paper suitable for your printer (inkjet or laser).
– **Printer:** Ensure you have access to a printer that can handle the sticker paper.
– **Cutting Tools:** Use precision cutting tools such as scissors or a craft knife for clean edges.
3. **Printing Your Designs:**
– **Test Prints:** Before printing on sticker paper, conduct test prints on regular paper to check the design, colors, and sizing.
– **Final Print:** Once satisfied with the test prints, print your designs on the sticker paper. Allow the ink to dry completely to prevent smudging.
4. **Cutting and Application:**
– **Cut Carefully:** Use a craft knife or scissors to cut out your stickers precisely. Take your time to ensure clean lines.
– **Surface Preparation:** Clean the surfaces of the LEGO pieces where you will apply the stickers to ensure proper adhesion.
– **Application:** Carefully peel off the backing and apply the stickers to the desired locations on your model. Use a ruler or straight edge to help align larger stickers.
5. **Finishing Touches:**
– **Sealant (Optional):** If desired, apply a clear sealant spray to protect the stickers and enhance durability. Ensure the stickers are completely dry before applying any sealant.
– **Final Inspection:** Review your model to ensure all stickers are applied correctly and make any necessary adjustments.
### Tips for Customizing Your LEGO Model
– **Theme Consistency:** Maintain a consistent theme throughout your design to create a cohesive look.
– **Color Matching:** Use colors that complement the original LEGO colors to enhance the overall aesthetic.
– **Scale and Proportion:** Ensure that the size of your stickers is proportionate to the model to maintain realism.
– **Experimentation:** Don’t hesitate to experiment with different designs and placements. Customization is about personal expression.
– **Community Resources:** Consider joining LEGO enthusiast forums or social media groups for additional inspiration and tips from fellow customizers.
By following these steps and tips, you can successfully enhance your LEGO 42096 Porsche 911 RSR with custom stickers and decals, resulting in a unique and personalized model that reflects your individual style. Enjoy the creative process!
### 1. **Design Your Stickers and Decals**
### Designing Stickers and Decals: A Formal Guide
#### Introduction
Stickers and decals serve as versatile tools for branding, personal expression, and decoration. The design process is crucial in ensuring that the final product effectively communicates the intended message and resonates with the target audience. This guide outlines the essential steps and considerations for designing high-quality stickers and decals.
#### 1. Define Your Purpose
Before embarking on the design process, it is imperative to clearly define the purpose of your stickers and decals. Consider the following questions:
– What message or theme do you wish to convey?
– Who is your target audience?
– Where will the stickers or decals be used (e.g., indoors, outdoors, on products)?
#### 2. Research and Inspiration
Conduct thorough research to gather inspiration and understand current design trends. Analyze competitors and similar products to identify successful design elements. Utilize platforms such as Pinterest, Behance, and design blogs to explore various styles and techniques.
#### 3. Choose Your Design Elements
Select the key design elements that will form the foundation of your stickers and decals:
– **Color Palette**: Choose colors that align with your brand identity and evoke the desired emotions. Consider color psychology and ensure good contrast for visibility.
– **Typography**: If text is included, select fonts that are legible and appropriate for the message. Limit the number of different fonts to maintain coherence.
– **Imagery**: Incorporate graphics, illustrations, or photographs that enhance the message. Ensure that any images used are high-resolution and relevant.
#### 4. Layout and Composition
Create a balanced layout that guides the viewer’s eye and emphasizes the key elements. Consider the following:
– **Hierarchy**: Establish a clear visual hierarchy to highlight the most important information.
– **Spacing**: Use adequate spacing between elements to avoid clutter and enhance readability.
– **Shape and Size**: Determine the shape and size of the stickers or decals based on their intended use and placement.
#### 5. Design Software
Utilize professional design software such as Adobe Illustrator, CorelDRAW, or Canva to create your designs. These tools offer advanced features for vector graphics, which are essential for high-quality printing.
#### 6. Prototyping and Feedback
Before finalizing your design, create prototypes to evaluate the visual impact and functionality. Gather feedback from peers or potential users to identify areas for improvement. Be open to constructive criticism and make necessary adjustments.
#### 7. Prepare for Printing
Ensure that your design is print-ready by following these guidelines:
– **File Format**: Save your design in a suitable format (e.g., PDF, AI, or EPS) that supports high-resolution printing.
– **Bleed and Margins**: Include bleed areas to prevent white edges after cutting. Maintain appropriate margins to ensure no important elements are cut off.
– **Color Mode**: Use CMYK color mode for printing to ensure color accuracy.
#### 8. Select a Printing Method
Choose a printing method that aligns with your budget and quality requirements. Common methods include:
– **Digital Printing**: Ideal for small runs and intricate designs.
– **Screen Printing**: Suitable for larger quantities and simpler designs.
– **Vinyl Cutting**: Best for decals with solid colors and no intricate details.
#### Conclusion
Designing stickers and decals is a creative process that requires careful planning and execution. By following the steps outlined in this guide, you can create visually appealing and effective designs that fulfill your objectives. Remember to stay true to your brand identity and engage with your audience through thoughtful design choices.
– **Software Tools**: Use graphic design software like Adobe Illustrator, Photoshop, or free alternatives like GIMP or Inkscape to create your designs
When creating designs, it is essential to utilize appropriate software tools that can enhance your creative process and output quality. Consider the following options:
1. **Adobe Illustrator**: A vector graphics editor that is widely used for creating illustrations, logos, and complex designs. Its robust features allow for precision and scalability, making it ideal for professional graphic design.
2. **Adobe Photoshop**: Primarily used for raster graphics, Photoshop is excellent for photo editing, digital painting, and creating detailed graphics. Its extensive toolset enables designers to manipulate images and create visually compelling compositions.
3. **GIMP (GNU Image Manipulation Program)**: A powerful, open-source alternative to Photoshop, GIMP offers a wide range of features for image editing and graphic design. It is suitable for users who seek a cost-effective solution without compromising on functionality.
4. **Inkscape**: This open-source vector graphics editor is comparable to Adobe Illustrator and is particularly useful for creating scalable graphics. Inkscape supports various file formats and provides a user-friendly interface for both beginners and experienced designers.
By selecting the appropriate software tools, you can effectively bring your design ideas to life while ensuring high-quality results.