Explore the pros and cons of DIY vs. commercial display frames for LEGO cars. Discover tips to showcase your collection beautifully and effectively!
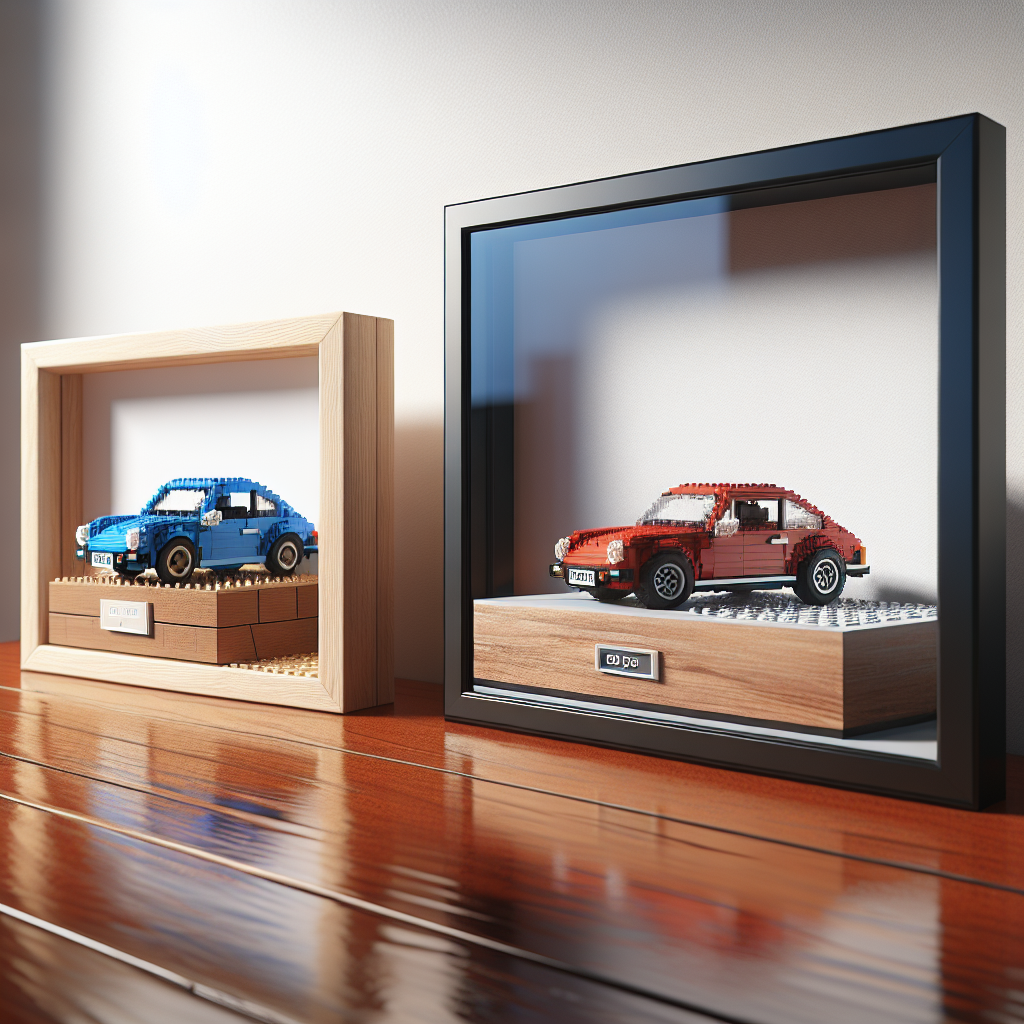
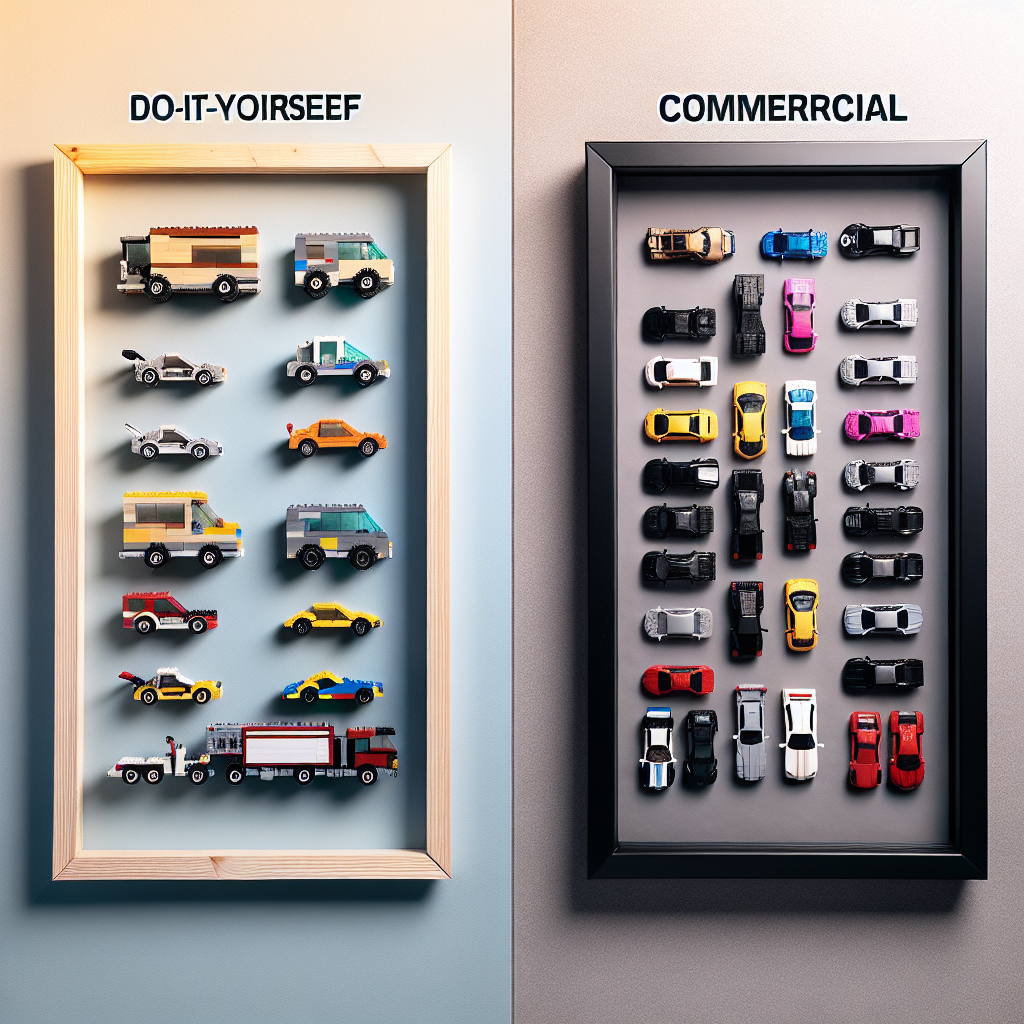
When it comes to displaying LEGO cars, choosing between DIY (do-it-yourself) options and commercial display frames can significantly impact the aesthetics and protection of your collection. Here’s a breakdown of both options to help you find the best display frame for your LEGO cars.
### DIY Display Frames
**Pros:**
1. **Customization:** You can tailor the size, shape, and design to fit your specific LEGO cars and personal style.
2. **Cost-Effective:** DIY frames can often be made from inexpensive materials, allowing you to save money.
3. **Creative Expression:** Building your own frame can be a fun project that showcases your creativity and craftsmanship.
4. **Unique Designs:** You can incorporate unique features, such as LED lighting or themed backgrounds, that may not be available in commercial options.
**Cons:**
1. **Time-Consuming:** Creating a DIY frame can take time and effort, especially if you’re not experienced in crafting.
2. **Quality Control:** The final product may not be as polished or durable as a professionally made frame.
3. **Limited Protection:** Depending on the materials used, DIY frames may not offer the same level of protection against dust, UV light, or physical damage.
### Commercial Display Frames
**Pros:**
1. **Professional Quality:** Commercial frames are often made from high-quality materials and designed specifically for displaying collectibles, ensuring durability and aesthetics.
2. **Ready to Use:** These frames come pre-assembled or require minimal assembly, saving you time and effort.
3. **Protection:** Many commercial frames offer features like UV protection, dust seals, and secure closures to keep your LEGO cars safe.
4. **Variety of Options:** There are numerous styles, sizes, and designs available, making it easier to find something that fits your collection.
**Cons:**
1. **Cost:** Commercial frames can be more expensive than DIY options, especially for high-quality or custom designs.
2. **Limited Customization:** While there are many options available, you may not find a frame that perfectly matches your vision or specific needs.
3. **Standard Sizes:** If your LEGO cars are non-standard sizes, you may struggle to find a frame that fits them well.
### Conclusion
The best display frame for your LEGO cars ultimately depends on your priorities, budget, and personal preferences. If you enjoy crafting and want a unique display that reflects your style, a DIY frame might be the way to go. However, if you prefer a hassle-free solution with professional quality and protection, a commercial display frame would be a better choice.
### Tips for Choosing the Right Frame
1. **Measure Your Cars:** Ensure you know the dimensions of your LEGO cars to find a frame that fits well.
2. **Consider the Environment:** If your display will be in a sunny area, look for frames with UV protection.
3. **Think About Accessibility:** If you want to frequently change or rearrange your display, consider frames that are easy to open.
4. **Aesthetic Appeal:** Choose a frame that complements your home decor and enhances the visual appeal of your LEGO cars.
By weighing the pros and cons of each option and considering your specific needs, you can find the perfect display frame for your LEGO car collection.
When it comes to displaying LEGO cars, choosing between DIY (Do-It-Yourself) options and commercial display frames can significantly impact the aesthetics and protection of your collection. Here’s a breakdown of the pros and cons of each approach to help you find the best display frame for your LEGO cars
When it comes to displaying LEGO cars, the choice between DIY (Do-It-Yourself) options and commercial display frames can significantly influence both the aesthetics and protection of your collection. Below is a detailed analysis of the advantages and disadvantages of each approach, aimed at assisting you in selecting the most suitable display solution for your LEGO cars.
### DIY Display Options
**Pros:**
1. **Customization:** DIY displays allow for a high degree of personalization. You can tailor the size, shape, and design to fit your specific collection and aesthetic preferences.
2. **Cost-Effectiveness:** Creating your own display can often be more economical than purchasing commercial frames, especially if you have access to materials or tools.
3. **Creative Expression:** Engaging in a DIY project can be a fulfilling creative endeavor, allowing you to incorporate unique elements that reflect your personal style.
4. **Adaptability:** DIY displays can be easily modified or expanded as your collection grows, providing flexibility in design and functionality.
**Cons:**
1. **Time-Consuming:** Building a display from scratch can require a significant investment of time and effort, which may not be feasible for everyone.
2. **Skill Level:** Depending on the complexity of the design, a certain level of crafting or woodworking skill may be necessary, which could pose a challenge for some individuals.
3. **Quality Control:** The final product may vary in quality, and without proper materials or techniques, the display may not provide adequate protection for the LEGO cars.
4. **Limited Availability of Materials:** Sourcing the right materials can sometimes be a challenge, particularly if you are looking for specific finishes or features.
### Commercial Display Frames
**Pros:**
1. **Professional Finish:** Commercial display frames often come with a polished, professional appearance that can enhance the overall presentation of your LEGO cars.
2. **Protection:** Many commercial frames are designed with protective features, such as UV-resistant glass or acrylic, which can help safeguard your collection from dust, scratches, and fading.
3. **Ease of Use:** These frames are typically ready to use, requiring minimal assembly, which can save time and effort compared to DIY options.
4. **Variety of Options:** The market offers a wide range of commercial display frames in various styles, sizes, and materials, allowing collectors to find a suitable match for their collection.
**Cons:**
1. **Cost:** Commercial display frames can be more expensive than DIY solutions, which may be a consideration for collectors on a budget.
2. **Limited Customization:** While there are many options available, commercial frames may not offer the same level of customization as DIY displays, potentially limiting your ability to create a unique presentation.
3. **Standard Sizes:** Many commercial frames come in standard sizes, which may not accommodate all LEGO car models, particularly larger or uniquely shaped pieces.
4. **Quality Variability:** The quality of commercial frames can vary significantly between manufacturers, necessitating careful selection to ensure adequate protection and aesthetics.
### Conclusion
In conclusion, the decision between DIY display options and commercial display frames for LEGO cars ultimately depends on individual preferences, budget considerations, and the desired level of customization. DIY displays offer a unique opportunity for personalization and creativity, while commercial frames provide convenience and professional quality. By weighing the pros and cons of each approach, collectors can make an informed choice that best suits their needs and enhances the presentation of their cherished LEGO car collection.
### DIY Display Frames
### DIY Display Frames: A Formal Guide
Creating your own display frames can be a rewarding and cost-effective way to showcase artwork, photographs, or memorabilia. This guide will provide you with a structured approach to designing and constructing your own display frames, ensuring a polished and professional finish.
#### Materials Needed
1. **Frame Material:**
– Wood (e.g., pine, oak, or plywood)
– Metal (e.g., aluminum or steel)
– Acrylic or glass for the front cover
2. **Tools:**
– Miter saw or hand saw
– Drill and drill bits
– Screwdriver
– Measuring tape
– Sandpaper (various grits)
– Paint or wood stain (optional)
– Clamps
1. **Design Your Frame:**
– Determine the dimensions of the artwork or photograph you wish to display.
– Decide on the style of the frame (e.g., modern, rustic, ornate) and the material you will use.
2. **Cut the Frame Pieces:**
– Using your measuring tape, mark the dimensions on your chosen material.
– Cut four pieces for the frame: two for the vertical sides and two for the horizontal sides. For a mitered corner, cut each piece at a 45-degree angle.
3. **Sand the Edges:**
– Smooth all cut edges with sandpaper to prevent splinters and ensure a clean finish.
4. **Assemble the Frame:**
– Lay the frame pieces on a flat surface, aligning the corners.
– Apply wood glue to the mitered edges and join the pieces together. Use clamps to hold the frame in place while the glue dries.
5. **Attach the Backing:**
– Cut a piece of cardboard or foam board to fit the back of the frame.
– Secure the backing to the frame using small nails, screws, or adhesive.
6. **Insert the Artwork:**
– Place your artwork or photograph into the frame, followed by the acrylic or glass front cover.
– Ensure everything is aligned properly and secure the front cover in place.
7. **Add Hanging Hardware:**
– Attach D-rings or sawtooth hangers to the back of the frame for easy wall mounting.
– If using picture hanging wire, attach it to the D-rings for added support.
8. **Finish the Frame:**
– If desired, paint or stain the frame to achieve your preferred aesthetic.
– Allow any finishes to dry completely before handling.
#### Conclusion
Creating your own display frames allows for customization and personal expression while providing a professional look to your displayed items. By following these steps, you can craft frames that not only protect your artwork but also enhance its presentation. Enjoy the process of designing and building your unique display frames!
**Pros:**
Certainly! Here are some pros presented in a formal manner:
1. **Enhanced Decision-Making**: The availability of comprehensive data and analysis facilitates informed decision-making processes, leading to more effective outcomes.
2. **Increased Efficiency**: Streamlined processes and optimized resource allocation contribute to improved operational efficiency, reducing time and costs.
3. **Competitive Advantage**: Organizations that leverage innovative strategies and technologies can gain a significant edge over competitors in the marketplace.
4. **Improved Customer Satisfaction**: By prioritizing customer needs and preferences, businesses can enhance their service offerings, leading to higher levels of customer satisfaction and loyalty.
5. **Sustainable Growth**: Implementing sustainable practices not only benefits the environment but also fosters long-term growth and stability for the organization.
6. **Employee Engagement**: A positive work environment that encourages professional development and collaboration can lead to higher employee morale and retention rates.
7. **Adaptability to Change**: Organizations that embrace change and innovation are better positioned to respond to market fluctuations and emerging trends.
If you have a specific context or topic in mind, please let me know, and I can tailor the pros accordingly!