Learn how to create a sturdy chassis for your LEGO F1 car with expert tips and step-by-step guidance for optimal performance and design.
Building a robust chassis for your LEGO F1 car involves careful planning and execution to ensure it can withstand the stresses of racing while maintaining performance. Here’s a step-by-step guide to help you create a strong and functional chassis:
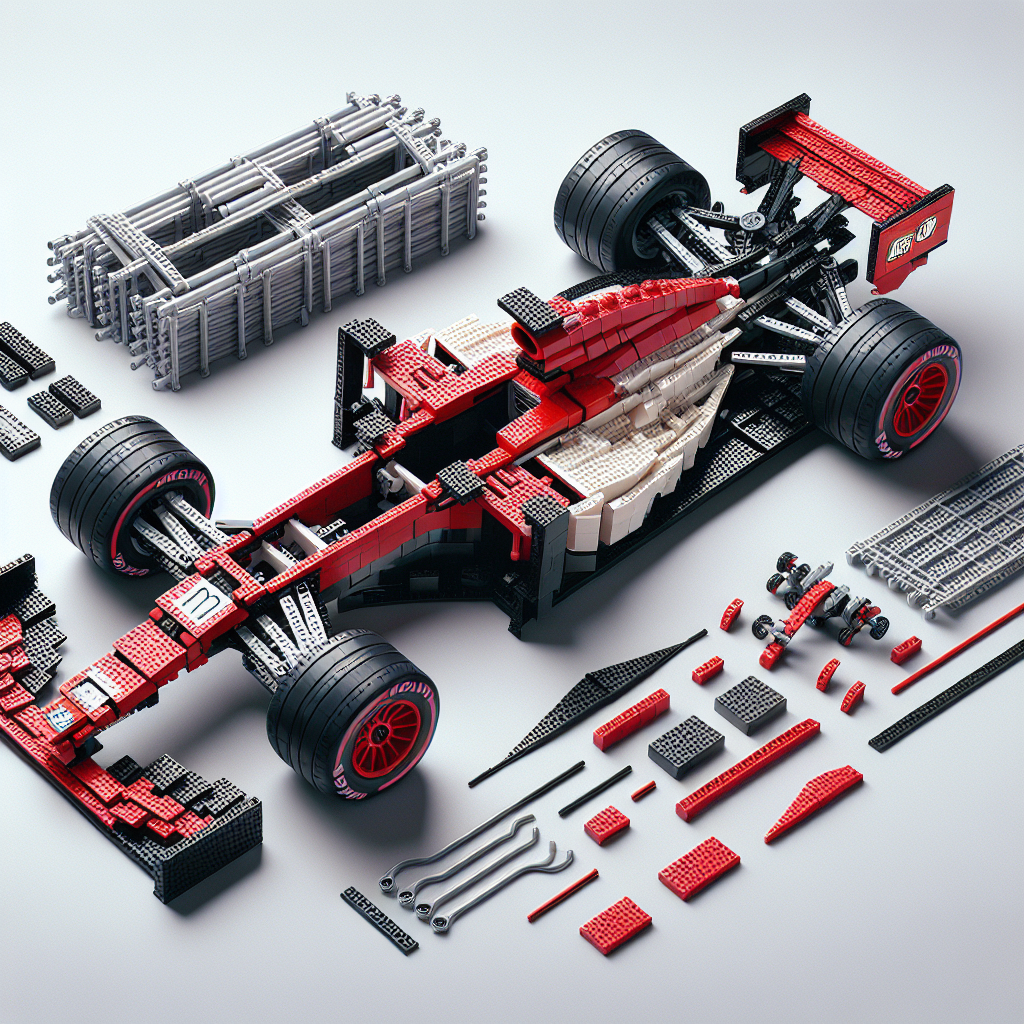
### 1. **Gather Materials**
– **LEGO Bricks**: Use a variety of bricks, including plates, beams, and connectors.
– **Wheels and Tires**: Choose appropriate wheels for your F1 car.
– **Axles**: Ensure you have the right length and type for your wheels.
– **Connectors and Hinge Pieces**: For added flexibility and strength.
– **Weight**: Consider using heavier bricks or adding weights to lower the center of gravity.
### 2. **Design the Chassis**
– **Base Structure**: Start with a solid base using large plates (e.g., 2×10 or 2×12) to create a rectangular shape. This will be the foundation of your chassis.
– **Reinforcement**: Use beams (e.g., Technic beams) to create a frame. Cross-bracing with additional beams can help distribute stress and prevent flexing.
– **Dimensions**: Ensure the chassis fits the dimensions of your wheels and any other components you plan to add (like a motor or battery).
### 3. **Build the Chassis**
– **Layering**: Build the chassis in layers. Start with a bottom layer for stability, then add additional layers for strength.
– **Connection Points**: Use Technic bricks with holes for axles and connectors. This will allow for better attachment of wheels and other components.
– **Weight Distribution**: Place heavier components (like motors or batteries) low and towards the center of the chassis to improve stability.
### 4. **Add Suspension (Optional)**
– **Suspension System**: If you want to add realism and improve handling, consider a simple suspension system using springs or flexible LEGO pieces.
– **Mounting Points**: Ensure that the suspension components are securely attached to the chassis and can absorb shocks.
### 5. **Incorporate Steering Mechanism**
– **Steering System**: Use a simple rack-and-pinion system or a servo motor for steering. Ensure it is well-integrated into the chassis for stability.
– **Connection to Front Axle**: Make sure the steering mechanism connects securely to the front axle.
### 6. **Test and Iterate**
– **Initial Testing**: Once your chassis is built, test it on a smooth surface. Check for stability, weight distribution, and handling.
– **Adjustments**: Make adjustments as needed. Reinforce weak points or modify the design based on performance.
### 7. **Aesthetics and Finishing Touches**
– **Bodywork**: Add body panels to give your F1 car a sleek look. Use aerodynamic shapes to reduce drag.
– **Decals and Details**: Customize your car with stickers or additional LEGO pieces to represent sponsors or team colors.
### 8. **Final Testing**
– **Track Testing**: Take your car to a track or a designated racing area. Observe how it performs under racing conditions.
– **Fine-Tuning**: Make any final adjustments to improve speed, handling, and durability.
### Tips for Success
– **Use Strong Connections**: Ensure all pieces are tightly connected to avoid any disassembly during racing.
– **Experiment with Designs**: Don’t hesitate to try different configurations and designs to find what works best for your specific needs.
– **Research Real F1 Cars**: Look at the design of real F1 cars for inspiration on aerodynamics and chassis design.
By following these steps, you can build a robust and competitive LEGO F1 car chassis that can handle the rigors of racing while looking great on the track!
Building a robust chassis for your LEGO F1 car involves careful planning and attention to detail. Here’s a step-by-step guide to help you create a strong and functional chassis:
### Step-by-Step Guide to Building a Robust Chassis for Your LEGO F1 Car
Building a robust chassis for your LEGO F1 car requires meticulous planning and execution. This guide outlines the essential steps to create a strong and functional chassis that can withstand the rigors of racing while maintaining optimal performance.
#### Step 1: Gather Materials
– **LEGO Bricks**: Collect a variety of LEGO bricks, including beams, plates, and connectors. Ensure you have enough pieces to construct a sturdy base.
– **Wheels and Axles**: Select appropriate wheels and axles that fit your design and provide adequate traction.
– **Additional Components**: Consider including elements such as suspension parts, body panels, and any desired aesthetic features.
#### Step 2: Design the Chassis
– **Blueprint Creation**: Sketch a blueprint of your chassis design. Focus on dimensions, weight distribution, and the placement of wheels and axles.
– **Weight Considerations**: Aim for a lightweight design while ensuring structural integrity. Use lighter bricks where possible without compromising strength.
#### Step 3: Build the Base
– **Foundation Layer**: Start by constructing a solid base using long LEGO beams. This will serve as the foundation for your chassis.
– **Reinforcement**: Add cross-bracing using additional beams to enhance stability. Ensure that the base is flat and level to facilitate smooth movement.
#### Step 4: Integrate the Suspension System
– **Suspension Design**: If your design includes a suspension system, integrate it into the chassis at this stage. Use flexible LEGO pieces to allow for movement while maintaining support.
– **Testing Movement**: Ensure that the suspension can absorb shocks and maintain contact with the ground during movement.
#### Step 5: Attach the Wheels and Axles
– **Wheel Placement**: Securely attach the wheels to the axles, ensuring they are aligned properly for optimal performance.
– **Axle Stability**: Use connectors or additional bricks to stabilize the axles and prevent wobbling during operation.
#### Step 6: Add Structural Reinforcements
– **Cross Supports**: Incorporate additional cross supports throughout the chassis to prevent flexing and enhance durability.
– **Corner Bracing**: Pay special attention to the corners of the chassis, reinforcing them with extra bricks to withstand impacts.
#### Step 7: Finalize the Design
– **Body Panels**: If desired, add body panels to improve aerodynamics and aesthetics. Ensure they do not interfere with the movement of the wheels.
– **Weight Distribution**: Check the overall weight distribution of the chassis. Adjust the placement of components as necessary to achieve a balanced design.
#### Step 8: Test and Iterate
– **Initial Testing**: Conduct initial tests to evaluate the performance of your chassis. Observe how it handles turns, accelerates, and responds to obstacles.
– **Adjustments**: Based on testing results, make necessary adjustments to improve performance. This may include reinforcing weak areas or modifying the suspension system.
#### Step 9: Final Assembly
– **Secure All Components**: Ensure that all parts of the chassis are securely attached and that there are no loose components.
– **Final Inspection**: Conduct a thorough inspection of the chassis to confirm that it meets your design specifications and performance expectations.
#### Conclusion
Building a robust chassis for your LEGO F1 car is a rewarding endeavor that combines creativity with engineering principles. By following these steps and paying attention to detail, you can create a chassis that not only looks impressive but also performs exceptionally well on the track. Happy building!
### Step 1: Gather Your Materials
### Step 1: Gather Your Materials
To ensure a successful and efficient process, it is essential to collect all necessary materials prior to commencing your task. This preparation will facilitate a smoother workflow and minimize interruptions. Below is a comprehensive list of items you may need, depending on the nature of your project:
1. **Documentation**:
– Relevant manuals, guidelines, or reference materials.
– Any necessary forms or templates.
2. **Tools and Equipment**:
– Specific tools required for the task (e.g., writing instruments, measuring devices, or technical equipment).
– Safety gear, if applicable (e.g., gloves, goggles, or masks).
3. **Supplies**:
– Materials such as paper, ink, or other consumables.
– Organizational items (e.g., folders, binders, or storage containers).
4. **Technology**:
– Computer or device with necessary software installed.
– Access to the internet or specific databases, if required.
5. **Workspace**:
– A clean and organized area conducive to your work.
– Adequate lighting and seating arrangements.
6. **Support Resources**:
– Contact information for colleagues or experts who may assist you.
– Access to customer support or technical assistance, if needed.
By systematically gathering these materials, you will be well-prepared to proceed with your project efficiently and effectively.
– **LEGO Bricks**: Collect a variety of bricks, including plates, beams, and connectors
**LEGO Bricks Collection**: Assemble a diverse assortment of LEGO bricks, encompassing various types such as plates, beams, and connectors. This collection will facilitate creative construction and enhance the versatility of your building projects.