Transform your LEGO 42096 into an exciting remote-control car with our step-by-step guide! Unleash creativity and fun with this DIY project.
Turning your LEGO 42096 (the Porsche 911 RSR set) into a remote-controlled car can be a fun and rewarding project. Here’s a step-by-step guide to help you achieve this:
### Materials Needed:
1. **LEGO 42096 Porsche 911 RSR set**
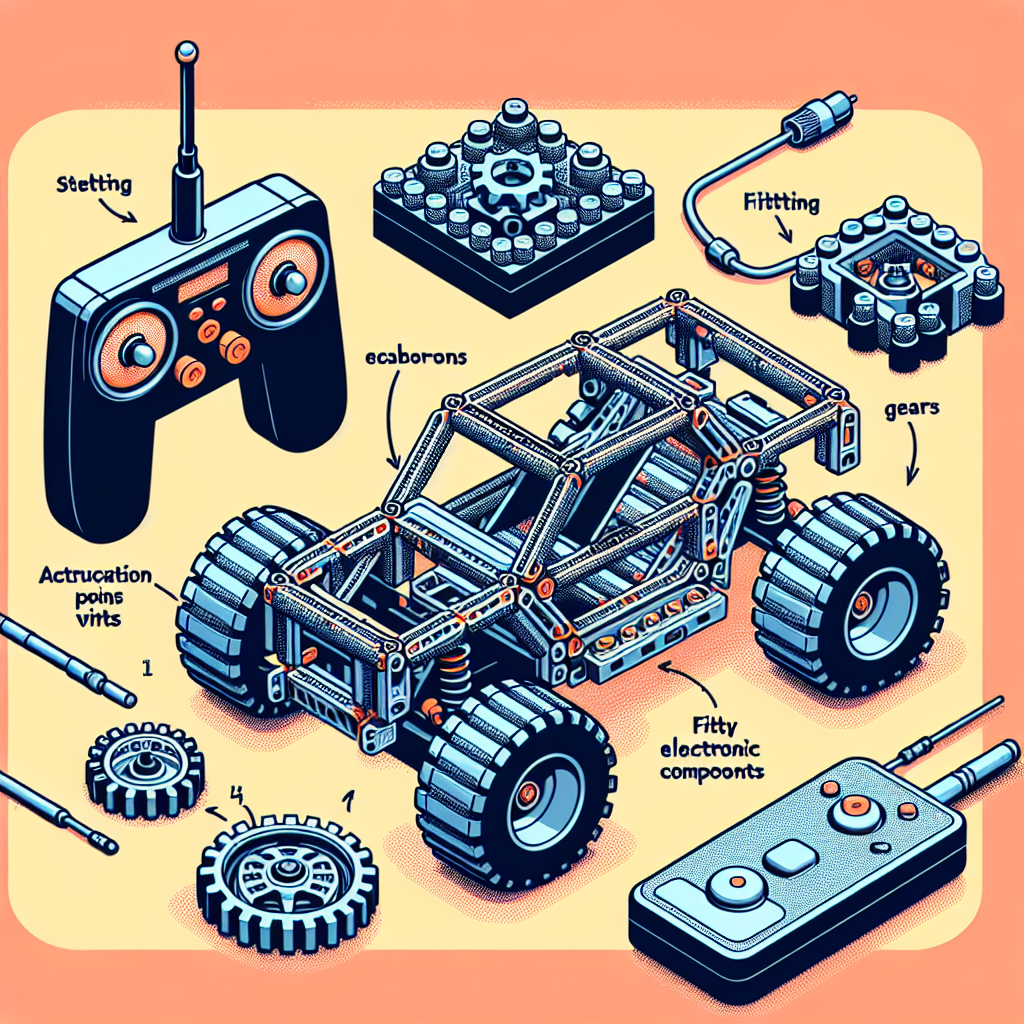
2. **LEGO Power Functions or LEGO Powered Up components** (motor, battery box, and remote control)
3. **LEGO Technic pieces** (for mounting the motors and battery)
4. **Screwdriver** (if needed for any modifications)
5. **Optional: LEGO wheels and tires** (if you want to change the look or performance)
### Steps:
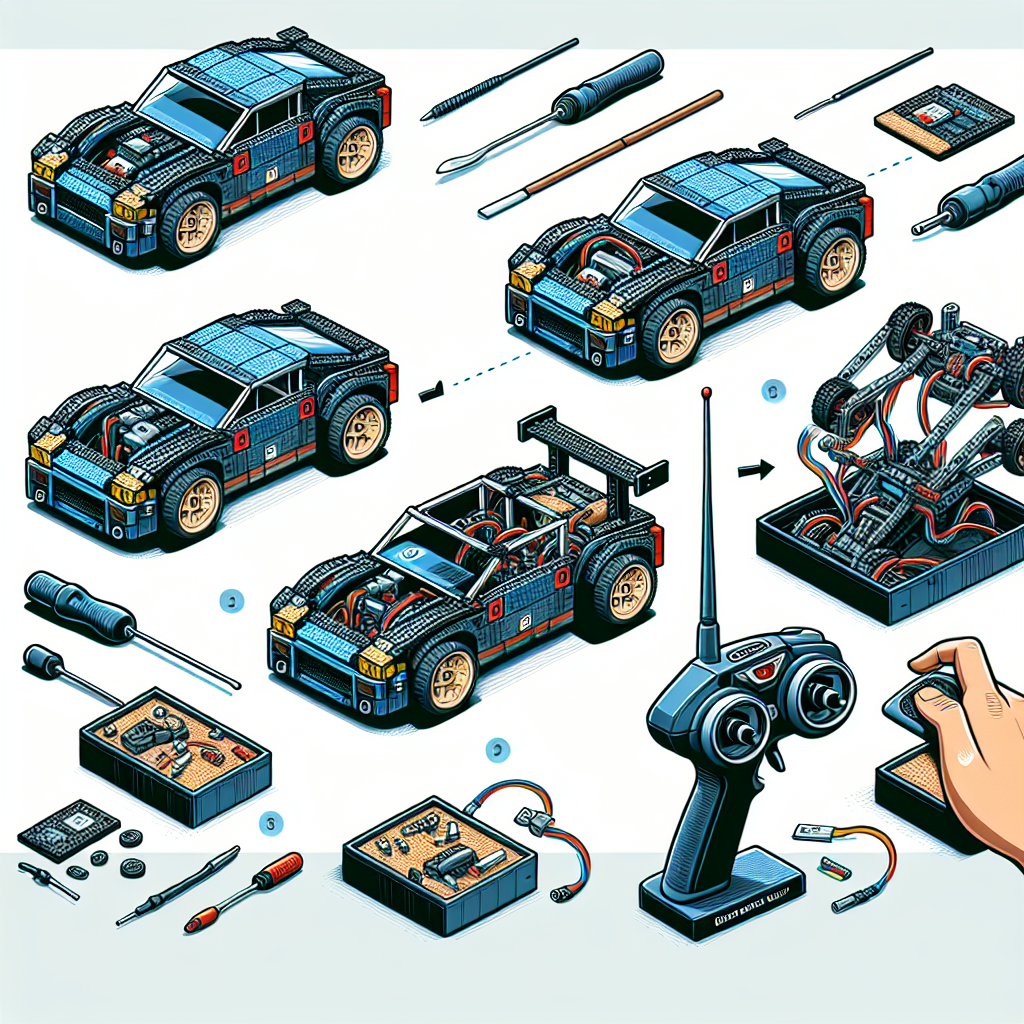
#### 1. **Disassemble the Car:**
– Carefully take apart the LEGO 42096 model, focusing on the chassis and the areas where you will be adding motors. Keep the pieces organized.
#### 2. **Plan the Layout:**
– Decide where you want to place the motors and battery pack. Typically, you will want to place one motor for driving and possibly another for steering (if you want to control the steering remotely).
#### 3. **Install the Motors:**
– **Driving Motor:** Attach a LEGO motor (like the L-Motor) to the rear axle. You may need to modify the axle to fit the motor securely.
– **Steering Motor (optional):** If you want to control the steering, you can attach another motor to the front wheels. This may require additional Technic pieces to create a linkage system.
#### 4. **Connect the Battery Pack:**
– Place the battery pack in a secure location within the chassis. Ensure it is easily accessible for charging or replacing batteries.
#### 5. **Wiring:**
– Connect the motors to the battery pack and remote control receiver. Make sure the wiring is neat and does not interfere with the movement of the car.
#### 6. **Test the Setup:**
– Before fully reassembling the car, test the motors to ensure they are functioning correctly. Check that the driving motor moves the car forward and backward, and if applicable, that the steering motor turns the front wheels.
#### 7. **Reassemble the Car:**
– Once everything is working, carefully reassemble the car around the new components. Make sure all parts are securely attached and that there are no loose pieces.
#### 8. **Final Adjustments:**
– Make any necessary adjustments to improve performance, such as changing the weight distribution or modifying the gearing for speed or torque.
#### 9. **Enjoy Your Remote-Controlled LEGO Car:**
– Once everything is in place and functioning, take your remote-controlled LEGO Porsche for a test drive! Make sure to drive it in an open area to avoid any obstacles.
### Tips:
– **Customization:** Feel free to customize the look of your car with additional LEGO pieces or stickers.
– **Experiment:** You can experiment with different motor types and configurations to see what works best for your design.
– **Documentation:** Consider documenting your process with photos or notes, especially if you plan to share your modifications with others.
By following these steps, you should be able to successfully convert your LEGO 42096 into a remote-controlled car. Enjoy your build!
Turning your LEGO 42096 (the Porsche 911 RSR) into a remote-controlled car can be a fun and rewarding project. Here’s a step-by-step guide to help you achieve this:
### Converting LEGO 42096 (Porsche 911 RSR) into a Remote-Controlled Car: A Step-by-Step Guide
Transforming your LEGO 42096 Porsche 911 RSR into a remote-controlled vehicle can enhance your building experience and provide hours of entertainment. Below is a structured guide to assist you in this project.
#### Materials Required
1. **LEGO 42096 Porsche 911 RSR Set**
2. **LEGO Power Functions or Powered Up Components**
– Motor(s) (e.g., L-Motor or XL-Motor)
– Battery Box or Rechargeable Battery
– Remote Control or Smartphone App (if using Powered Up)
3. **Additional LEGO Technic Pieces** (if necessary for modifications)
4. **Screwdriver** (if required for battery compartment)
5. **Adhesive Putty or Tape** (optional, for securing components)
#### Step 1: Disassemble the Model
1. Carefully disassemble the Porsche 911 RSR model, focusing on the sections that will be modified to accommodate the motors and battery.
2. Keep the original pieces organized to facilitate reassembly.
#### Step 2: Plan the Layout
1. **Determine Motor Placement**: Identify where to place the motor(s) for optimal performance. Typically, one motor can be used for driving, while another can be used for steering.
2. **Battery Placement**: Choose a location for the battery box that does not interfere with the aesthetics of the model and allows for easy access.
#### Step 3: Modify the Chassis
1. **Reinforce the Chassis**: Ensure that the chassis can support the additional weight of the motors and battery. You may need to add extra Technic beams or plates for stability.
2. **Create Mounts for Motors**: Use LEGO pieces to create secure mounts for the motors. Ensure that they are firmly attached and aligned with the wheels for effective movement.
#### Step 4: Install the Motors
1. **Attach the Drive Motor**: Connect the drive motor to the rear axle. You may need to use gears or pulleys to ensure proper torque and speed.
2. **Install the Steering Motor**: If using a separate motor for steering, connect it to the front wheels. This may require additional gearing to achieve the desired steering angle.
#### Step 5: Connect the Battery and Remote Control
1. **Wire the Components**: Connect the motors to the battery box and ensure that all connections are secure. If using LEGO Powered Up, follow the specific instructions for connecting to the app or remote.
2. **Test the Connections**: Before finalizing the assembly, test the motors to ensure they respond correctly to the remote control.
#### Step 6: Reassemble the Model
1. Carefully reassemble the Porsche 911 RSR, ensuring that all components are securely in place and that the motors and battery are well integrated into the design.
2. Make any necessary adjustments to maintain the aesthetic appeal of the model.
#### Step 7: Final Testing
1. Once reassembled, conduct a thorough test of the remote-controlled functions. Check both driving and steering capabilities.
2. Make any adjustments as needed to improve performance or responsiveness.
#### Step 8: Enjoy Your Remote-Controlled Porsche 911 RSR
1. Take your newly converted remote-controlled LEGO Porsche 911 RSR for a test drive. Enjoy the enhanced experience of controlling your model remotely.
2. Consider sharing your project with the LEGO community, showcasing your modifications and any challenges you overcame during the process.
### Conclusion
Converting your LEGO 42096 Porsche 911 RSR into a remote-controlled car is a rewarding project that combines creativity with engineering. By following this guide, you can enjoy a unique and interactive version of this iconic model. Happy building!
### Materials Needed:
It seems like your request is incomplete. Could you please provide more context or specify what materials you need? For example, are you looking for materials for a specific project, event, or purpose? This will help me assist you better.
**LEGO 42096 Set**: Ensure you have the complete set
To ensure you have the complete LEGO 42096 set, please follow these steps:
1. **Inventory Check**: Begin by reviewing the instruction manual included with the set. This manual typically contains a list of all the pieces required to complete the model. Cross-reference this list with the pieces you have on hand.
2. **Piece Count**: Count each type of piece to confirm that you have the correct quantity. Pay special attention to unique or specialized pieces, as these are often critical to the assembly.
3. **Condition of Pieces**: Inspect each piece for any damage or defects. Ensure that all pieces are in good condition and free from any breaks or discoloration.
4. **Compare with Online Resources**: Utilize online databases or LEGO community forums to compare your inventory against a complete list of the set’s components. Websites such as BrickLink or Rebrickable can be particularly useful for this purpose.
5. **Contact Customer Service**: If you find that any pieces are missing or damaged, consider reaching out to LEGO’s customer service. They can assist you in obtaining replacement parts.
6. **Reassemble**: Once you have confirmed that you possess all necessary pieces, proceed to assemble the set according to the provided instructions.
By following these steps, you can ensure that you have a complete and functional LEGO 42096 set.