Discover creative tips for building LEGO cars perfect for stop-motion animation. Unleash your imagination and bring your LEGO creations to life!
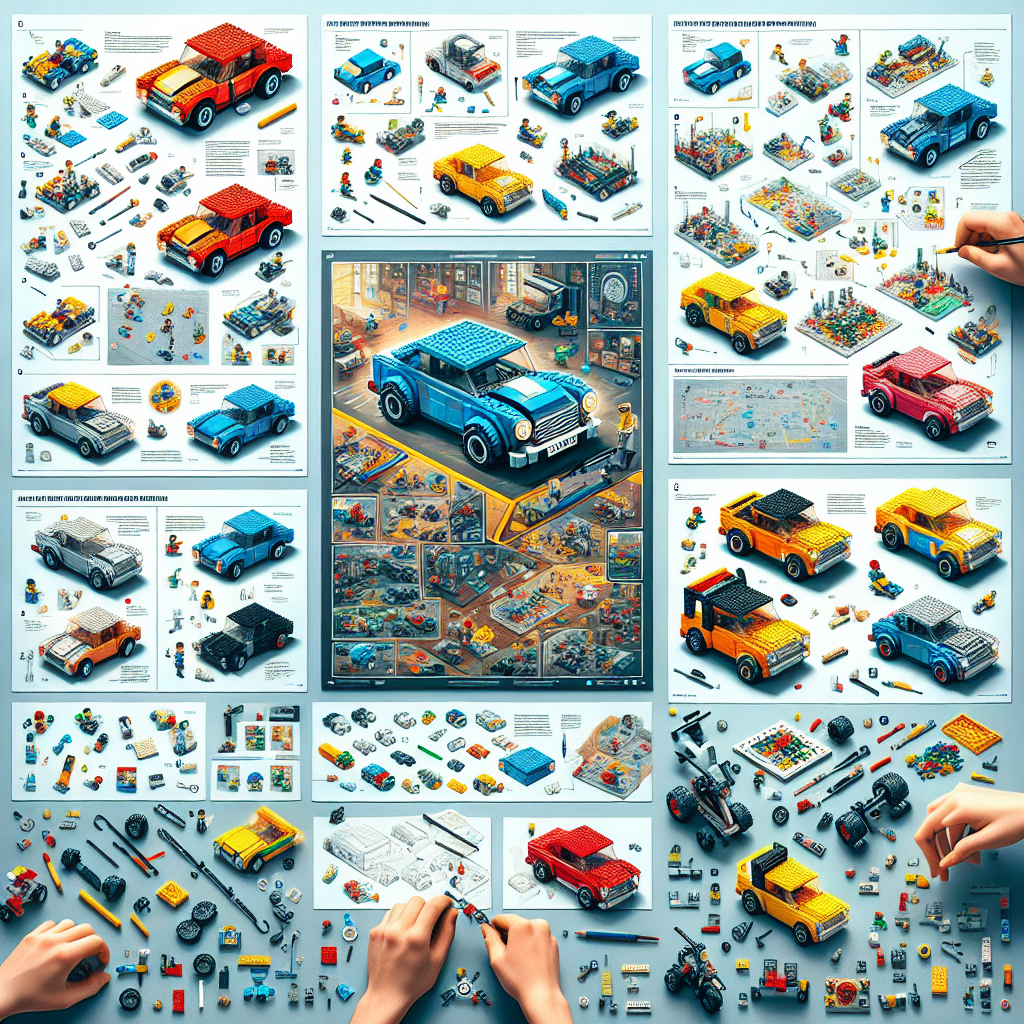
Creating LEGO cars for stop-motion animation can be a fun and rewarding project! Here’s a step-by-step guide to help you build your own LEGO cars and prepare them for animation.
### Step 1: Gather Your Materials
– **LEGO Bricks**: Collect a variety of LEGO bricks, wheels, and axles. You can use sets specifically designed for vehicles or mix and match from your collection.
– **Camera**: A smartphone or a digital camera that can take still images.
– **Tripod**: To keep your camera steady during shooting.
– **Stop-Motion Software**: There are many apps available for smartphones and computers (like Stop Motion Studio, Dragonframe, or iStopMotion).
– **Lighting**: Ensure you have good lighting to avoid flickering in your animation.
### Step 2: Design Your LEGO Car
1. **Choose a Style**: Decide on the type of car you want to build (sports car, truck, etc.).
2. **Build the Chassis**: Start with a sturdy base using flat LEGO pieces. Make sure it’s wide enough to support the wheels.
3. **Add Wheels**: Attach wheels using axles. Ensure they spin freely and are securely attached.
4. **Create the Body**: Use bricks to build the car’s body. You can make it as detailed or as simple as you like. Consider adding features like windows, doors, and a roof.
5. **Customize**: Add stickers, decals, or unique pieces to give your car character. You can also use LEGO minifigures as drivers or passengers.
### Step 3: Set Up Your Animation Space
1. **Background**: Create a simple background for your scene. You can use a printed backdrop, a painted canvas, or even a LEGO landscape.
2. **Lighting**: Set up your lights to ensure even illumination. Avoid harsh shadows and bright spots.
3. **Camera Position**: Place your camera on a tripod facing the scene. Make sure it’s stable and won’t move during shooting.
### Step 4: Plan Your Animation
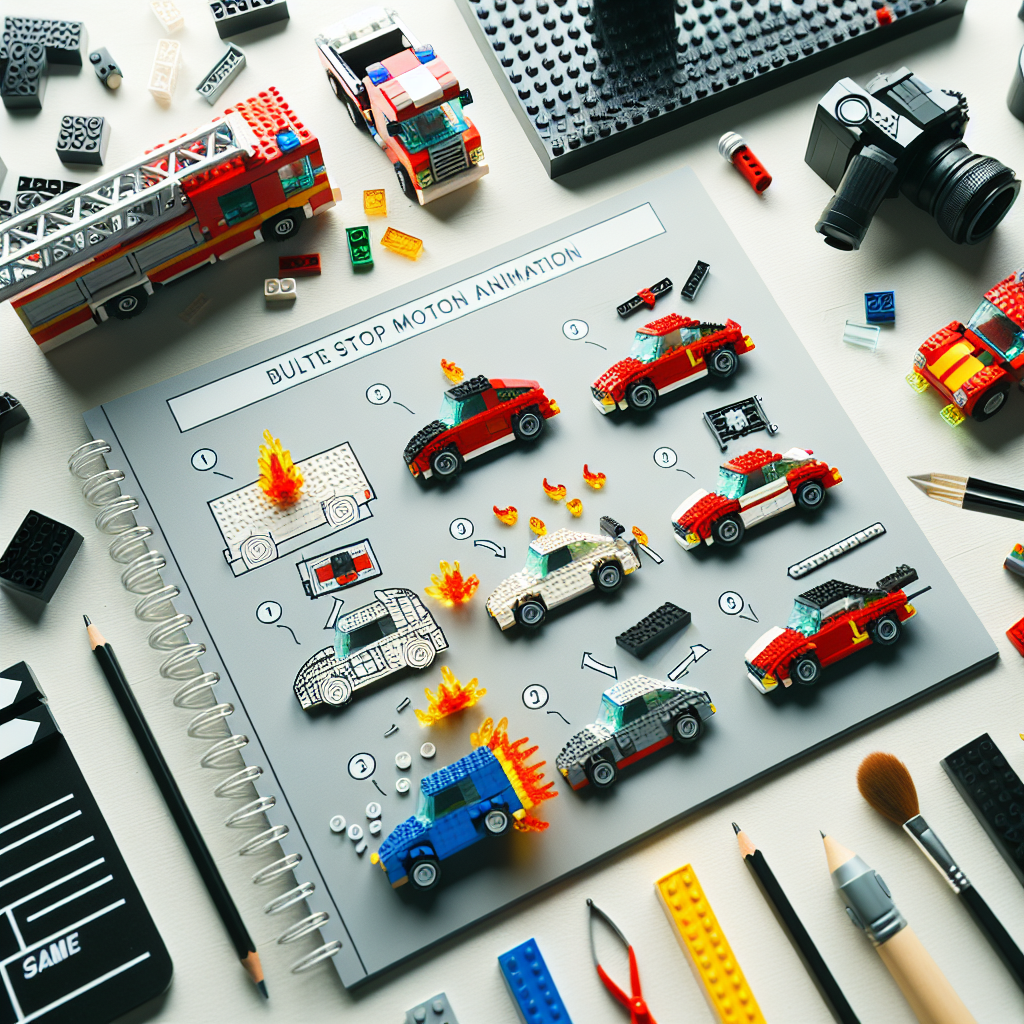
1. **Storyboard**: Sketch out a simple storyboard of what you want to happen in your animation. This will help you visualize the sequence of movements.
2. **Decide on Movement**: Plan how your car will move. Will it drive straight, turn, or jump? Think about how you can achieve these movements with small adjustments.
### Step 5: Start Shooting
1. **Frame by Frame**: Move your LEGO car slightly for each frame. A good rule of thumb is to take 12-24 frames per second for smooth motion.
2. **Check Your Shots**: After a few frames, review your shots to ensure everything looks good. Adjust as necessary.
3. **Be Patient**: Stop-motion animation can be time-consuming, so take your time to get each frame right.
### Step 6: Edit Your Animation
1. **Import Your Frames**: Use your stop-motion software to import the images you’ve taken.
2. **Adjust Timing**: Edit the timing of your frames to create the desired speed and flow.
3. **Add Sound Effects**: Consider adding sound effects or music to enhance your animation.
### Step 7: Share Your Creation
– Once you’re satisfied with your animation, export it and share it on social media or with friends and family!
### Tips for Success
– **Experiment**: Don’t be afraid to try different designs and movements.
– **Keep It Simple**: Start with simple animations before moving on to more complex scenes.
– **Practice**: The more you practice, the better your animations will become.
By following these steps, you’ll be well on your way to creating exciting LEGO car animations. Enjoy the process and let your creativity shine!
Creating LEGO cars for stop-motion animation can be a fun and rewarding project! Here’s a step-by-step guide to help you build your own LEGO cars and prepare them for animation
### Step-by-Step Guide to Creating LEGO Cars for Stop-Motion Animation
Creating LEGO cars for stop-motion animation is an engaging project that combines creativity with technical skills. This guide will provide you with a structured approach to building and preparing your LEGO cars for animation.
#### Step 1: Gather Materials
1. **LEGO Bricks**: Collect a variety of LEGO bricks, including wheels, axles, and body pieces. Consider using specialized pieces for added detail.
2. **Baseplate**: A sturdy baseplate will serve as the foundation for your animation setup.
3. **Camera**: A digital camera or smartphone with a tripod to ensure stability during shooting.
4. **Animation Software**: Choose software that supports stop-motion animation, such as Dragonframe, Stop Motion Studio, or iStopMotion.
5. **Lighting**: Ensure you have adequate lighting to maintain consistent visibility throughout your animation.
#### Step 2: Design Your LEGO Car
1. **Conceptualization**: Sketch your car design on paper. Consider the type of vehicle you want to create (e.g., sports car, truck, or futuristic vehicle).
2. **Select Colors and Themes**: Choose a color scheme and theme that aligns with your animation’s narrative.
3. **Build the Chassis**: Start with a solid base for your car. Use flat bricks to create a sturdy chassis that can support the weight of the car and any additional features.
#### Step 3: Assemble the Car
1. **Attach Wheels and Axles**: Securely attach wheels to the axles and then connect them to the chassis. Ensure that the wheels can rotate freely.
2. **Construct the Body**: Build the car’s body using various LEGO bricks. Incorporate details such as windows, headlights, and spoilers to enhance realism.
3. **Add Accessories**: Consider adding minifigures, decals, or other accessories to personalize your car and make it more visually appealing.
#### Step 4: Prepare for Animation
1. **Stabilize the Setup**: Place your baseplate on a stable surface. Ensure that the camera is securely mounted on a tripod to avoid any movement during shooting.
2. **Set Up Lighting**: Position your lights to eliminate shadows and create a consistent look. Avoid direct light that may cause glare on shiny LEGO pieces.
3. **Frame Your Shots**: Determine the camera angle and framing for your animation. Test different perspectives to find the most dynamic view.
#### Step 5: Animate Your LEGO Car
1. **Plan Your Animation**: Create a storyboard outlining the sequence of movements for your car. Consider how it will start, stop, and interact with other elements in the scene.
2. **Capture Frames**: Begin shooting your animation by taking a series of still images. Move the car slightly between each shot to create the illusion of movement. A common frame rate for smooth animation is 12-24 frames per second.
3. **Review and Adjust**: Periodically review your captured frames to ensure continuity and make adjustments as necessary.
#### Step 6: Edit and Finalize
1. **Import Footage**: Transfer your images into your chosen animation software.
2. **Edit the Sequence**: Arrange the frames in the correct order and adjust the timing to achieve the desired pacing.
3. **Add Sound Effects and Music**: Enhance your animation by incorporating sound effects and background music that complement the visuals.
4. **Export Your Animation**: Once satisfied with the final product, export your animation in a suitable format for sharing or presentation.
#### Conclusion
Building LEGO cars for stop-motion animation is a creative endeavor that allows for artistic expression and technical skill development. By following this structured guide, you can create engaging animations that showcase your unique designs and storytelling abilities. Enjoy the process, and let your imagination drive your creations!
### Step 1: Gather Your Materials
### Step 1: Gather Your Materials
To ensure a successful and efficient process, it is essential to collect all necessary materials prior to commencing your task. This preparation will facilitate a smoother workflow and minimize interruptions. Below is a comprehensive list of items you may need, depending on the nature of your project:
1. **Documentation**:
– Relevant manuals, guidelines, or reference materials.
– Any necessary forms or templates.
2. **Tools and Equipment**:
– Specific tools required for the task (e.g., writing instruments, electronic devices).
– Safety equipment, if applicable (e.g., gloves, goggles).
3. **Supplies**:
– Materials such as paper, ink, or other consumables.
– Organizational items (e.g., folders, binders).
4. **Technology**:
– Computer or laptop with necessary software installed.
– Access to the internet for research or communication.
5. **Workspace**:
– A clean and organized area conducive to productivity.
– Adequate lighting and seating arrangements.
6. **Support Resources**:
– Contact information for colleagues or experts who can provide assistance.
– Access to online resources or databases.
By systematically gathering these materials, you will be well-prepared to proceed with your project efficiently and effectively.
– **LEGO Bricks**: Collect a variety of LEGO bricks, wheels, and axles. You can use sets specifically designed for vehicles or mix and match from your collection
To embark on a project involving the construction of vehicles using LEGO bricks, it is advisable to gather a diverse assortment of LEGO components, including bricks, wheels, and axles. You may opt for sets that are specifically designed for vehicle assembly, or alternatively, you can creatively combine elements from your existing collection. This approach will not only enhance the versatility of your designs but also allow for greater innovation in your vehicle constructions.