Learn how to create a stunning floating display frame for your LEGO cars with our step-by-step guide. Showcase your collection in style!
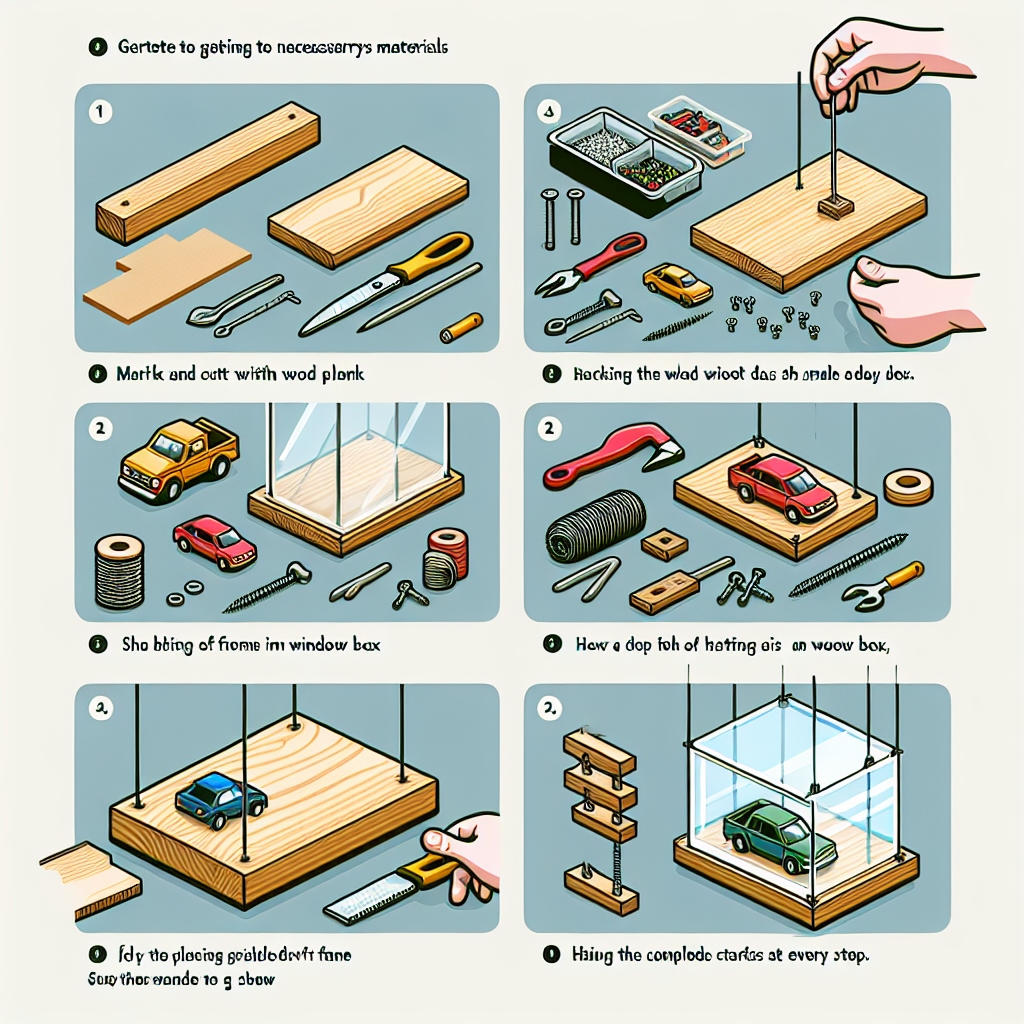
Creating a floating display frame for LEGO cars is a fun and creative project that allows you to showcase your LEGO creations in a unique way. Here’s a step-by-step guide to help you make one:
### Materials Needed:
1. **Display Frame**: A shadow box or a deep picture frame (preferably with a glass front).
2. **Acrylic or Plexiglass Sheet**: To create the floating effect.
3. **LEGO Baseplate**: To attach your LEGO cars.
4. **Adhesive**: Strong glue or double-sided tape.
5. **LED Strip Lights (optional)**: For added illumination.
6. **Paint or Decorative Paper**: To customize the background.
7. **Ruler and Pencil**: For measurements.
8. **Craft Knife or Scissors**: For cutting materials.
9. **Mounting Hardware**: If you want to hang the frame.
### Instructions:
#### Step 1: Choose Your Frame
– Select a shadow box or deep picture frame that can accommodate the height of your LEGO cars. Ensure it has a glass front for protection.
#### Step 2: Prepare the Background
– If desired, paint the back of the frame or use decorative paper to create a visually appealing background. Let it dry completely.
#### Step 3: Cut the Acrylic Sheet
– Measure the interior dimensions of the frame and cut the acrylic or plexiglass sheet to fit inside. This will serve as the floating platform for your LEGO cars.
#### Step 4: Attach the Baseplate
– Cut the LEGO baseplate to fit the acrylic sheet. Use strong adhesive or double-sided tape to attach the baseplate to the acrylic sheet. Make sure it’s secure and level.
#### Step 5: Create the Floating Effect
– Place the acrylic sheet with the attached baseplate into the frame. You can use small spacers (like wooden blocks or LEGO bricks) at the corners to elevate the acrylic sheet slightly above the bottom of the frame, creating a floating effect.
#### Step 6: Secure the Acrylic Sheet
– If necessary, use adhesive or small clips to secure the acrylic sheet in place within the frame. Ensure it is stable and won’t move.
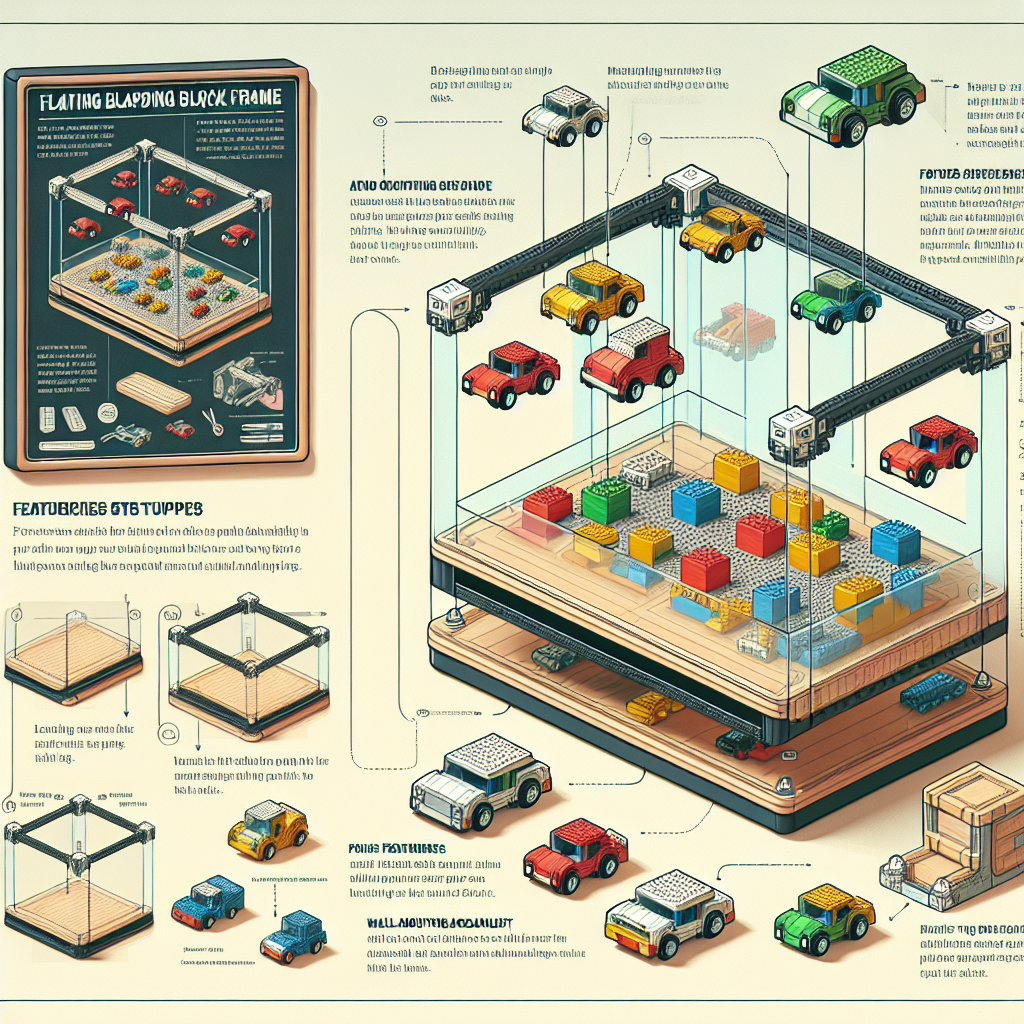
#### Step 7: Arrange Your LEGO Cars
– Position your LEGO cars on the baseplate. You can arrange them in a way that showcases their features or create a scene.
#### Step 8: Add Lighting (Optional)
– If you want to add LED strip lights, you can attach them around the inside edges of the frame to illuminate your display. Make sure to hide any wires neatly.
#### Step 9: Close the Frame
– Once everything is in place, carefully close the frame, ensuring that the glass front is secure.
#### Step 10: Hang or Display
– Use mounting hardware to hang the frame on the wall or place it on a shelf or table for display.
### Tips:
– Consider using a clear adhesive to avoid visible glue marks.
– Experiment with different arrangements and backgrounds to find what looks best.
– If you have multiple LEGO cars, consider making multiple frames for a cohesive display.
With these steps, you’ll have a beautiful floating display frame for your LEGO cars that not only protects them but also showcases them in style! Enjoy your crafting!
Creating a floating display frame for LEGO cars is a fun and creative project that allows you to showcase your LEGO creations in a unique way. Here’s a step-by-step guide to help you make one:
### Step-by-Step Guide to Creating a Floating Display Frame for LEGO Cars
Creating a floating display frame for your LEGO cars is an engaging project that not only highlights your creations but also adds a decorative element to your space. Follow this formal guide to construct a visually appealing and functional display frame.
#### Materials Needed
1. **Display Frame**: A shadow box or deep-set frame (size depending on the number of LEGO cars).
2. **Acrylic or Glass Sheet**: To cover the front of the frame (ensure it fits the dimensions of the frame).
3. **Mounting Hardware**: Such as brackets or adhesive strips for securing the LEGO cars.
4. **Backing Material**: Foam board or plywood for the back of the frame.
5. **Paint or Decorative Paper**: Optional, for enhancing the background of the frame.
6. **Tools**: Ruler, pencil, craft knife, glue, and a drill (if necessary).
#### Instructions
1. **Select the Frame**: Choose a display frame that complements the size and number of LEGO cars you wish to showcase. A shadow box is ideal as it provides depth.
2. **Prepare the Backing**:
– Cut the foam board or plywood to fit the back of the frame.
– If desired, paint or cover the backing with decorative paper to create an appealing background for your display.
3. **Plan the Layout**:
– Arrange your LEGO cars on the backing material to determine their placement. Consider varying heights and angles for visual interest.
– Mark the positions lightly with a pencil.
4. **Secure the Cars**:
– Use mounting hardware such as brackets or adhesive strips to secure the LEGO cars in place. Ensure that the method chosen allows for easy removal if you wish to change the display in the future.
– If using brackets, drill small holes in the backing material to attach them securely.
5. **Assemble the Frame**:
– Once the cars are secured, place the backing into the frame.
– Attach the acrylic or glass sheet to the front of the frame to protect the display while allowing visibility.
6. **Final Touches**:
– Clean the acrylic or glass surface to remove any fingerprints or dust.
– If applicable, add any additional decorative elements, such as LED lights or labels, to enhance the display.
7. **Mount the Frame**:
– Decide on the location for your floating display frame. Use appropriate wall anchors or adhesive strips to mount the frame securely on the wall.
8. **Enjoy Your Display**:
– Step back and admire your work! Your LEGO cars are now showcased in a unique and stylish manner.
#### Conclusion
Creating a floating display frame for your LEGO cars is a rewarding project that allows you to express your creativity while showcasing your collection. By following these steps, you can create a beautiful display that enhances your space and celebrates your passion for LEGO.
### Materials Needed:
It seems like your request is incomplete. Could you please provide more context or specify what materials you need? For example, are you looking for materials for a specific project, event, or purpose? This will help me assist you better.
**Display Frame**: A shadow box or deep frame (you can buy one or make your own)
**Display Frame: A Shadow Box or Deep Frame**
A display frame, particularly a shadow box or deep frame, serves as an elegant and formal way to showcase cherished items, memorabilia, or artwork. Here’s a guide on how to choose or create one:
### Choosing a Shadow Box or Deep Frame
1. **Size and Depth**:
– **Size**: Select a frame that accommodates the dimensions of your item(s). Consider the overall aesthetic and the space where it will be displayed.
– **Depth**: Ensure the frame has enough depth to hold the items without them being squished. A depth of at least 2 inches is recommended for three-dimensional objects.
2. **Material**:
– **Frame Material**: Choose from wood, metal, or acrylic. Wood offers a classic look, while metal can provide a modern touch.
– **Backing**: Opt for a sturdy backing material, such as MDF or plywood, to support the items securely.
3. **Glass or Acrylic Front**:
– **Protection**: Use UV-protective glass or acrylic to shield your items from dust and fading.
– **Clarity**: Ensure the front material is clear and free of distortions to maintain the visual integrity of the display.
4. **Mounting Options**:
– **Hooks and Pins**: Consider how you will mount your items. Use hooks, pins, or adhesive strips that won’t damage the items.
– **Background**: Choose a background color or texture that complements the items being displayed. Fabric, paper, or painted surfaces can enhance the overall look.
### Creating Your Own Shadow Box
1. **Materials Needed**:
– A deep frame or shadow box kit
– Backing material (if not included)
– Mounting hardware (hooks, pins, adhesive)
– Decorative elements (fabric, paper, etc.)
2. **Steps**:
– **Prepare the Frame**: If using a pre-made frame, remove the backing and clean the glass or acrylic front.
– **Design the Layout**: Arrange your items on the backing without securing them first. Experiment with placement until satisfied.
– **Secure the Items**: Once the layout is finalized, use your chosen mounting method to secure each item in place.
– **Add Background**: If desired, attach a decorative background to enhance the display.
– **Assemble the Frame**: Carefully place the glass or acrylic front back onto the frame and secure it.
3. **Finishing Touches**:
– **Hanging**: Attach appropriate hardware for hanging or display on a shelf.
– **Labeling**: Consider adding labels or descriptions for context, especially for memorabilia.
### Conclusion
A shadow box or deep frame is not only a protective display solution but also a beautiful way to preserve and showcase memories. Whether you choose to buy one or create your own, the right display frame can transform ordinary items into extraordinary works of art.