"Explore the journey of designing custom LEGO car display frames, transforming your favorite builds into stunning showcases for any space!"
Designing custom LEGO car display frames can be a fun and rewarding project for LEGO enthusiasts and collectors. Here’s a step-by-step guide to help you take your concept from idea to creation:
### Step 1: Conceptualization
1. **Define Purpose**: Determine the purpose of the display frame. Is it for showcasing a single car, a collection, or a themed display?
2. **Choose a Style**: Decide on the aesthetic of the frame. Do you want it to be modern, rustic, or themed (e.g., racing, classic cars)?
3. **Size and Scale**: Measure the dimensions of the LEGO cars you want to display. Consider how many cars you want to include in the frame.
### Step 2: Design
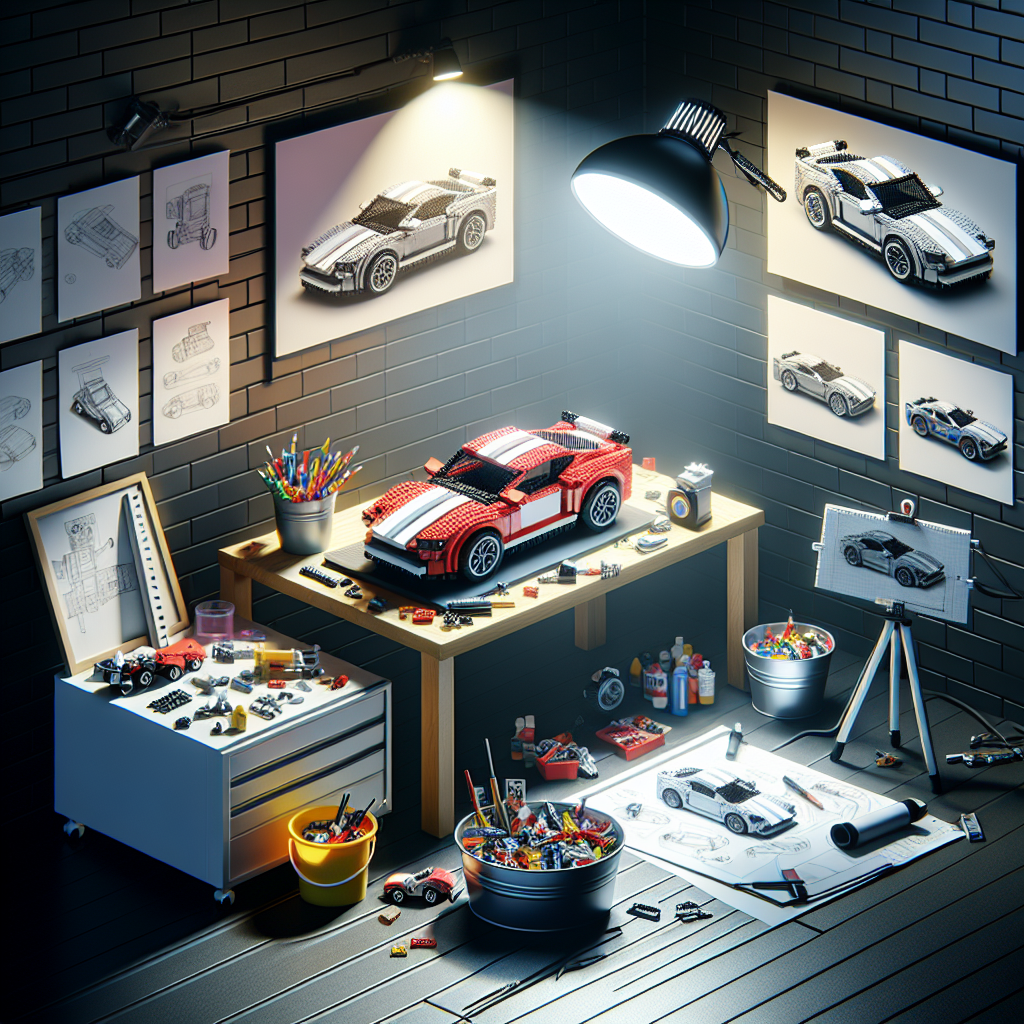
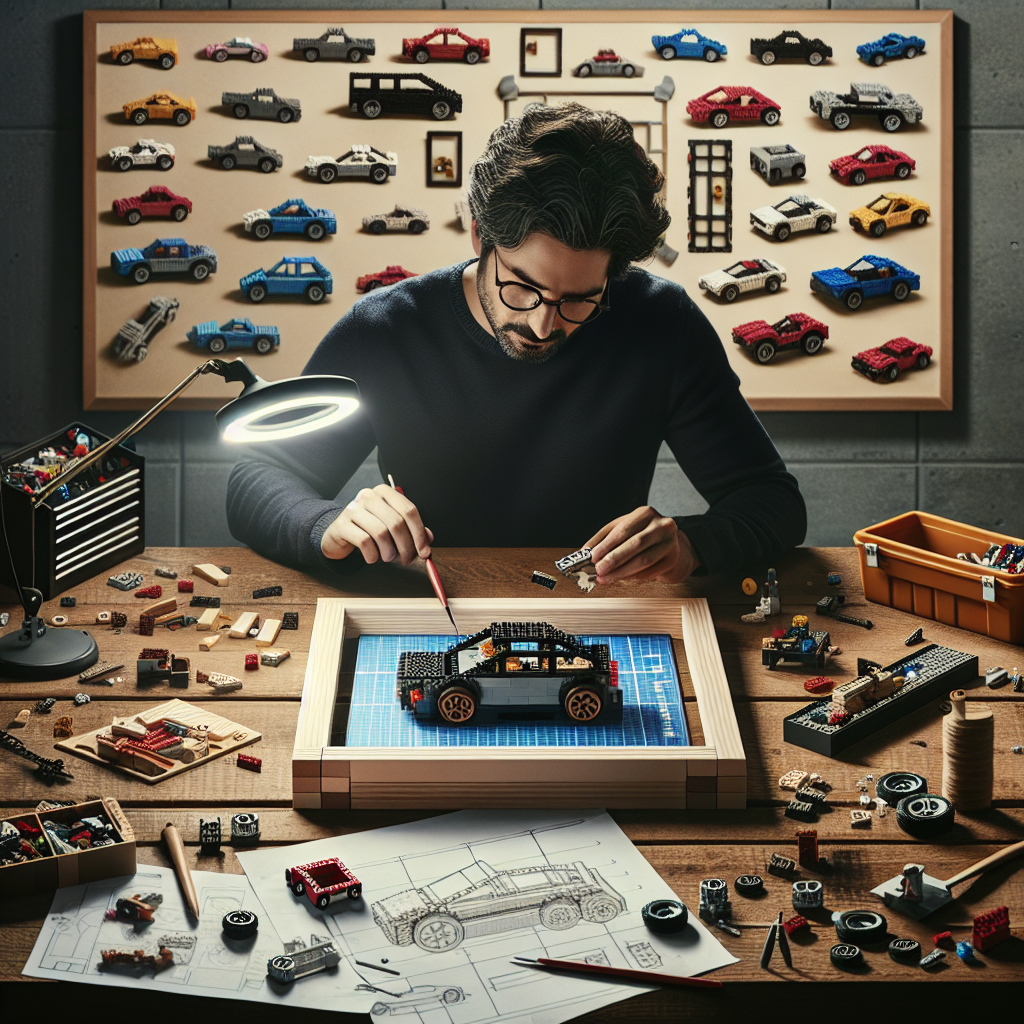
1. **Sketch Your Ideas**: Create rough sketches of your display frame. Consider different layouts, such as horizontal or vertical arrangements.
2. **Select Materials**: Choose materials for the frame. Common options include wood, acrylic, or metal. Each material has its own aesthetic and durability.
3. **Incorporate Lighting**: If desired, plan for LED lighting to enhance the display. Consider how the lighting will be integrated into the frame.
4. **Accessibility**: Think about how you will access the cars for cleaning or rearranging. A hinged front or removable back panel can be useful.
### Step 3: Prototyping
1. **Create a Mock-Up**: Use cardboard or foam board to create a scale model of your design. This will help you visualize the final product and make adjustments.
2. **Test Fit**: Place your LEGO cars in the mock-up to ensure they fit well and that the layout is visually appealing.
### Step 4: Building
1. **Gather Tools and Materials**: Collect all necessary tools (saw, drill, screws, etc.) and materials based on your design.
2. **Cut and Assemble**: Cut your materials according to your design. Assemble the frame, ensuring it is sturdy and well-constructed.
3. **Finish the Frame**: Sand, paint, or stain the frame as desired. If using acrylic, consider polishing the edges for a clean look.
4. **Install Lighting**: If you opted for lighting, install it according to your plan. Ensure that wiring is discreet and safe.
### Step 5: Displaying Your LEGO Cars
1. **Mounting Options**: Decide how you will mount the frame. Wall-mounted frames require secure anchors, while tabletop frames need a stable base.
2. **Arrange the Cars**: Place your LEGO cars in the frame. Consider using stands or bases to elevate certain models for better visibility.
3. **Add Labels or Decor**: If desired, add labels for each car or decorative elements that enhance the theme of your display.
### Step 6: Maintenance
1. **Dusting and Cleaning**: Regularly dust the display to keep it looking fresh. Use a soft cloth or a gentle brush to avoid damaging the LEGO pieces.
2. **Rearranging**: Feel free to rearrange the cars or update the display as your collection grows or changes.
### Conclusion
Creating a custom LEGO car display frame allows you to showcase your collection in a personalized way. By following these steps, you can design and build a frame that not only protects your models but also enhances their visual appeal. Enjoy the process and let your creativity shine!
Designing custom LEGO car display frames can be a fun and rewarding project for LEGO enthusiasts. Here’s a step-by-step guide to help you take your concept from idea to creation:
### Step-by-Step Guide to Designing Custom LEGO Car Display Frames
Creating custom display frames for LEGO cars is an enjoyable project that allows enthusiasts to showcase their collections in a unique and aesthetically pleasing manner. This guide outlines a structured approach to take your concept from idea to creation.
#### Step 1: Define Your Concept
1. **Identify the Purpose**: Determine whether the display frame is for personal use, a gift, or a public exhibition.
2. **Select the Theme**: Consider a theme that complements your LEGO cars, such as racing, classic cars, or futuristic designs.
3. **Determine the Size**: Measure the dimensions of the LEGO cars you wish to display to ensure the frame accommodates them appropriately.
#### Step 2: Gather Materials
1. **Frame Material**: Choose a suitable material for the frame, such as wood, acrylic, or metal, based on your aesthetic preference and budget.
2. **Backing Board**: Select a sturdy backing board to support the LEGO cars. Options include foam board, plywood, or MDF.
3. **Display Accessories**: Consider additional elements such as LED lighting, acrylic risers, or custom nameplates to enhance the display.
#### Step 3: Design the Frame
1. **Sketch Your Design**: Create rough sketches of your frame layout, including dimensions and placement of the LEGO cars.
2. **Use Design Software**: If comfortable, utilize design software (e.g., SketchUp, AutoCAD) to create a more precise digital model of your frame.
3. **Plan for Accessibility**: Ensure that the design allows for easy access to the LEGO cars for cleaning or rearranging.
#### Step 4: Construct the Frame
1. **Cut the Materials**: Using appropriate tools, cut the frame and backing board to the desired dimensions. Ensure all cuts are straight and clean.
2. **Assemble the Frame**: Join the frame pieces using wood glue, screws, or brackets, depending on the material chosen. Ensure the structure is sturdy and stable.
3. **Attach the Backing Board**: Secure the backing board to the frame, ensuring it is flush and well-aligned.
#### Step 5: Prepare for Display
1. **Paint or Finish**: Apply paint, stain, or a protective finish to the frame to enhance its appearance and protect the material.
2. **Install Display Accessories**: If using LED lighting, install it at this stage. Ensure wiring is discreet and does not detract from the display.
3. **Position the LEGO Cars**: Arrange the LEGO cars on the backing board. Use adhesive putty or small stands to secure them in place if necessary.
#### Step 6: Final Touches
1. **Add Labels**: Consider adding labels or nameplates for each car, providing information such as model name, year, or designer.
2. **Clean the Display**: Wipe down the frame and LEGO cars to remove any dust or fingerprints, ensuring a polished final presentation.
3. **Mount or Place the Frame**: Decide whether to hang the display frame on a wall or place it on a shelf or table. Ensure it is securely positioned.
#### Step 7: Enjoy Your Creation
1. **Showcase Your Work**: Invite friends and family to view your custom display frame, sharing the story behind your LEGO car collection.
2. **Document Your Project**: Take photographs of your completed display for personal records or to share with the LEGO community online.
By following these steps, you can create a custom LEGO car display frame that not only protects your collection but also enhances its visual appeal. Enjoy the process and let your creativity shine!
### Step 1: Conceptualization
Conceptualization is the process of forming a clear and coherent idea or concept about a particular subject or phenomenon. It involves defining the key elements, relationships, and frameworks that will guide further exploration or analysis. Here’s a formal breakdown of the conceptualization process:
1. **Identification of the Subject Matter**:
– Clearly define the topic or phenomenon of interest.
– Establish the scope and boundaries of the concept.
2. **Literature Review**:
– Conduct a thorough review of existing literature to understand current knowledge, theories, and frameworks related to the subject.
– Identify gaps in the literature that your conceptualization may address.
3. **Defining Key Concepts**:
– Break down the subject into its fundamental components.
– Define each key concept clearly, ensuring that definitions are precise and unambiguous.
4. **Establishing Relationships**:
– Explore how the key concepts interact with one another.
– Identify causal relationships, correlations, or dependencies among the concepts.
5. **Framework Development**:
– Create a conceptual framework that visually represents the relationships between the key concepts.
– This framework should serve as a guide for further research or analysis.
6. **Hypothesis Formulation** (if applicable):
– Based on the conceptual framework, formulate hypotheses that can be tested through empirical research.
7. **Validation and Refinement**:
– Seek feedback from peers or experts in the field to validate the conceptualization.
– Refine the concepts and relationships based on feedback and new insights.
8. **Documentation**:
– Document the entire conceptualization process, including definitions, frameworks, and any hypotheses.
– Ensure that the documentation is clear and accessible for future reference or for others who may build upon your work.
By following these steps, one can develop a robust conceptualization that serves as a foundation for further inquiry, research, or practical application.
**Define Purpose**: Determine the purpose of the display frame. Is it for showcasing a single car, a collection, or a themed display?
**Defining Purpose of the Display Frame**
The purpose of the display frame is a critical consideration that shapes the overall design and functionality of the exhibit. It is essential to clearly articulate the intended use of the display frame to ensure it effectively serves its role.
1. **Showcasing a Single Car**: If the display frame is intended to highlight a single vehicle, it should be designed to draw attention to the car’s unique features and craftsmanship. This may involve using a minimalist approach that emphasizes the car’s aesthetics, incorporating appropriate lighting, and ensuring that the frame complements the vehicle without overshadowing it.
2. **Showcasing a Collection**: In the case of displaying a collection of cars, the frame should facilitate a cohesive presentation that allows viewers to appreciate the diversity and history of the collection. This may involve creating a layout that organizes the vehicles thematically or chronologically, providing informative signage, and ensuring that each car is adequately illuminated and accessible for viewing.
3. **Themed Display**: For a themed display, the frame should reflect the overarching concept or narrative that ties the vehicles together. This could involve incorporating thematic elements into the design, such as background graphics, props, or interactive components that enhance the viewer’s experience and understanding of the theme.
In conclusion, the purpose of the display frame must be clearly defined to guide its design and implementation, ensuring that it effectively showcases the vehicles in a manner that aligns with the intended exhibition goals.
Explore how the LEGO Death Star shaped LEGO’s brand evolution, symbolizing creativity, complexity, and the fusion of pop culture with imaginative play.