Learn how to create a stunning DIY display frame for your LEGO cars with our easy step-by-step guide. Showcase your collection in style!
Creating a DIY display frame for your LEGO cars is a fun and rewarding project that allows you to showcase your creations while keeping them safe from dust and damage. Here’s a step-by-step guide to help you make your own display frame:
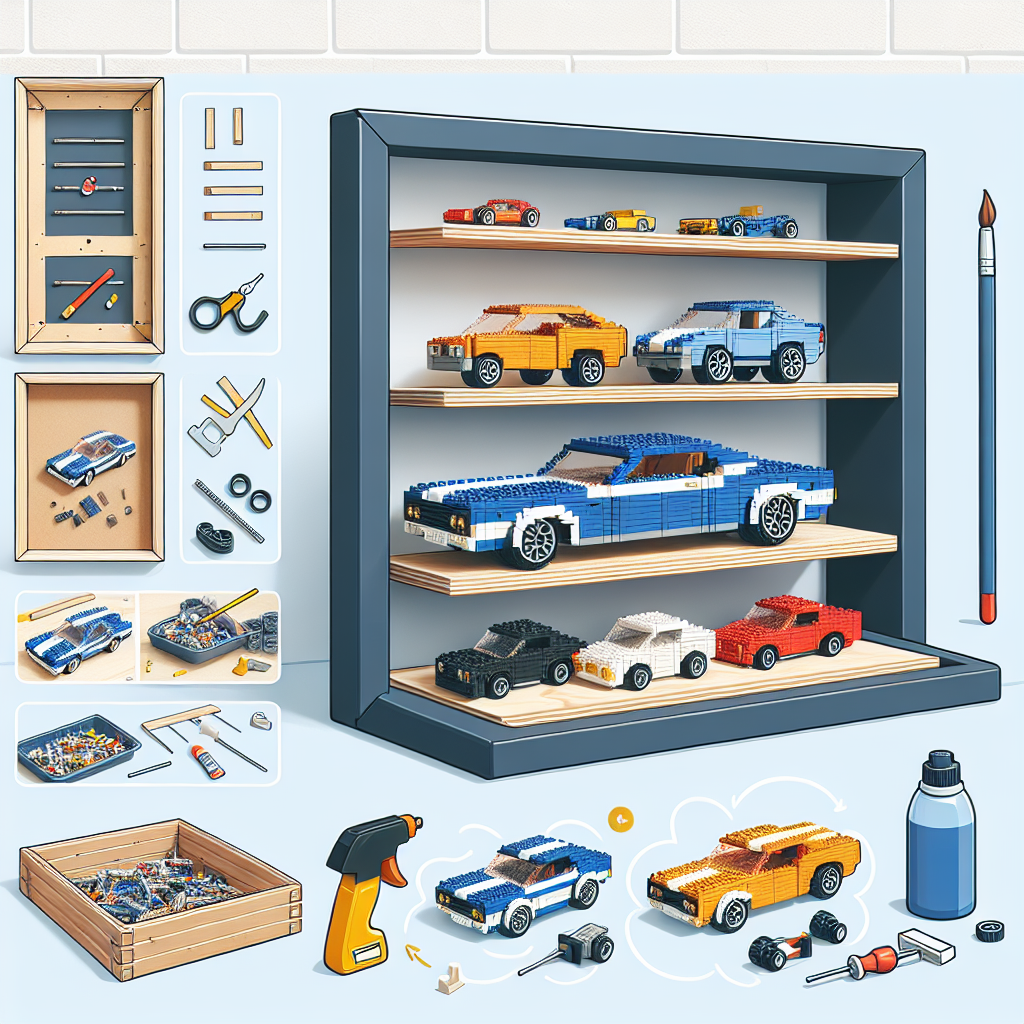
### Materials Needed:
1. **Wood or MDF Board**: For the frame and backing.
2. **Glass or Acrylic Sheet**: To cover the front of the display.
3. **Wood Glue or Screws**: For assembling the frame.
4. **Paint or Stain**: To finish the wood (optional).
5. **Hinges**: If you want a door for easy access.
6. **Picture Frame Clips or Brackets**: To hold the glass or acrylic in place.
7. **Sandpaper**: For smoothing edges.
8. **Measuring Tape**: For accurate measurements.
9. **Saw**: For cutting wood (if needed).
10. **Drill**: For making holes for screws (if using).
11. **Level**: To ensure the frame hangs straight.
12. **LEGO Baseplates**: To mount your LEGO cars.
### Instructions:
#### Step 1: Plan Your Design
– Decide on the size of your display frame based on how many LEGO cars you want to showcase. Consider the dimensions of the cars and how much space you want between them.
– Sketch a design that includes the frame, backing, and any additional features like shelves or compartments.
#### Step 2: Cut the Wood
– Cut the wood or MDF board to the desired dimensions for the frame and backing. You will need four pieces for the frame (two vertical and two horizontal) and one piece for the backing.
– If you want shelves, cut additional pieces for those as well.
#### Step 3: Assemble the Frame
– Use wood glue or screws to assemble the frame. Make sure the corners are square and secure.
– If you’re adding shelves, mark where they will go and attach them using glue or small brackets.
#### Step 4: Prepare the Backing
– Attach the backing to the frame using screws or glue. This will provide support and a surface to attach your LEGO baseplates.
#### Step 5: Paint or Stain (Optional)
– If desired, paint or stain the frame to match your decor. Allow it to dry completely before proceeding.
#### Step 6: Attach the Baseplates
– Secure LEGO baseplates to the backing using strong adhesive or screws. Make sure they are level and spaced appropriately for your cars.
#### Step 7: Add the Glass or Acrylic Front
– Cut the glass or acrylic sheet to fit the front of the frame. If you want a hinged door, attach hinges to one side of the frame and the glass or acrylic.
– Use picture frame clips or brackets to secure the glass or acrylic in place.
#### Step 8: Final Touches
– Sand any rough edges to prevent splinters.
– Clean the glass or acrylic to remove any fingerprints or dust.
– If you added a door, ensure it opens and closes smoothly.
#### Step 9: Display Your LEGO Cars
– Carefully place your LEGO cars on the baseplates. Arrange them in a way that showcases each car effectively.
– Hang the display frame on the wall or place it on a shelf, ensuring it is level and secure.
### Tips:
– Consider adding LED strip lights inside the frame for added visibility and effect.
– Use small hooks or pegs to hang accessories or mini-figures alongside your cars.
– Personalize the display with labels or a themed background.
With these steps, you’ll have a beautiful DIY display frame for your LEGO cars that not only protects them but also enhances your space! Enjoy showcasing your creativity!
Creating a DIY display frame for your LEGO cars is a fun and rewarding project that allows you to showcase your creations while keeping them safe from dust and damage. Here’s a step-by-step guide to help you make your own display frame:
Creating a DIY display frame for your LEGO cars is an enjoyable and fulfilling project that enables you to showcase your creations while protecting them from dust and potential damage. Below is a step-by-step guide to assist you in crafting your own display frame.
### Materials Needed:
1. **Wood or Acrylic Sheets**: Choose a material that suits your aesthetic preference and budget.
2. **Wood Glue or Acrylic Adhesive**: For assembling the frame.
3. **Glass or Acrylic Front**: To protect the display from dust.
4. **Backing Board**: Such as cardboard or foam board, to provide support.
5. **Paint or Stain**: Optional, for finishing the frame.
6. **Hanging Hardware**: Such as picture hooks or brackets, if you plan to mount the frame on a wall.
7. **Measuring Tape**: For accurate measurements.
8. **Saw**: For cutting wood or acrylic to size (if necessary).
9. **Screwdriver**: For attaching hardware.
10. **Sandpaper**: For smoothing edges (if using wood).
### Step-by-Step Instructions:
#### Step 1: Measure Your LEGO Cars
– Begin by measuring the dimensions of your LEGO cars. Consider the height, width, and depth to ensure they fit comfortably within the display frame.
#### Step 2: Design the Frame
– Sketch a design for your display frame, taking into account the number of cars you wish to display and their arrangement. Decide on the overall dimensions of the frame based on your measurements.
#### Step 3: Cut the Materials
– Using your measurements, cut the wood or acrylic sheets to the desired dimensions for the frame. If you are using wood, ensure that the edges are smooth by sanding them down.
#### Step 4: Assemble the Frame
– Assemble the frame by applying wood glue or acrylic adhesive to the edges of the cut pieces. Hold them in place until the adhesive sets, following the manufacturer’s instructions for drying time.
#### Step 5: Attach the Backing Board
– Once the frame is assembled, attach the backing board to provide support. This can be done using glue or small screws, depending on your preference.
#### Step 6: Insert the Glass or Acrylic Front
– Carefully insert the glass or acrylic front into the frame. This will protect your LEGO cars from dust while allowing for visibility. Secure it in place using clips or adhesive.
#### Step 7: Finish the Frame
– If desired, paint or stain the frame to match your decor or personal style. Allow it to dry completely before proceeding.
#### Step 8: Arrange Your LEGO Cars
– Place your LEGO cars inside the frame, arranging them in a visually appealing manner. You may wish to use small stands or bases to elevate certain models for better visibility.
#### Step 9: Attach Hanging Hardware
– If you plan to hang the display frame, attach the appropriate hanging hardware to the back. Ensure it is securely fastened to support the weight of the frame.
#### Step 10: Display Your Creation
– Finally, find a suitable location to display your frame, whether on a wall or a shelf. Enjoy showcasing your LEGO cars in your newly crafted display frame!
### Conclusion
By following these steps, you can create a personalized display frame that not only highlights your LEGO cars but also protects them from dust and damage. This project allows for creativity and customization, making it a perfect addition to any LEGO enthusiast’s collection.
### Materials Needed:
It seems like your request is incomplete. Could you please provide more context or specify what materials you need? For example, are you looking for materials for a specific project, event, or topic? This will help me assist you better.
**Wood or MDF Board**: For the frame and backing
When considering materials for the frame and backing of a project, both wood and MDF (Medium Density Fiberboard) have their own advantages and disadvantages.
**Wood:**
– **Aesthetic Appeal**: Wood offers a natural beauty and warmth that can enhance the overall appearance of the frame. It can be stained or painted to match various decor styles.
– **Durability**: Solid wood is generally more durable and can withstand wear and tear better than MDF. It is less prone to damage from moisture, making it suitable for various environments.
– **Structural Integrity**: Wood provides better structural integrity, especially for larger frames, as it can support more weight without warping or bending.
– **Sustainability**: If sourced responsibly, wood can be a more sustainable option, especially if it comes from certified forests.
**MDF Board:**
– **Cost-Effectiveness**: MDF is typically less expensive than solid wood, making it a budget-friendly option for projects.
– **Smooth Surface**: MDF has a smooth surface that is ideal for painting and finishing, allowing for a clean and uniform appearance.
– **Ease of Workability**: MDF is easier to cut and shape than solid wood, which can be beneficial for intricate designs or detailed work.
– **Resistance to Warping**: While MDF can be susceptible to moisture damage, it is less likely to warp compared to some types of wood when properly sealed.
**Conclusion**: The choice between wood and MDF for the frame and backing ultimately depends on the specific requirements of your project, including budget, desired aesthetics, and durability needs. If you prioritize natural beauty and longevity, wood may be the better option. However, if cost and ease of finishing are more important, MDF could be the ideal choice.