Discover innovative ideas for showcasing your LEGO car collection! Learn how to hang your masterpieces on the wall for a stunning display.
Displaying LEGO cars on the wall can be a fun and creative way to showcase your masterpieces while saving space. Here are some innovative ideas to hang and display your LEGO creations:
### 1. **Shadow Boxes**
– **Description**: Use shadow boxes to create a 3D display. You can paint the background to match the theme of your LEGO cars.
– **How-To**: Secure the LEGO cars inside the box using adhesive putty or small brackets. Hang the shadow boxes at varying heights for visual interest.
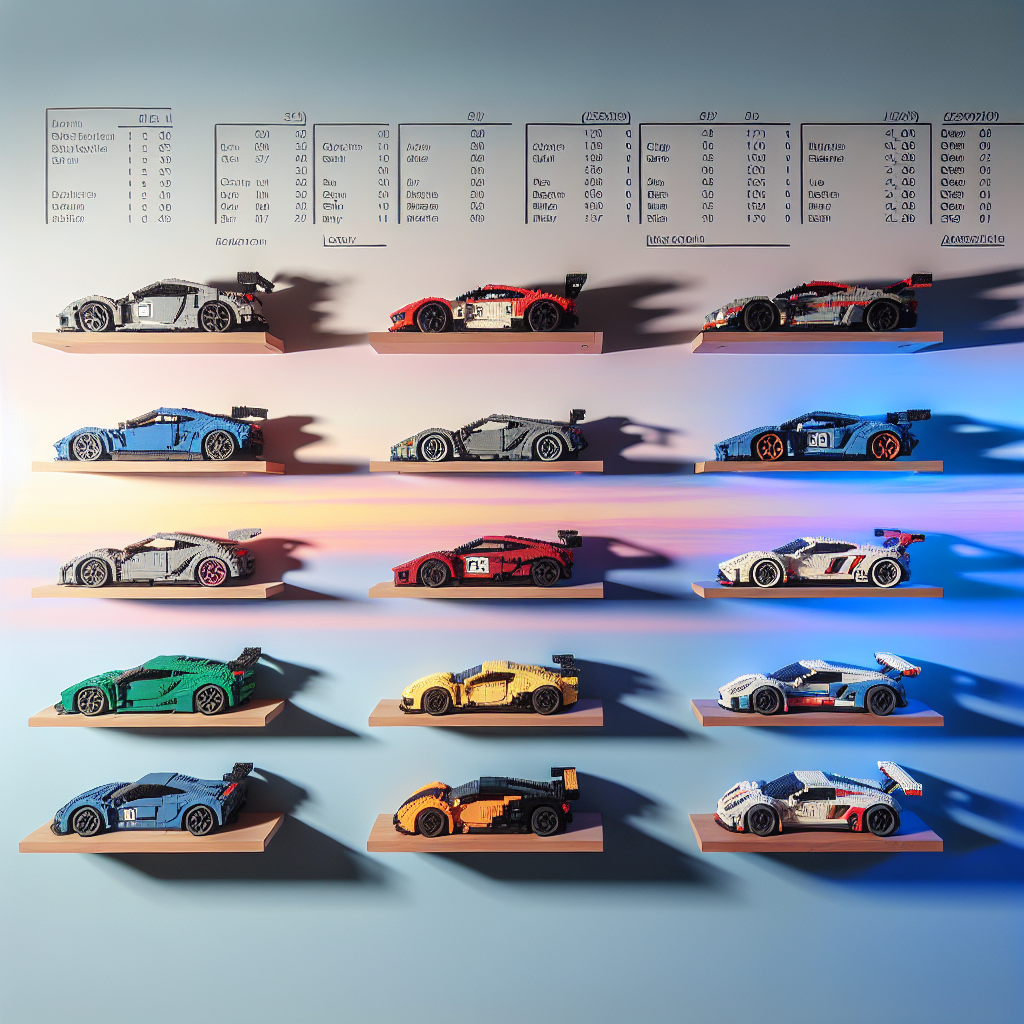
### 2. **Floating Shelves**
– **Description**: Install floating shelves to create a sleek and modern display.
– **How-To**: Arrange the LEGO cars on the shelves, mixing sizes and colors. You can also add small LED lights underneath the shelves for illumination.
### 3. **Pegboard Display**
– **Description**: Use a pegboard to create a customizable display.
– **How-To**: Paint the pegboard in a color that complements your LEGO cars. Use hooks or small shelves to hang the cars, allowing for easy rearrangement.
### 4. **Picture Frames**
– **Description**: Repurpose old picture frames to create unique displays.
– **How-To**: Remove the glass and backing, then attach LEGO cars directly to the frame. Hang the frames on the wall for a gallery-style display.
### 5. **Magnetic Strips**
– **Description**: Use magnetic strips to create a floating effect.
– **How-To**: Attach strong magnets to the bottom of the LEGO cars and mount magnetic strips on the wall. This allows for easy swapping and rearranging.
### 6. **Wall-mounted Racks**
– **Description**: Create or purchase wall-mounted racks specifically designed for LEGO displays.
– **How-To**: Arrange the cars on the racks, ensuring they are secure. You can paint the racks to match your room decor.
### 7. **DIY LEGO Baseplates**
– **Description**: Use LEGO baseplates as a backdrop for your cars.
– **How-To**: Attach baseplates to the wall using adhesive strips or screws. Build a scene or simply arrange the cars on the plates.
### 8. **Artistic Backdrops**
– **Description**: Create a themed backdrop for your LEGO cars.
– **How-To**: Paint or use wallpaper to create a scene (like a racetrack or cityscape) behind the cars. Mount the cars in front of this backdrop for a dynamic display.
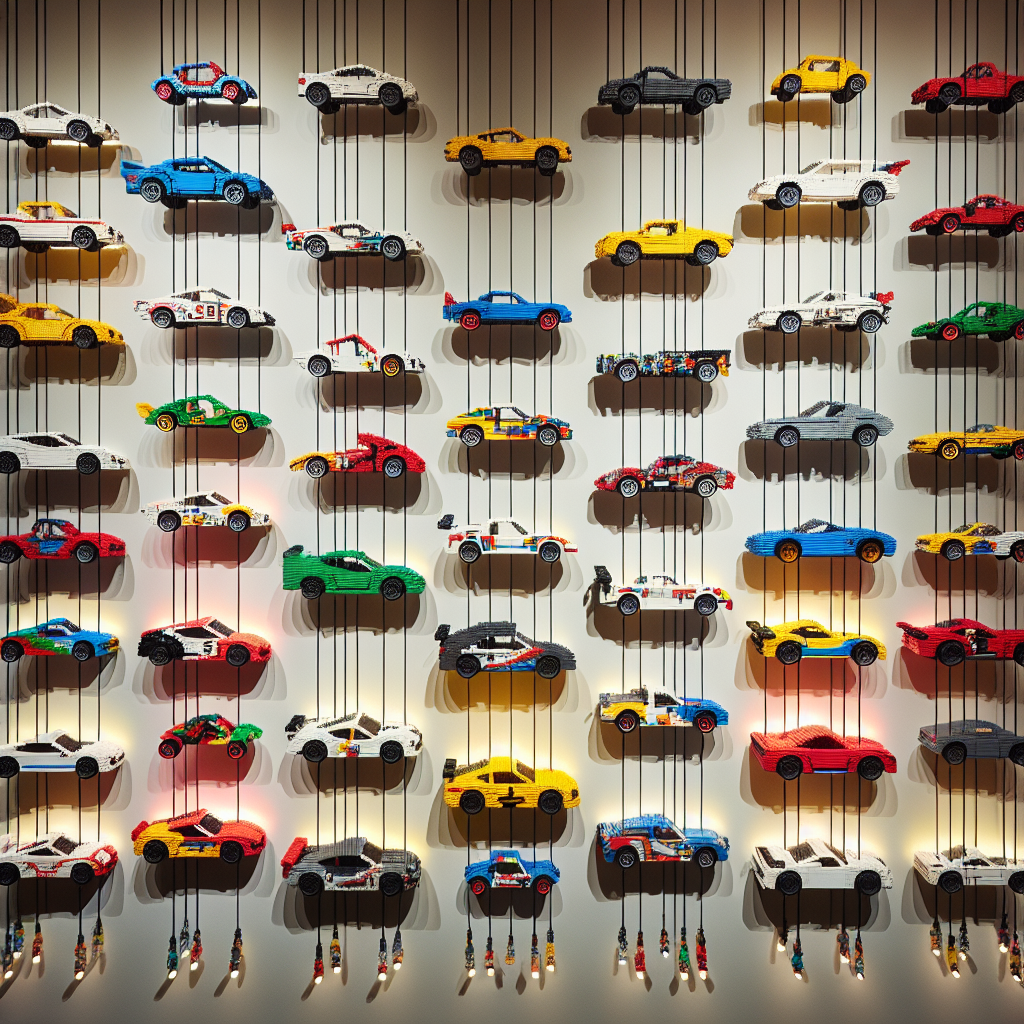
### 9. **Hanging Displays with Fishing Line**
– **Description**: Create a floating effect by suspending cars with fishing line.
– **How-To**: Attach fishing line to the ceiling and hang the cars at different heights. This creates a whimsical, suspended look.
### 10. **Rotating Display Stands**
– **Description**: Use a rotating display stand to showcase multiple cars.
– **How-To**: Place the stand on a shelf or mount it on the wall. This allows you to easily rotate and view different cars.
### 11. **Themed Displays**
– **Description**: Create themed sections for different types of cars (e.g., sports cars, classic cars, etc.).
– **How-To**: Use different colors or styles of shelves or frames for each theme, making it visually appealing and organized.
### 12. **LED Light Boxes**
– **Description**: Use light boxes to highlight your LEGO cars.
– **How-To**: Place the cars inside a light box with LED lights. This adds a dramatic effect and draws attention to your creations.
### Tips for Displaying LEGO Cars:
– **Safety First**: Ensure that all displays are securely mounted to avoid accidents.
– **Dusting**: Consider how easy it will be to clean the displays. Some methods may require more maintenance than others.
– **Personal Touch**: Add personal elements like photos or memorabilia related to your LEGO journey to make the display more meaningful.
By using these creative ideas, you can turn your LEGO car collection into a stunning wall display that reflects your passion and creativity!
Displaying LEGO cars can be a fun and creative way to showcase your collection while adding a unique touch to your home decor. Here are three creative ideas for hanging your LEGO masterpieces on the wall:
Displaying LEGO cars can be an engaging and artistic way to showcase your collection while enhancing your home decor. Here are three formal and creative ideas for hanging your LEGO masterpieces on the wall:
1. **Shadow Box Frames**: Utilize shadow box frames to create a three-dimensional display for your LEGO cars. Choose frames that complement your interior design, and arrange the cars in a visually appealing manner within the boxes. You can add a backdrop, such as a printed road or cityscape, to enhance the theme. This method not only protects your collection from dust but also adds depth and interest to your wall decor.
2. **Floating Shelves**: Install floating shelves at varying heights to create a dynamic display for your LEGO cars. This approach allows for easy rearrangement and customization of your collection. Consider using LED strip lighting along the shelves to highlight the cars and create an eye-catching effect. You can also incorporate small plants or decorative items alongside the LEGO cars to create a cohesive and stylish display.
3. **Custom Wall Panels**: Design custom wall panels specifically for displaying your LEGO cars. These panels can be made from materials such as wood or acrylic and can feature built-in slots or hooks to securely hold the cars in place. Paint or finish the panels to match your decor, and arrange the cars in a way that tells a story or showcases different themes. This method provides a polished and organized look, transforming your LEGO collection into a striking focal point in the room.
By implementing these creative ideas, you can effectively showcase your LEGO cars while adding a unique and personal touch to your home decor.
### 1. **Shadow Box Frames**
**Shadow Box Frames: A Formal Overview**
**Introduction**
Shadow box frames are a specialized type of display case designed to showcase three-dimensional objects, providing depth and dimension that traditional frames cannot. These frames are often used for preserving and presenting memorabilia, artwork, and other significant items in a visually appealing manner.
**Design and Structure**
A shadow box frame typically consists of a deep frame that allows for the inclusion of various objects without them being compressed against the glass. The depth of the frame can vary, accommodating items of different sizes and shapes. The interior is often lined with fabric or paper to enhance the visual presentation and to provide a contrasting background for the displayed items.
**Materials**
Shadow box frames can be constructed from a variety of materials, including wood, metal, and acrylic. The choice of material often reflects the intended aesthetic and the weight of the items being displayed. High-quality glass or acrylic is used for the front to protect the contents while allowing for clear visibility.
**Applications**
These frames are commonly used in various settings, including:
1. **Art Galleries**: To display mixed media artworks or sculptures.
2. **Museums**: For showcasing historical artifacts or collections.
3. **Home Decor**: To present personal memorabilia, such as awards, photographs, or travel souvenirs.
4. **Corporate Settings**: For displaying achievements, awards, or promotional materials.
**Customization**
Shadow box frames can be customized in terms of size, color, and interior design to suit specific needs and preferences. This customization allows for a personalized touch, making them ideal for gifts or commemorative displays.
**Conclusion**
In summary, shadow box frames serve as an elegant solution for displaying three-dimensional objects, combining functionality with aesthetic appeal. Their versatility and ability to protect and highlight cherished items make them a popular choice for both personal and professional use.
– **Materials Needed**: Shadow box frames, foam board, adhesive strips or small hooks
### Materials Needed for Shadow Box Display
1. **Shadow Box Frames**: Choose frames that suit your aesthetic and the items you plan to display. Ensure they have depth to accommodate the objects.
2. **Foam Board**: This will serve as a backing for your display. It provides stability and can be cut to fit the dimensions of your shadow box.
3. **Adhesive Strips**: These are useful for securing lightweight items within the shadow box without causing damage. Opt for double-sided tape or removable adhesive strips.
4. **Small Hooks**: If you plan to hang items such as jewelry or small tools, small hooks can be attached to the foam board or the back of the frame for a more organized display.
5. **Scissors or Craft Knife**: For cutting the foam board and any other materials to the desired size.
6. **Ruler and Pencil**: To measure and mark where you will place your items and cut the foam board accurately.
7. **Decorative Elements (Optional)**: Consider adding decorative paper, fabric, or other embellishments to enhance the visual appeal of your shadow box.
8. **Glass or Acrylic Front**: Most shadow box frames come with a protective front, but ensure it is included to keep dust away from your display.
9. **Hanging Hardware**: If you intend to mount the shadow box on a wall, ensure you have the appropriate hanging hardware.
### Assembly Instructions
1. **Prepare the Foam Board**: Cut the foam board to fit the back of the shadow box frame.
2. **Arrange Your Items**: Before securing anything, lay out your items on the foam board to determine the best arrangement.
3. **Secure Items**: Use adhesive strips or small hooks to attach your items to the foam board. Ensure they are firmly in place.
4. **Insert the Foam Board**: Once everything is secured, place the foam board into the shadow box frame.
5. **Seal the Frame**: Close the shadow box and ensure it is securely fastened.
6. **Display**: Use the hanging hardware to mount your shadow box on the wall or place it on a shelf for display.
By following these guidelines, you can create a beautiful and organized shadow box display that showcases your cherished items effectively.